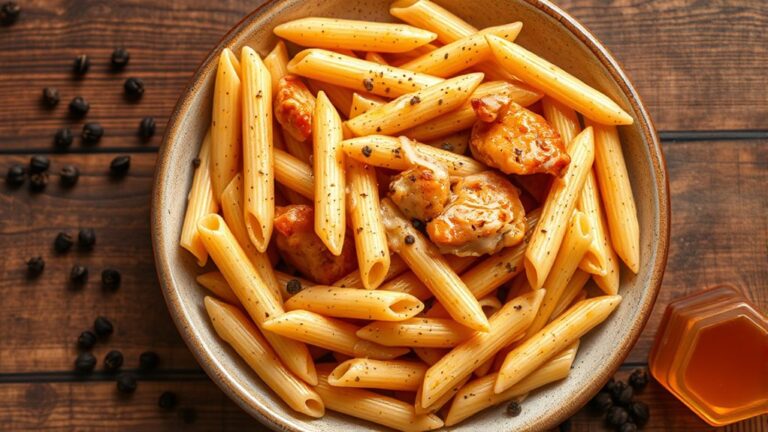
Baked Chicken Thighs Recipe
If you're craving a simple yet mouthwatering dinner, baked chicken thighs might be your new go-to recipe. You'll love how quickly these tender, crispy-skinned delights come together, transforming basic ingredients into a restaurant-worthy meal. With just a few key techniques, you'll be able to create juicy, well-seasoned chicken that'll have everyone asking for seconds. Curious about how to elevate your weeknight cooking game? Let's uncover the secrets to perfectly baked chicken thighs.
Recipe Highlights
- Perfectly bake chicken thighs by patting them dry, coating with olive oil, and generously seasoning before roasting at 425°F for 35-40 minutes.
- Achieve crispy golden-brown skin by arranging thighs skin-side up with space between pieces in a baking dish for even air circulation.
- Ensure juicy, tender meat by using bone-in, skin-on chicken thighs and monitoring internal temperature with a meat thermometer until it reaches 165°F.
- Enhance flavor by experimenting with diverse seasoning blends like herbs, spices, garlic, or marinades that complement the rich, tender chicken meat.
- Create a complete meal by pairing baked chicken thighs with versatile side dishes such as roasted vegetables, grains, or fresh salads for balanced nutrition.
History
Although chicken has been a staple protein for centuries, baked chicken thighs represent a relatively modern culinary technique that emerged with the rise of home ovens in the early 20th century.
You'll find that home cooks began experimenting with roasting methods as electric and gas ranges became more common in kitchens. Chicken thighs specifically gained popularity because they're more flavorful and forgiving than leaner cuts like breast meat.
Immigrants from Mediterranean and Southern European cultures often prepared similar slow-roasted chicken dishes, bringing rich traditions that influenced American home cooking.
These culinary pioneers transformed simple chicken preparations into something both delicious and accessible, creating techniques that home cooks still use today.
Their legacy continues in modern kitchens, where baked chicken thighs remain a beloved, easy-to-prepare meal.
Recipe
Baked chicken thighs are a simple yet delectable dish that transforms basic ingredients into a mouthwatering meal. By focusing on proper seasoning and cooking technique, home cooks can achieve restaurant-quality results with minimal effort.
The key to perfect baked chicken thighs lies in selecting high-quality ingredients and understanding how to maximize flavor and texture. With just a few pantry staples and some careful preparation, you can create a crispy-skinned, juicy chicken dish that will impress family and friends.
Ingredients:
- 6 bone-in, skin-on chicken thighs
- 2 tablespoons olive oil
- 1 teaspoon garlic powder
- 1 teaspoon paprika
- 1 teaspoon salt
Preheat the oven to 425°F and prepare a large baking dish. Pat the chicken thighs completely dry with paper towels, which helps ensure crispy skin. In a large bowl, drizzle the chicken with olive oil and sprinkle all seasonings evenly, thoroughly rubbing them into both sides of each thigh to maximize flavor absorption.
Arrange the chicken thighs skin-side up in the baking dish, making sure to leave space between each piece to promote even cooking. Bake for 35-40 minutes, or until the skin turns golden brown and crispy, and the internal temperature of the chicken reaches 165°F when checked with a meat thermometer.
For best results, let the chicken rest for 5-10 minutes after removing from the oven. This allows the juices to redistribute throughout the meat, ensuring each bite remains tender and flavorful.
If you prefer extra-crispy skin, consider briefly broiling the chicken for 2-3 minutes at the end of cooking, but watch carefully to prevent burning.
Cooking Steps
Start by patting your chicken thighs completely dry with paper towels to ensure maximum crispiness, which allows seasonings to adhere perfectly and promotes beautiful browning.
Drizzle olive oil across the thighs, then generously sprinkle your seasonings, rubbing them into every surface of the meat to create a flavorful, even coating.
Carefully arrange the seasoned thighs skin-side up in a baking dish, leaving enough space between each piece to guarantee thorough, consistent cooking and help the skin crisp up beautifully.
Step 1. Pat Chicken Thighs Dry
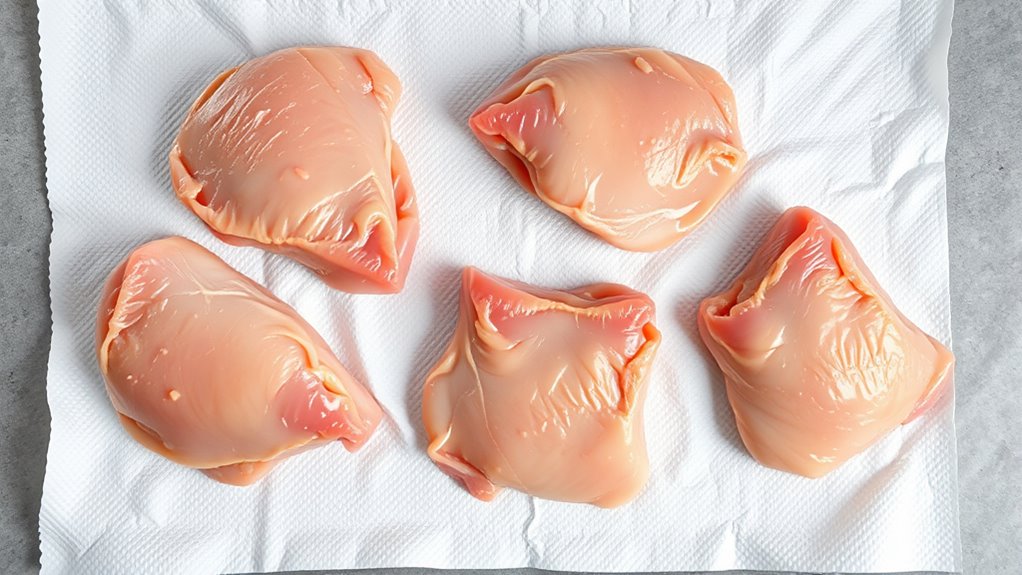
Grab some paper towels and get ready to ensure your chicken thighs will develop that irresistibly crispy skin. Thoroughly drying the meat is crucial for achieving golden, crisp exteriors that'll make your dish restaurant-worthy.
Pat each chicken thigh firmly and completely with clean paper towels, removing all excess moisture from both the skin and underlying meat. Use gentle but deliberate pressure, working methodically to absorb surface liquid without tearing the delicate skin.
Why does drying matter? Moisture prevents proper browning and can create steaming instead of crisping. By eliminating water, you'll:
- Promote better seasoning adhesion
- Enable faster, more even browning
- Guarantee that signature crackling texture
- Enhance overall cooking performance
Discard used paper towels immediately after use.
Step 2. Drizzle Olive Oil Evenly
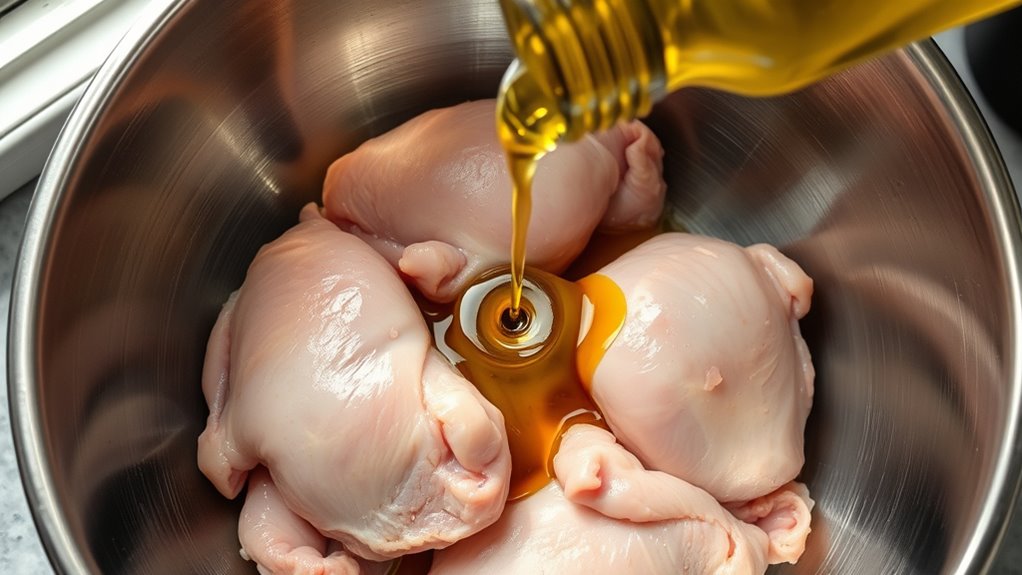
One tablespoon of olive oil per three chicken thighs ensures perfect, even coating without oversaturating the meat. Drizzle the oil slowly over the chicken, using your hands to massage it gently into every surface, ensuring complete and uniform coverage.
You'll want to rotate the thighs, allowing the oil to create a light, protective layer that helps seasonings stick and promotes beautiful, crispy skin during baking. Be careful not to use too much oil, which can make the skin soggy instead of golden and crisp.
Focus on creating a thin, even sheen that'll help conduct heat and develop rich, caramelized flavors. Your goal is a light, glistening coating that enhances the chicken's natural texture and allows the seasonings to adhere perfectly.
Step 3. Sprinkle Seasonings Evenly

Three essential spices transform ordinary chicken thighs into a flavor-packed meal. You'll want to sprinkle garlic powder, paprika, and salt evenly across the surface, ensuring each thigh gets maximum seasoning coverage.
Use your fingertips to gently rub the spices into both sides of the meat, creating a uniform coating that'll develop a delicious crust during baking. Don't be shy about massaging the seasonings – you're building layers of flavor.
Aim for:
- Consistent coverage
- Light but thorough application
- Even distribution across each piece
The key is pressing the spices gently into the chicken's surface, allowing them to adhere and penetrate the meat. This technique ensures every bite will be perfectly seasoned, with a balanced blend of savory and aromatic notes that'll make your baked chicken thighs irresistibly delicious.
Step 4. Arrange Chicken in Baking Dish

The perfect baking dish setup is crucial for achieving crispy, evenly cooked chicken thighs. You'll want to select a large, rimmed baking sheet or glass baking dish that allows enough space between each thigh.
Arrange the seasoned chicken skin-side up, ensuring they're not touching, which helps promote air circulation and even browning.
- Use a dish with 2-inch sides to catch any rendering fat
- Space thighs approximately 1 inch apart
- Position skin facing upward for maximum crispiness
- Select a light-colored metal or glass baking dish to prevent excessive browning
Double-check that the skin is completely exposed and not folded underneath.
This positioning guarantees a golden, crispy exterior while allowing heat to circulate uniformly around each piece of chicken.
Step 5. Bake Until Golden Brown
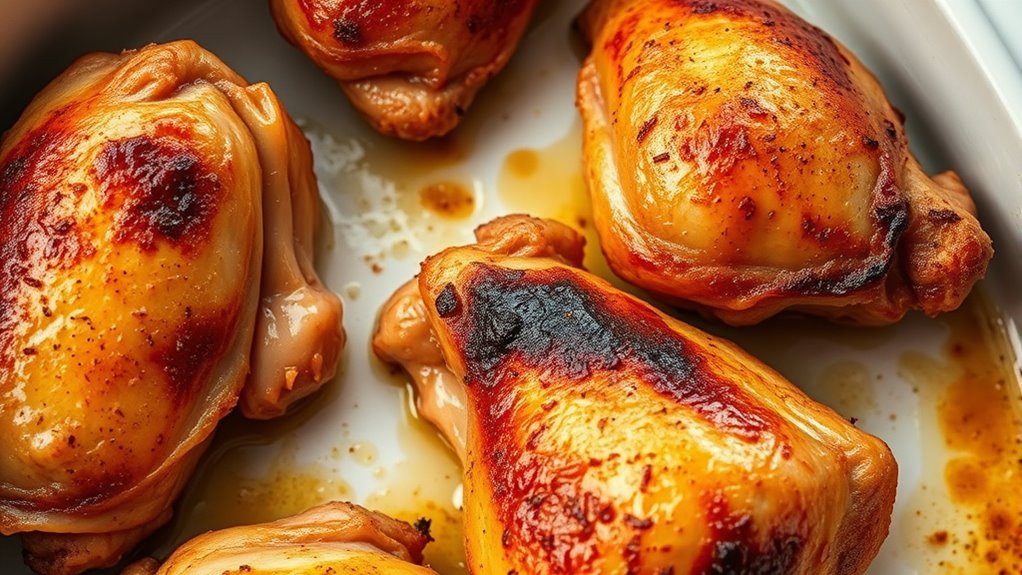
When your chicken thighs are perfectly seasoned and positioned in the baking dish, you'll want to slide them into a preheated 425°F oven for even, golden-brown cooking.
Place the baking dish on the center rack, ensuring consistent heat distribution. Watch for visual cues as the skin gradually transforms: it'll start turning a light golden color, then deepen to a rich, appetizing brown.
You'll know they're done when:
- Skin is crispy and uniformly golden
- Internal temperature reaches 165°F
- Juices run clear when pierced
Use an instant-read thermometer to check doneness precisely.
If the skin isn't quite as crisp as you'd like, switch to broil for 2-3 minutes, keeping a close eye to prevent burning.
The result? Perfectly cooked, mouth-watering chicken thighs with irresistibly crisp skin.
Final Thoughts
Because mastering baked chicken thighs isn't just about following a recipe, it's about understanding the nuanced art of transforming simple ingredients into a memorable meal.
Your culinary journey doesn't end when the timer dings; it's about developing intuition and confidence in the kitchen. Practice will help you recognize perfect golden-brown skin, understand how your oven's unique characteristics affect cooking, and learn to trust your instincts.
Remember to always use a meat thermometer, let your chicken rest after cooking, and experiment with different seasoning blends.
The beauty of this dish lies in its simplicity and adaptability. Whether you're cooking for family or impressing guests, these baked chicken thighs will become a reliable staple in your recipe repertoire, promising consistent, delicious results every single time.