12 Brilliant Uses for Old Bananas
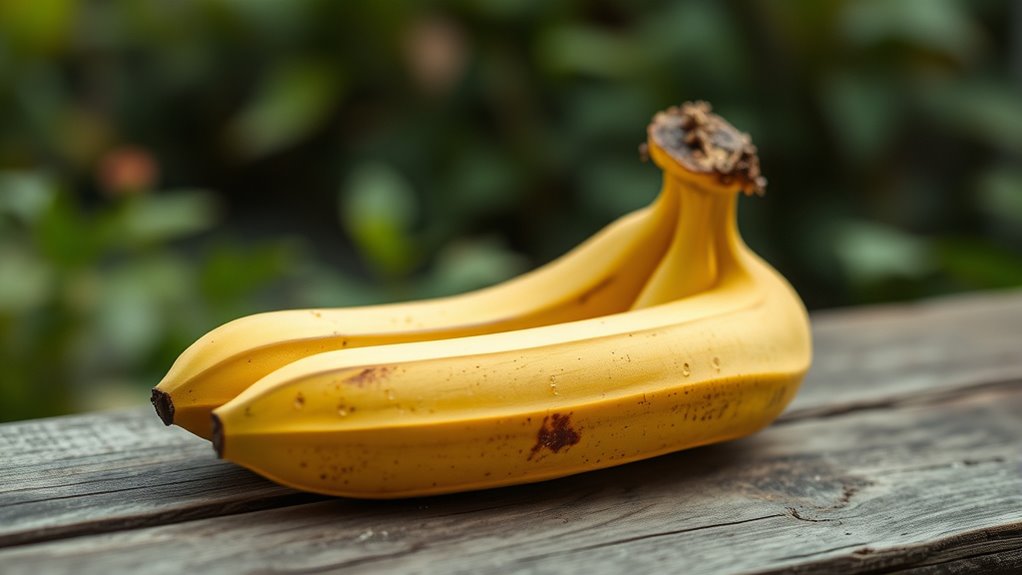
Got an overripe banana? Don't toss it! Those mushy, brown-speckled fruits aren't trash—they're treasure. From culinary magic to beauty hacks, these soft, sweet survivors have unexpected potential. Whether you're a home cook, gardener, or DIY enthusiast, you'll want to discover how a simple banana can transform into something surprisingly useful. Stick around, and you'll learn twelve ingenious ways to rescue those forgotten fruits from the compost bin.
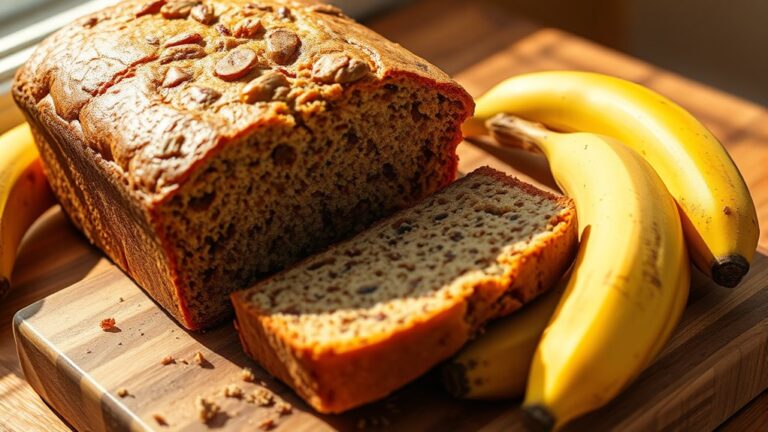
Banana Bread Bliss
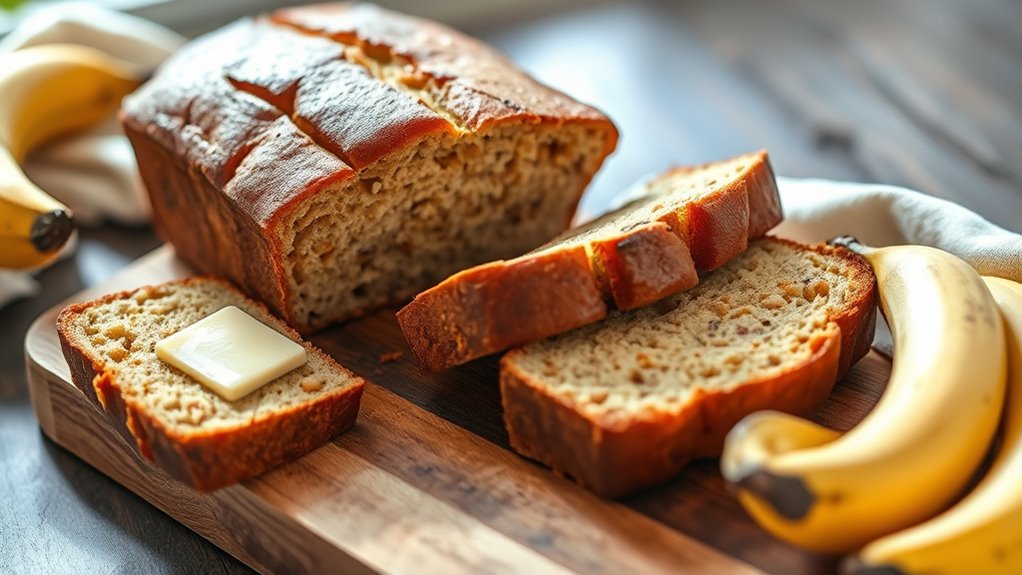
Overripe bananas are a baker's secret weapon, transforming what might otherwise be discarded into a moist, delectable treat. Banana bread is the quintessential solution for those browning, softening bananas sitting on your kitchen counter, offering a delightful way to prevent food waste while creating a comforting, aromatic baked good.
This classic quick bread isn't just a way to salvage aging fruit, but a beloved recipe that brings warmth to any kitchen, filling the air with a sweet, inviting scent that promises pure deliciousness.
- 2-3 very ripe bananas, mashed
- 1/3 cup melted butter
- 1/2 cup sugar
- 1 egg, beaten
- 1 teaspoon vanilla extract
- 1 teaspoon baking soda
- Pinch of salt
- 1 1/2 cups all-purpose flour
- Optional: 1/2 cup chopped nuts or chocolate chips
Preheat your oven to 350°F and grease a 4×8 inch loaf pan. In a mixing bowl, combine the mashed bananas with melted butter, mixing thoroughly. Stir in the sugar, egg, and vanilla extract until well blended. Sprinkle baking soda and salt over the mixture, then fold in the flour until just combined.
Pour the batter into the prepared loaf pan and bake for 50-60 minutes, or until a toothpick inserted into the center comes out clean. Allow the bread to cool in the pan for 10 minutes before removing and slicing.
For the best banana bread, use bananas that are very dark and spotty, as these will provide the most intense flavor and natural sweetness. If your bananas aren't quite ripe enough, you can speed up the ripening process by placing them in a paper bag with an apple for a day or two.
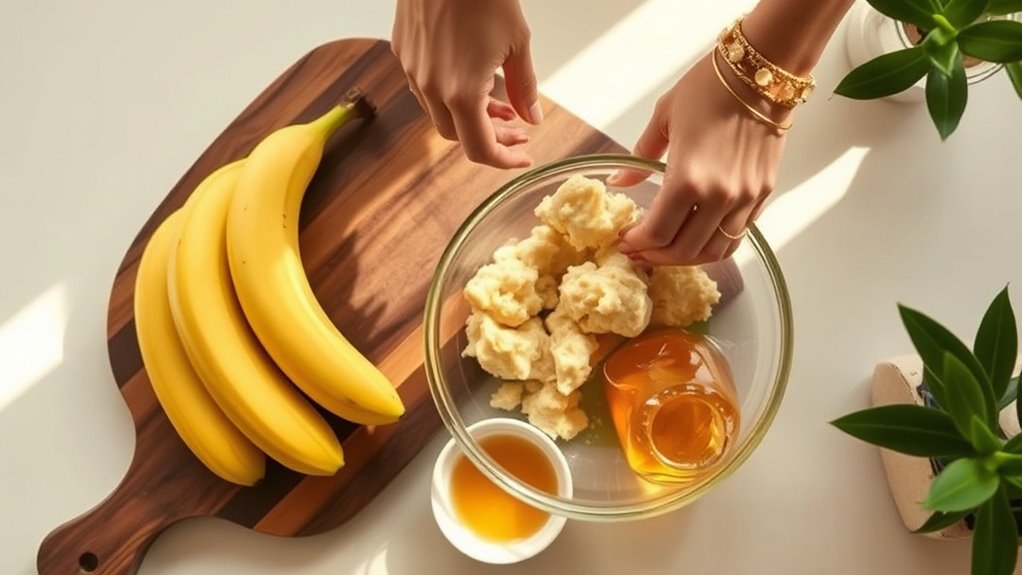
Natural Face Mask Magic
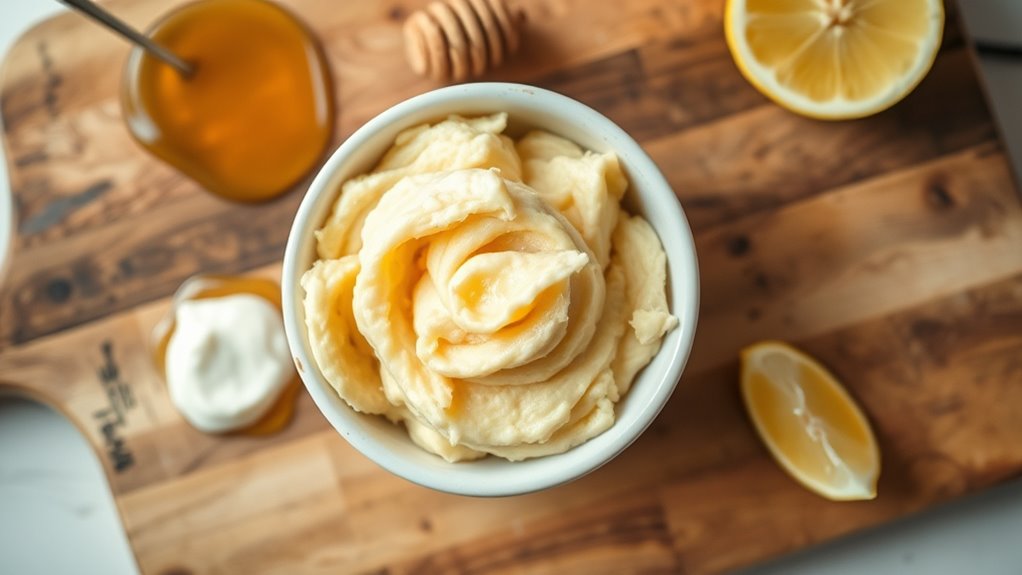
Bananas past their prime are a treasure trove of skincare potential, offering a natural and cost-effective solution for nourishing your face. This homemade face mask transforms overripe bananas into a luxurious treatment that can help moisturize, soften, and revitalize your skin.
The natural enzymes and nutrients in bananas make them an ideal base for a gentle, hydrating face mask that works for most skin types. By combining ripe bananas with a few simple ingredients, you can create a spa-worthy treatment right in your own kitchen.
Ingredients:
- 1 very ripe banana
- 1 tablespoon honey
- 1 tablespoon plain yogurt
- 1 teaspoon lemon juice (optional)
Peel the overripe banana and place it in a small mixing bowl. Mash the banana thoroughly with a fork until it becomes a smooth, creamy consistency with no large chunks remaining. Add the honey, yogurt, and lemon juice (if using), and mix thoroughly until you have a uniform, spreadable mixture.
Apply the mask to clean, dry skin using gentle circular motions, avoiding the delicate eye area. Leave the mask on for 15-20 minutes, allowing the natural ingredients to penetrate and nourish your skin. Rinse with lukewarm water and pat your face dry with a soft towel.
When preparing this mask, choose bananas that are very ripe with extensive brown spots, as these will be the sweetest and most nutrient-dense. Always do a patch test first to ensure you don't have any adverse reactions, and store any unused mask in the refrigerator for up to two days.
Compost and Garden Fertilizer
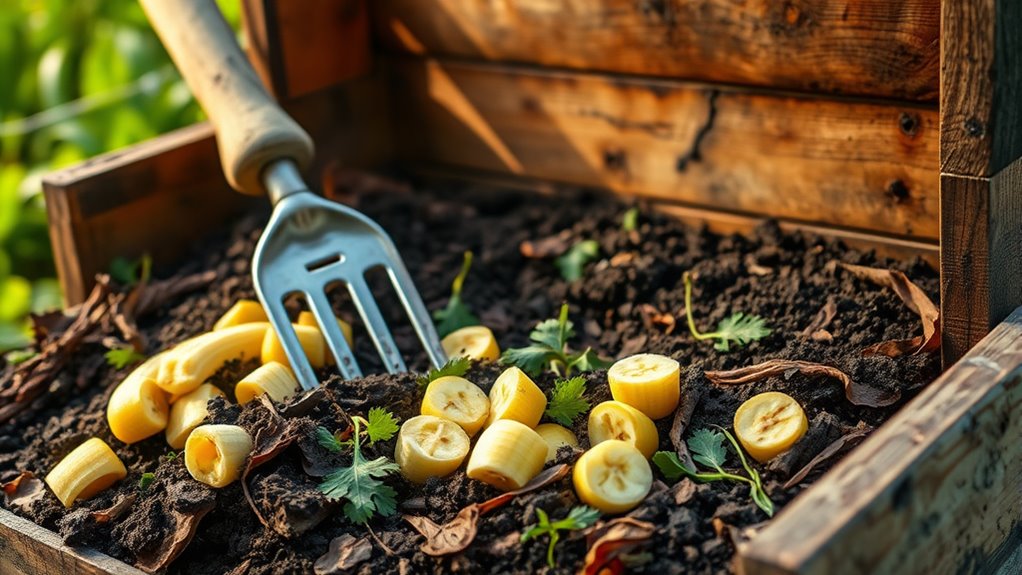
Composting old bananas is an excellent way to reduce food waste and create nutrient-rich soil for your garden. Bananas are particularly valuable in compost because they break down quickly and add essential potassium and other minerals to the soil.
When adding bananas to your compost, it's important to prepare them properly to ensure they decompose effectively and contribute to a healthy compost mix. Chopping or mashing the bananas can help speed up the decomposition process.
Ingredients:
- Overripe bananas
- Compost bin or pile
- Garden fork or shovel
- Brown carbon materials (leaves, paper, dry grass)
To incorporate bananas into your compost, start by removing any stickers and cutting the bananas into smaller pieces. This increases the surface area and helps them break down more quickly. Mix the banana pieces thoroughly with other organic materials, ensuring a good balance between green (nitrogen-rich) and brown (carbon-rich) components.
Layer the banana pieces with brown materials like dried leaves or shredded paper to help maintain proper moisture and prevent any potential odors. Turn your compost pile regularly to aerate it and promote faster decomposition, which will help the banana scraps integrate seamlessly into the mix.
When adding bananas to your compost, avoid using too many at once, as this can create an imbalance in your compost's composition. It's best to add banana scraps in moderation and always mix them well with other organic materials to create a rich, balanced compost that will nourish your garden.
Skin-Soothing Remedy

Bananas, often overlooked in their overripe state, can be transformed into a remarkable skin-soothing remedy that harnesses their natural healing properties. This simple yet effective treatment utilizes the softened, brown bananas that might otherwise be discarded, turning them into a nourishing mask that can help calm irritated or sensitive skin.
The natural sugars, vitamins, and minerals in ripe bananas create a gentle, moisturizing base that can help reduce inflammation and provide a soothing effect on the skin. When mashed and applied topically, these bananas can help hydrate dry patches, calm redness, and provide a natural glow to tired or stressed skin.
Ingredients:
- 1 very ripe banana
- 1 tablespoon honey
- 1 teaspoon plain yogurt
- Optional: 1 teaspoon oatmeal (finely ground)
Begin by peeling the overripe banana and placing it in a small mixing bowl. Using a fork, thoroughly mash the banana until it reaches a smooth, creamy consistency with no large chunks remaining. Add the honey and yogurt to the mashed banana, mixing well to create a uniform paste. If you choose to include the optional ground oatmeal, sprinkle it in and mix thoroughly to incorporate.
Apply the mixture to clean, dry skin, avoiding the eye area. Gently spread the mask in circular motions, ensuring an even coverage. Allow the mask to sit on the skin for 15-20 minutes, letting the nutrients absorb and work their magic. When ready, rinse the mask off with lukewarm water, using gentle circular motions to help exfoliate while removing the mixture.
When preparing this skin-soothing remedy, it's important to use bananas that are very ripe – almost completely brown – as they'll be the sweetest and most nutrient-dense. Always perform a patch test before applying the mask to your entire face to ensure you don't have any adverse reactions, and store any unused mixture in the refrigerator for up to two days if you wish to prepare a slightly larger batch.
Smoothie and Frozen Treat Base
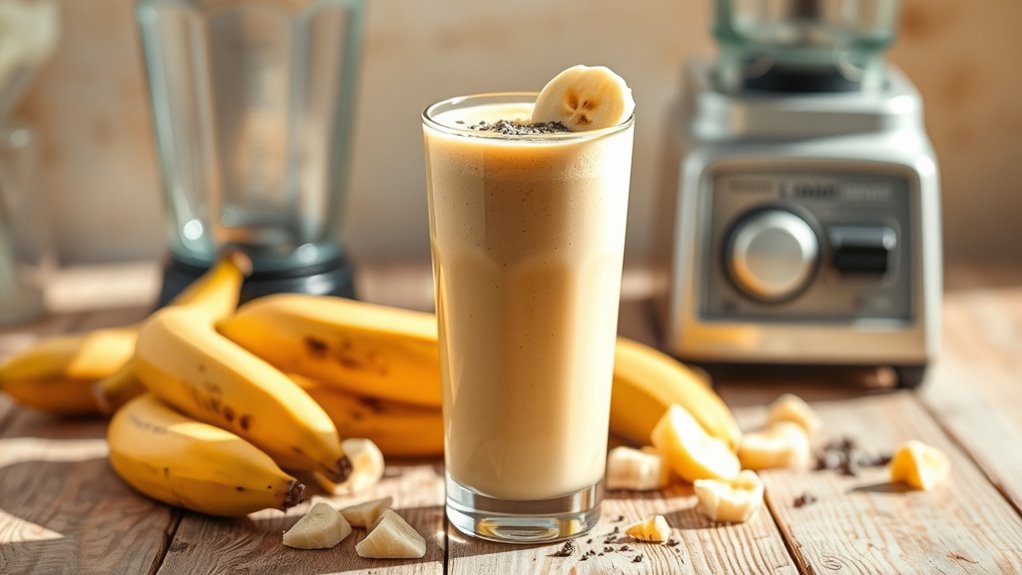
Overripe bananas are a perfect base for delicious smoothies and frozen treats, transforming what might otherwise be considered waste into a creamy, nutritious delight. Their natural sweetness and soft texture make them ideal for blending into cool, refreshing beverages and desserts that both adults and children will enjoy.
This versatile ingredient can be used in multiple ways, from simple smoothies to more elaborate frozen yogurt and ice cream alternatives that are both healthy and satisfying. The key is to use bananas that have developed deep brown spots, which indicate peak ripeness and maximum natural sweetness.
Ingredients:
- 2-3 very ripe bananas
- 1/2 cup milk (dairy or non-dairy)
- 1/4 cup yogurt (optional)
- 1 tablespoon honey (optional)
- Ice cubes
- Optional mix-ins: cocoa powder, peanut butter, berries
To create a basic banana smoothie, first peel the overripe bananas and break them into chunks. If you're planning to make frozen treats, place the banana chunks on a baking sheet and freeze them for at least two hours before blending. For smoothies, you can use fresh or frozen bananas depending on your desired consistency.
When ready to blend, combine the banana chunks with milk, yogurt, and any additional ingredients in a blender. Pulse until smooth, adding ice cubes to achieve the desired thickness. For frozen treats, blend the frozen banana chunks until they reach a soft-serve like consistency, which creates a creamy, ice cream-like texture without added sugars or fats.
For best results, choose bananas that are very ripe with significant brown spotting, as these will provide the most natural sweetness and smoothest texture. If you won't use bananas immediately after they've ripened, simply peel and freeze them in a sealed bag for future smoothies and treats, ensuring you always have a healthy base on hand for quick and nutritious snacks.
Plant Pest Deterrent
Bananas aren't just for eating – they can also be a powerful natural pest deterrent in your garden and houseplants. The potassium and other minerals in overripe bananas create an environment that many harmful insects find unpleasant, making them an eco-friendly alternative to chemical pesticides.
This simple banana pest deterrent solution can help protect your plants from common garden pests while recycling fruit that would otherwise be thrown away. By breaking down the bananas and using them strategically, you can create a natural barrier that supports plant health.
Ingredients:
- 2-3 very ripe bananas
- 4 cups water
- Spray bottle
- Blender or food processor
- Fine mesh strainer
- Gardening gloves
To prepare the banana pest deterrent, start by peeling the overripe bananas and placing them in a blender. Add the water and blend until you have a smooth, liquid mixture. The goal is to create a thin, consistent liquid that can be easily strained and sprayed.
Strain the banana mixture through a fine mesh strainer, pressing to extract all the liquid. Pour the strained liquid into a clean spray bottle. Before applying, put on gardening gloves to protect your hands. Spray the solution directly onto plant leaves, focusing on the undersides where pests often hide.
When using this banana pest deterrent, apply the solution in the early morning or evening to prevent leaf burning. Reapply every 5-7 days or after rain, and store any unused mixture in the refrigerator for up to a week. Always test the spray on a small area of the plant first to ensure no adverse reactions occur.
Leather and Silver Polish

While bananas might seem like an unlikely polish, their natural oils and gentle abrasive qualities make them surprisingly effective for cleaning leather and silver surfaces. The potassium and natural enzymes in ripe bananas can help remove tarnish and restore shine without harsh chemicals.
This simple polish technique works best with very ripe, nearly black bananas that have soft, extremely smooth flesh. The overripe fruit contains concentrated natural compounds that are perfect for gentle cleaning and conditioning.
Ingredients:
- 1 very ripe banana
- Soft clean cloth
- Soft buffing cloth
- Optional: White vinegar
- Optional: Mineral oil
To prepare the banana polish, first peel the overripe banana and mash it thoroughly into a smooth paste. For leather, ensure no large chunks remain that could scratch the surface. For silver, you want an extremely smooth consistency that will spread evenly across the metal.
Apply the banana paste to your leather or silver using the soft clean cloth, working in small circular motions. Allow the paste to sit for 5-10 minutes, then wipe away with a separate clean cloth. For silver, you might want to add a small amount of white vinegar to the mashed banana to enhance tarnish removal.
When polishing, always test the banana mixture on a small, inconspicuous area first to ensure it doesn't discolor or damage the surface. Different leather and silver types may react differently, so proceed with caution and gentleness. Store any unused banana polish in a sealed container in the refrigerator and use within 24 hours for best results.
Houseplant Nutrient Boost
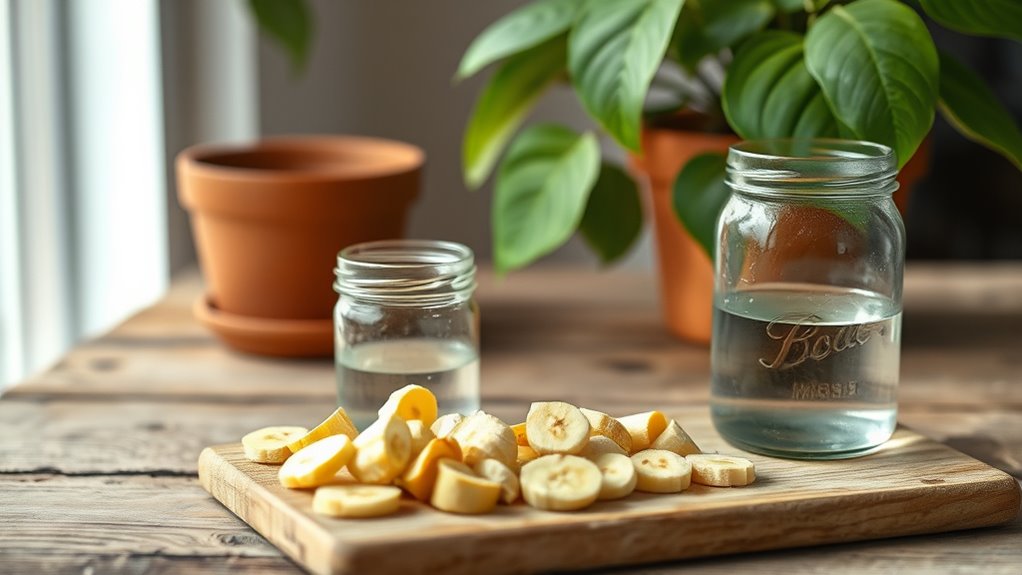
Banana peels are a hidden treasure for houseplants, packed with essential nutrients that can help boost plant growth and vitality. By using old bananas and their peels, gardeners can create a natural, cost-effective fertilizer that provides potassium, phosphorus, and other minerals directly to their indoor and outdoor plants.
This nutrient-rich banana fertilizer can be prepared in multiple ways, with a simple method involving steeping banana peels in water to create a nourishing plant tonic that supports healthy root development and overall plant strength.
Ingredients:
- 2-3 ripe or overripe banana peels
- 1 quart of water
- Large glass jar with lid
- Strainer
- Spray bottle or watering can
To create the banana peel fertilizer, start by chopping the banana peels into small pieces, which will help release nutrients more quickly during the steeping process. Place the chopped peels into the glass jar and cover completely with water, ensuring all pieces are submerged. Seal the jar and let it sit in a cool, dark place for 2-3 days, allowing the water to absorb the nutrients from the peels.
After steeping, strain the liquid through a fine-mesh strainer, removing all solid banana peel pieces. The resulting liquid can be diluted with additional water – typically a 1:4 ratio of banana water to regular water – to prevent overwhelming plant roots. Use this nutrient solution to water your houseplants, focusing on the soil around the base of the plant.
When using banana peel fertilizer, it's important to remember that moderation is key. While nutrient-rich, this solution should be used sparingly, approximately once every two weeks, and is best suited for plants that appreciate potassium, such as flowering and fruiting plants. Always test the solution on a small area first and observe your plants' response to ensure they tolerate the treatment well.
Emergency Shoe Polish
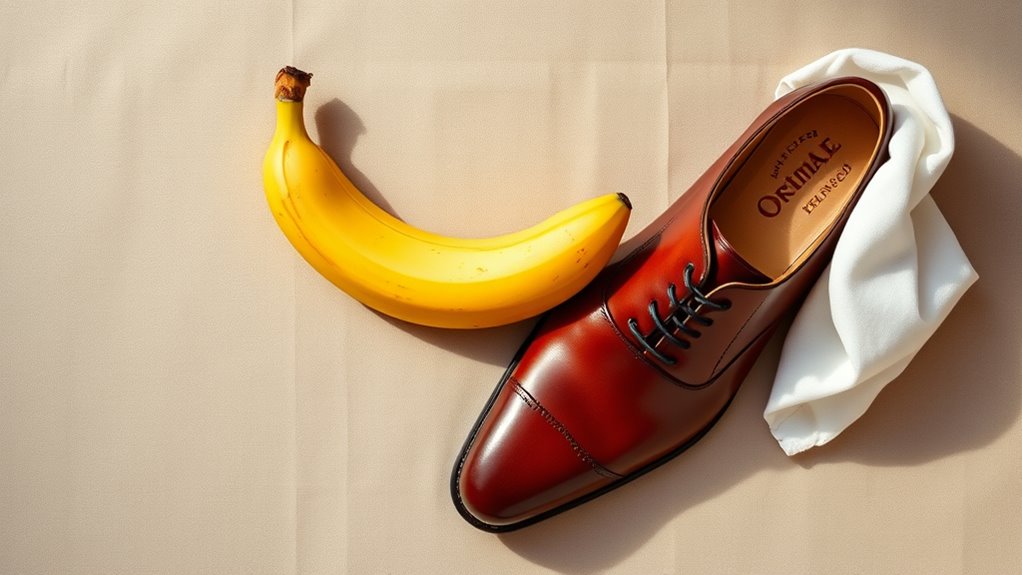
While bananas might seem like an unlikely candidate for shoe polish, their natural oils and soft texture make them surprisingly effective for bringing a shine to leather footwear. The potassium and natural moisturizing properties in ripe bananas can help condition and buff leather surfaces, making them look refreshed and polished.
This natural shoe polish method is especially useful for those seeking an eco-friendly, chemical-free alternative to traditional shoe care products. By using the inner part of a banana peel, you can easily restore the luster of leather shoes without spending money on commercial polishes.
Ingredients:
- 1 ripe banana
- Soft, clean cloth
- Leather shoes
- Optional: Soft buffing brush
To use a banana peel as shoe polish, first ensure the banana is ripe and soft, with a deep yellow or slightly brown skin. Carefully peel the banana, and use the inner side of the peel to gently rub the leather surface of your shoes in circular motions. The natural oils will begin to coat the leather, creating a thin, protective layer that adds shine and helps prevent cracking.
After applying the banana peel, use a clean, soft cloth to buff the shoes, removing any excess moisture and further polishing the surface. For an extra shine, you can use a soft brush to create additional luster and smooth out any remaining residue.
When using this method, remember that it works best on smooth leather surfaces and may not be as effective on suede or heavily textured materials. Always test a small, inconspicuous area first to ensure the banana doesn't leave any unwanted stains or discoloration on your shoes.
Natural Meat Tenderizer
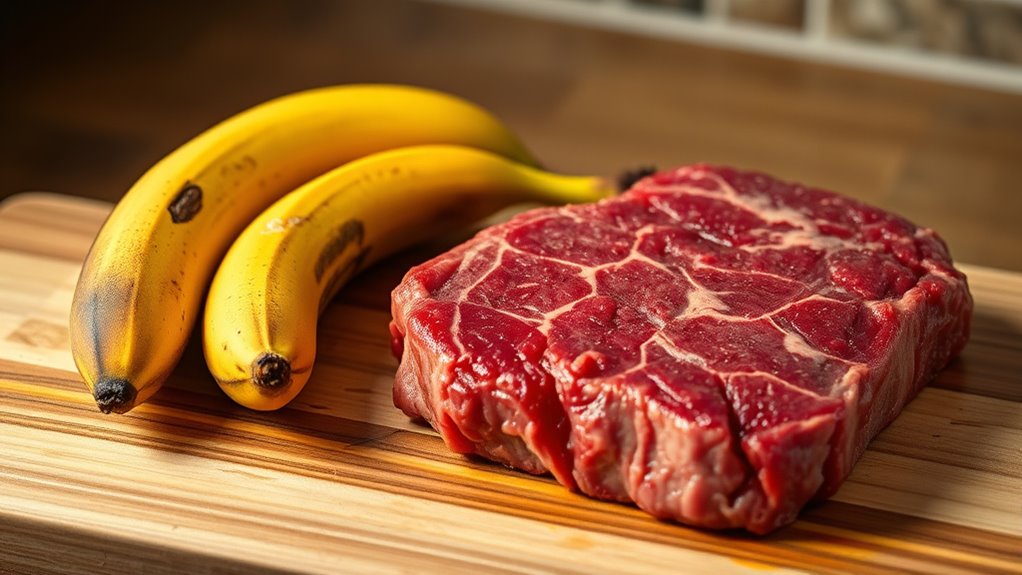
Bananas possess natural enzymes that can help break down tough muscle fibers in meat, making them an excellent and unexpected meat tenderizer. This natural method offers a healthier alternative to commercial meat tenderizing products, which often contain artificial chemicals and preservatives.
Unlike traditional tenderizing techniques that rely on mechanical processes or commercial marinades, using bananas as a tenderizer introduces a subtle sweetness while effectively softening protein structures. The potassium and enzymes in ripe bananas work to gently break down muscle connective tissues.
Ingredients:
- 1 very ripe banana
- 1 pound of meat (beef, chicken, or pork)
- 1 tablespoon olive oil
- Salt and pepper to taste
To use bananas as a meat tenderizer, first mash the ripe banana into a smooth paste. Spread the banana paste evenly over the surface of the meat, ensuring complete coverage. Let the meat sit with the banana marinade for 30-45 minutes at room temperature, allowing the enzymes to work their magic.
After marinating, gently wipe off excess banana with a paper towel before seasoning the meat with salt and pepper. Cook the meat using your preferred method, such as grilling, roasting, or pan-searing. The meat should now be noticeably more tender and have a subtle hint of sweetness.
When using this tenderizing method, choose extremely ripe bananas with significant brown spotting, as these have the most potent enzymatic activity. Always practice food safety by not leaving meat at room temperature for more than one hour and ensuring it reaches the appropriate internal cooking temperature.
Homemade Vinegar Production
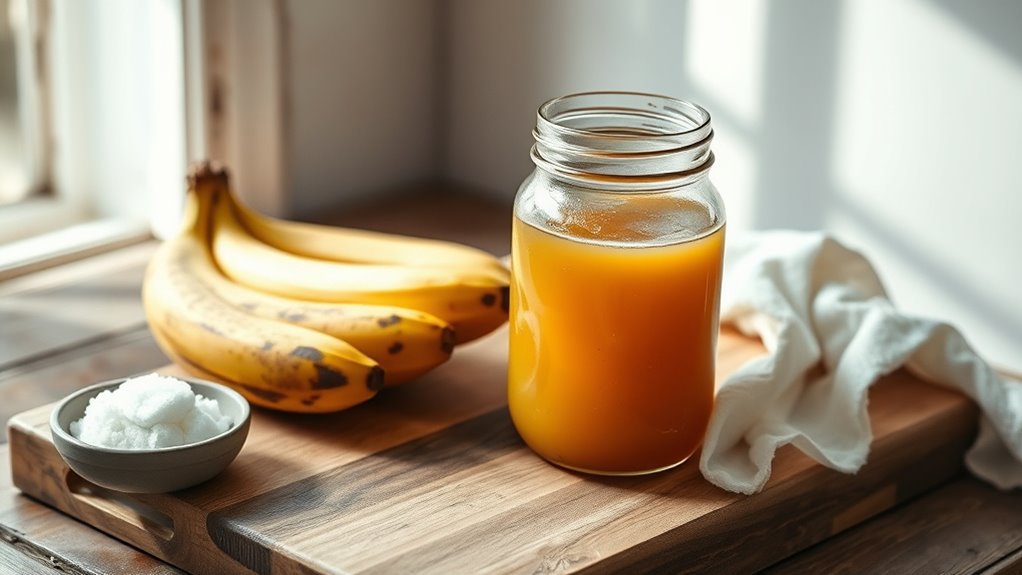
Banana vinegar is a unique and flavorful condiment that transforms overripe bananas into a tangy, versatile kitchen staple. This homemade vinegar not only reduces food waste but also provides a creative way to extend the life of bananas that are past their prime for eating fresh.
The process of making banana vinegar involves fermentation, which turns the natural sugars in bananas into a rich, acidic liquid that can be used in dressings, marinades, and cooking. While it requires patience, the result is a deeply satisfying homemade product with complex flavor notes.
Ingredients:
- 4-5 very ripe bananas
- 1/4 cup raw sugar
- 2 cups filtered water
- 1/4 cup unpasteurized apple cider vinegar with mother culture
- Clean glass jar
- Cheesecloth
- Rubber band
To begin the banana vinegar process, peel and mash the ripe bananas thoroughly in a clean glass jar. Add the raw sugar and water, stirring until the sugar dissolves completely. The mixture should have a smooth, consistent texture with no large banana chunks remaining.
Next, add the apple cider vinegar with mother culture, which will help kickstart the fermentation process. Cover the jar's opening with cheesecloth secured by a rubber band, allowing air circulation while preventing debris from entering. Store the jar in a dark, room-temperature location away from direct sunlight.
The fermentation will take approximately 2-4 weeks. During this time, stir the mixture every few days and watch for the development of a vinegar-like smell and slight bubbling. Once the liquid has reached your desired acidity, strain through a fine-mesh sieve and transfer to a clean bottle for storage.
When making banana vinegar, cleanliness is paramount to prevent unwanted bacterial growth. Always use sterilized equipment, and trust your senses – if the vinegar smells off or develops mold, discard the batch and start over. The final vinegar can be stored in the refrigerator for up to six months and will develop more complex flavors over time.
Hair Conditioning Treatment
Bananas aren't just a delicious snack, but also a fantastic natural ingredient for hair care. Their rich potassium, natural oils, and vitamins make them an excellent base for a deep conditioning treatment that can help repair damaged hair and add shine.
This homemade banana hair mask is particularly beneficial for those with dry, brittle, or chemically treated hair. By using overripe bananas, you can transform what might otherwise be food waste into a nourishing hair treatment that rivals expensive salon products.
Ingredients:
- 1-2 very ripe bananas
- 1 tablespoon honey
- 1 tablespoon coconut oil
- 1 egg yolk (optional)
Peel and mash the bananas thoroughly in a bowl until they create a smooth, lump-free paste. Add the honey and coconut oil, then mix completely. If using, whisk in the egg yolk for extra protein and strength. The goal is to create a consistent, creamy mixture that will spread easily through hair.
Apply the mask to damp hair, starting at the roots and working through to the ends. Ensure complete coverage, then wrap hair in a shower cap or warm towel. Allow the treatment to sit for 20-30 minutes to let the nutrients deeply penetrate the hair shaft. Rinse thoroughly with lukewarm water, followed by a gentle shampoo to remove any residue.
When preparing this treatment, always use bananas that are very ripe or slightly overripe, as they're softer and easier to mash. If you have particularly thick or long hair, you may need to use two bananas to ensure complete coverage. For best results, use this conditioning treatment once every two weeks to maintain hair health without overwhelming the hair follicles.