Coffee Brownie Cheesecake Recipe
Imagine hosting a dinner party where your friends can't stop raving about your homemade dessert. You've got a secret weapon: a coffee brownie cheesecake that'll transform an ordinary evening into a gourmet experience. This recipe isn't just another dessert—it's a culinary adventure that blends rich chocolate, smooth cream cheese, and robust coffee flavors into one show-stopping treat. Want to learn how to create a dessert that'll have everyone asking for seconds? Keep reading to unlock the ultimate coffee brownie cheesecake technique.
Recipe Highlights
- Combine a brownie base with a coffee-infused cheesecake filling using boxed brownie mix, cream cheese, sugar, eggs, and instant coffee powder.
- Bake the brownie layer first at 350°F for 20 minutes, then pour the coffee cheesecake mixture over the partially baked base.
- Ensure smooth texture by beating cream cheese until soft, incorporating ingredients gradually, and avoiding oven door openings during baking.
- Chill the completed dessert for at least 4 hours to develop rich flavors and achieve a firm, creamy consistency.
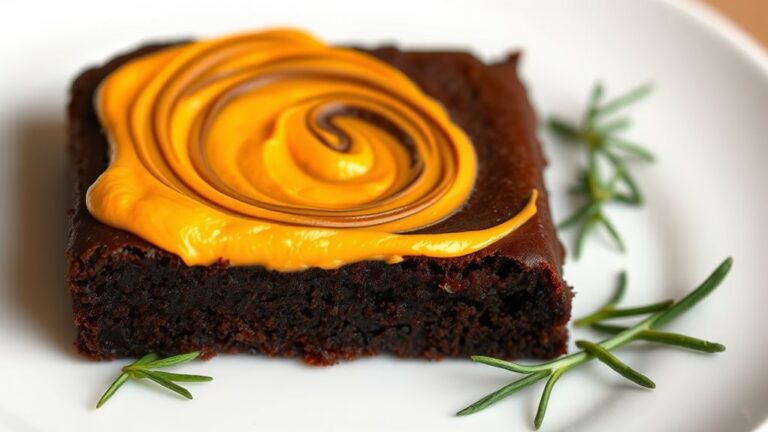
- Enhance presentation by garnishing with cocoa powder or chocolate shavings, and use a hot knife for clean, professional slicing.
History
Although the exact origins of combining coffee, brownies, and cheesecake are somewhat murky, the individual components of this decadent dessert have rich culinary histories.
Brownies emerged in the late 19th century, with the first published recipe appearing in the 1897 Sears, Roebuck catalog.
Cheesecake traces its roots back to ancient Greece, where it was served to athletes during the first Olympic Games.
Coffee's global journey began in Ethiopia, spreading through Arabia and eventually becoming a worldwide culinary staple.
Your modern Coffee Brownie Cheesecake represents a delicious fusion of these historical ingredients.
By blending the dense chocolate base, creamy cheese layer, and robust coffee flavor, you're creating a dessert that honors centuries of culinary innovation.
Each bite tells a story of cultural exchange and gastronomic creativity.
Recipe
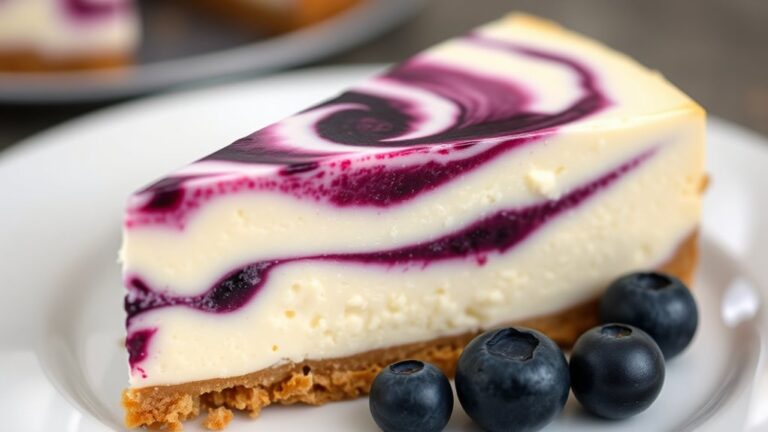
This Coffee Brownie Cheesecake is the ultimate indulgence for dessert lovers, combining the rich intensity of coffee, the dense chocolate of brownies, and the creamy smoothness of cheesecake. By layering these three classic desserts into one spectacular treat, home bakers can create a show-stopping dessert that looks and tastes professionally prepared.
The beauty of this recipe lies in its simplicity, requiring just a few ingredients to produce an incredibly complex and satisfying dessert. With minimal preparation and straightforward techniques, even novice bakers can successfully create this impressive cheesecake that's perfect for special occasions or weekend indulgences.
Ingredients:
- 1 box brownie mix
- 3 packages (8oz each) cream cheese
- 1 cup granulated sugar
- 3 large eggs
- 2 tablespoons instant coffee powder
Preheat the oven to 350°F and prepare the brownie mix according to package directions, pouring the batter into a 9-inch springform pan. Bake the brownie base for 20 minutes, then remove from the oven.
While the brownie layer is partially baking, beat the softened cream cheese until smooth and creamy. Add granulated sugar to the cream cheese and continue beating until well combined. Dissolve the instant coffee powder in 1 tablespoon of hot water, then incorporate it into the cream cheese mixture.
Add the eggs and beat until the mixture is smooth and fully integrated. Pour the coffee cheesecake batter over the partially baked brownie layer, ensuring an even distribution. Return the pan to the oven and bake for an additional 45-50 minutes, or until the center is almost set but still slightly jiggly.
Once baking is complete, remove from the oven and allow to cool completely at room temperature before transferring to the refrigerator to chill for at least 4 hours.
For the most successful Coffee Brownie Cheesecake, bring all refrigerated ingredients to room temperature before beginning, which helps create a smoother, more consistent batter. To prevent surface cracking, avoid opening the oven door during baking and run a knife around the cheesecake's edge immediately after removing it from the oven.
This dessert can be prepared up to three days in advance and stored covered in the refrigerator, making it an excellent make-ahead dessert for entertaining.
Cooking Steps
Ready to transform your kitchen into a dessert paradise?
You'll start by preheating your oven to 350°F and carefully preparing your springform pan for the brownie base.
From there, you'll follow a precise sequence of steps: mixing the brownie layer, crafting the creamy coffee-infused cheesecake mixture, and baking this decadent dessert to perfection.
Step 1. Preheat Oven, Prepare Pan
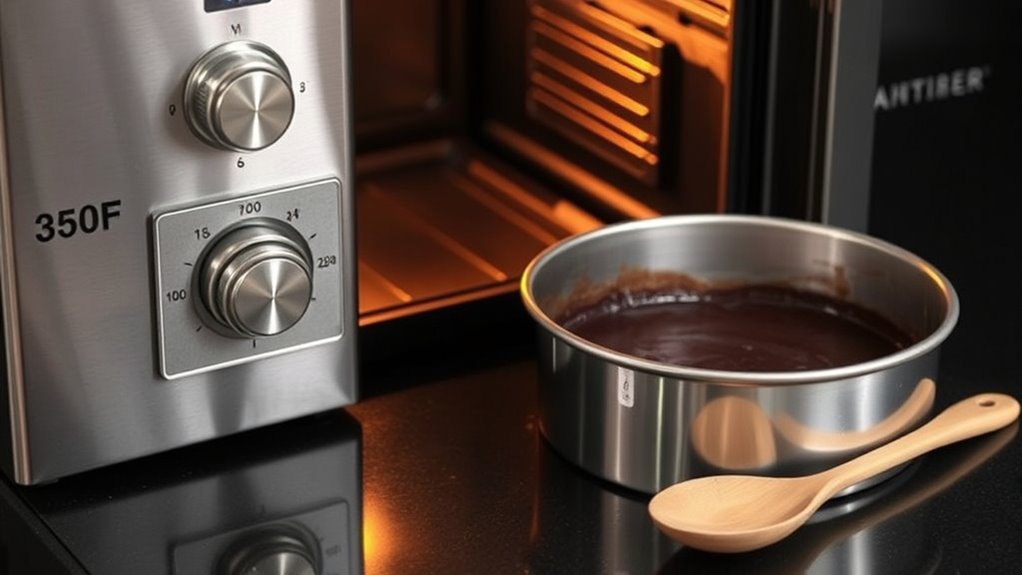
One essential first step in crafting your Coffee Brownie Cheesecake is preheating your oven and preparing the pan with precision. Set your oven to 350°F (175°C), ensuring an accurate temperature for perfect baking results.
For the springform pan:
- Lightly grease the bottom and sides
- Cut a circular parchment paper to fit the pan's base
- Press the parchment smoothly against the pan's interior
- Optional: Wrap the exterior with aluminum foil to prevent potential leaks
When greasing, use a pastry brush or paper towel to distribute butter or cooking spray evenly. The parchment paper creates an easy release mechanism, preventing the delicate brownie base from sticking.
Positioning the rack in the center of the oven ensures consistent heat distribution, crucial for achieving that flawless cheesecake texture.
Step 2. Prepare Brownie Mix Layer
Dive into creating the brownie foundation by preparing your boxed mix with precision and care.
Select a 9-inch springform pan, then thoroughly grease its interior to prevent sticking. Carefully follow the box mix instructions, measuring ingredients exactly: water, oil, and eggs should be added in the specified proportions.
Whisk the batter until smooth, avoiding overmixing, which can create a tough texture.
Prep steps:
- Preheat oven to 350°F
- Combine brownie mix ingredients
- Whisk until just combined
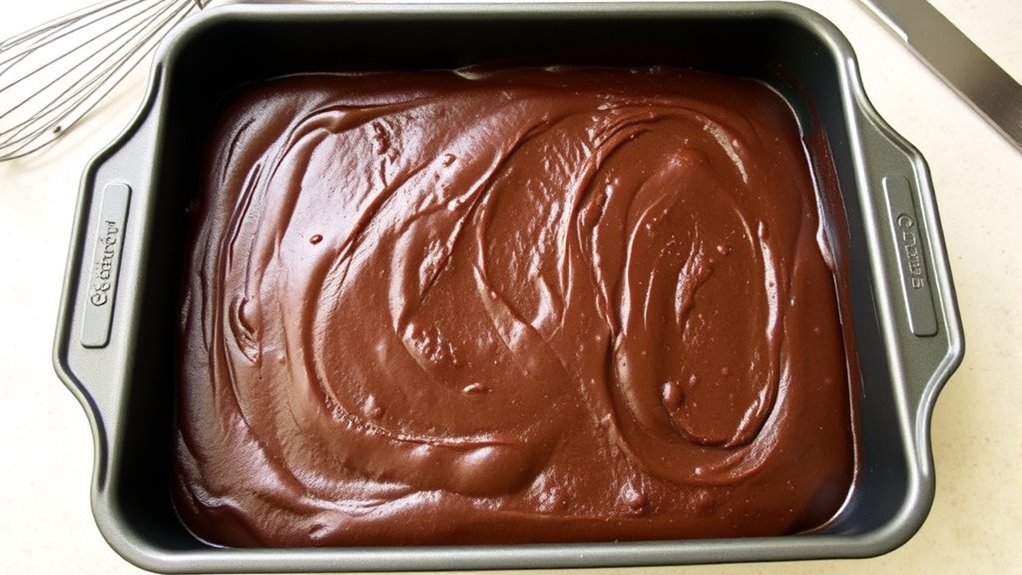
- Pour batter evenly into prepared pan
Spread the mixture carefully, ensuring an even layer that reaches all pan edges. Use a spatula to create a level surface, which provides a stable base for the upcoming cheesecake layer.
Bake for precisely 20 minutes, creating a partially set foundation that'll support the creamy topping.
Step 3. Beat Cream Cheese Mixture
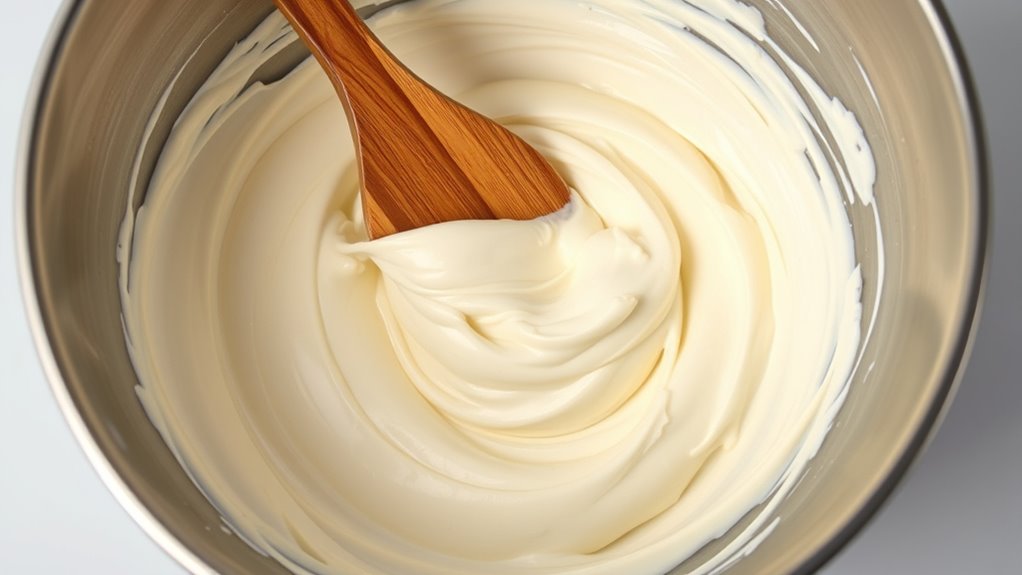
Unleash the creamy potential of your cream cheese by ensuring it's softened to room temperature before beating. Use an electric mixer on medium speed, transforming the cold blocks into a smooth, velvety base:
- Start with 3 packages (8 oz each) of cream cheese
- Beat until no lumps remain, approximately 2-3 minutes
- Gradually add 1 cup granulated sugar
- Mix until the sugar dissolves and the mixture becomes light and fluffy
Dissolve 2 tablespoons of instant coffee powder in 1 tablespoon hot water, creating a concentrated coffee essence. Add this to your cream cheese mixture, stirring carefully.
Incorporate 3 large eggs one at a time, beating after each addition. Stop mixing the moment eggs are fully integrated to prevent over-beating, which can cause a dense, tough cheesecake texture.
Your mixture should look silky and uniform, ready to pour over the partially baked brownie layer.
Step 4. Pour Cheesecake Mixture Evenly
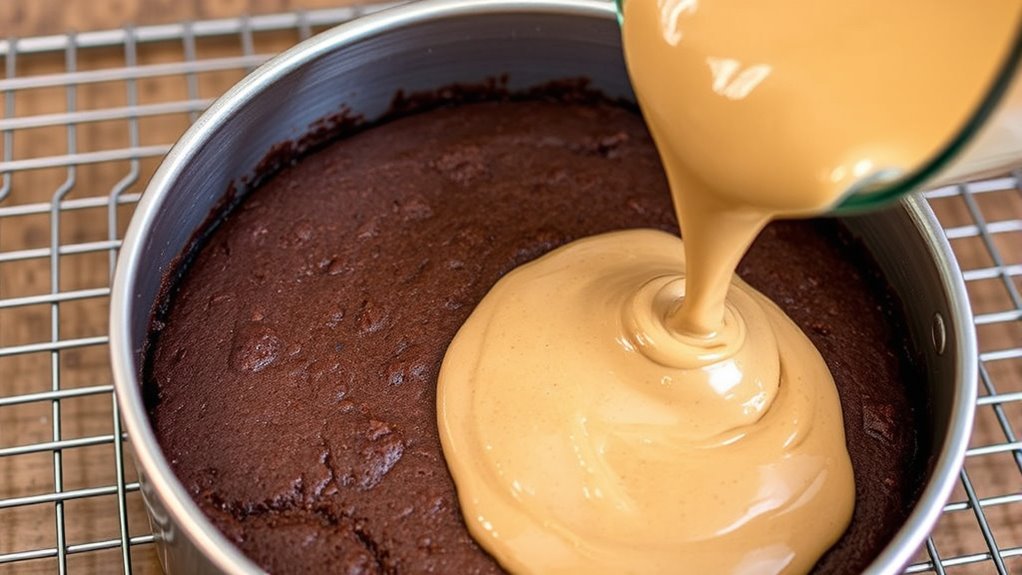
Carefully transfer your silky coffee-infused cheesecake mixture to the partially baked brownie base, ensuring an even distribution that promises a harmonious blend of flavors and textures.
Use a rubber spatula to gently spread the mixture, starting from the center and working outwards in smooth, deliberate strokes.
Key pouring techniques:
- Hold the springform pan steady
- Pour mixture slowly and consistently
- Tilt pan slightly to help distribute evenly
- Tap pan gently on counter to release air bubbles
Watch for these visual cues:
- Mixture should cover brownie layer completely
- Surface should appear smooth and level
- No significant pooling at edges
- Consistent depth across entire pan surface
Ensure the cheesecake layer reaches within 1/4 inch of pan rim, creating a perfect balance between brownie and cheesecake components.
Step 5. Chill Before Serving Thoroughly
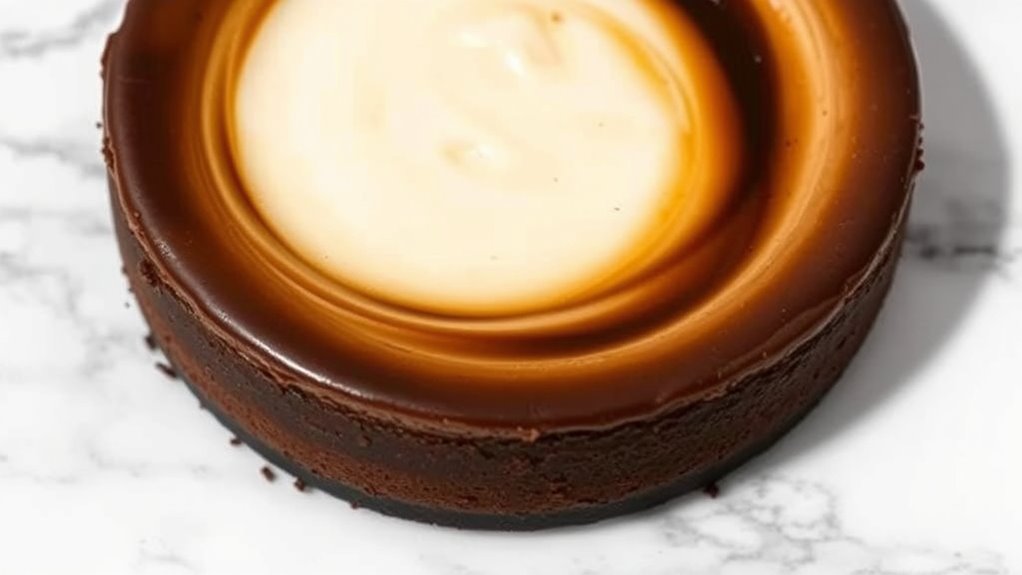
After smoothly spreading your coffee-infused cheesecake mixture across brownie base, you'll want to master the final and most critical step: proper chilling.
Refrigerate the cheesecake for at least 4 hours, preferably overnight, to achieve the perfect texture and allow flavors to meld completely. Key chilling tips include:
- Cover the springform pan with plastic wrap
- Place in the coldest part of your refrigerator
- Avoid placing near strong-smelling foods
- Let cheesecake sit undisturbed during chilling
When ready to serve, run a knife around the pan's edge to release sides smoothly. Remove springform sides carefully, revealing your beautifully layered dessert.
The extended chilling time transforms your coffee brownie cheesecake from a good dessert to an exceptional culinary experience, ensuring a firm, creamy consistency that'll impress even discerning guests.
Final Thoughts
When you're ready to impress your friends and family with a show-stopping dessert, this Coffee Brownie Cheesecake delivers on both taste and presentation. The layered complexity might seem intimidating, but the recipe's simplicity ensures even novice bakers can create a professional-looking treat. Key success tips include maintaining precise ingredient temperatures, avoiding oven door openings during baking, and allowing sufficient cooling time.
Your final presentation depends on careful execution. Refrigerate the cheesecake for at least 4 hours to achieve optimal texture and flavor melding. Use a sharp knife dipped in hot water for clean slicing, and consider garnishing with cocoa powder or chocolate shavings for added visual appeal. Remember, patience transforms this dessert from good to extraordinary.