12 Easy 3-Ingredient Quick Dessert Recipes
You'll be amazed at how these 3-ingredient desserts can transform your kitchen into a sweet-treat haven. Whether you're craving creamy no-churn ice cream or decadent Nutella brownies, these recipes require minimal effort but deliver maximum satisfaction. From classic peanut butter cookies to sophisticated dark chocolate mousse, each recipe proves that you don't need a pantry full of ingredients to create impressive desserts. Let's explore these simple yet indulgent treats that'll have your friends asking for the recipe.
No-Churn Vanilla Ice Cream

No-churn vanilla ice cream offers a delightfully simple way to create homemade ice cream without specialized equipment. This method produces a rich, creamy dessert that rivals traditional churned ice cream, using just three basic ingredients that most people already have in their kitchen.
The secret to this no-churn method lies in the combination of whipped cream and sweetened condensed milk. When these ingredients are combined with pure vanilla extract, they create a luxurious base that freezes into a perfectly scoopable ice cream with a smooth, velvety texture.
- 2 cups heavy whipping cream, cold
- 1 (14 oz) can sweetened condensed milk
- 2 teaspoons pure vanilla extract
In a large bowl, whip the heavy cream until stiff peaks form, typically taking about 3-4 minutes with an electric mixer. In a separate bowl, combine the sweetened condensed milk and vanilla extract, stirring until well mixed. Gently fold the whipped cream into the sweetened condensed milk mixture, taking care not to deflate the whipped cream too much. Continue folding until no streaks remain and the mixture is uniform.
Transfer the mixture to a freezer-safe container, smoothing the top with a spatula. Cover the container with plastic wrap, pressing it directly onto the surface of the ice cream mixture to prevent ice crystals from forming. Place in the freezer for at least 6 hours or overnight until firm.
For best results, store the ice cream in a container with a tight-fitting lid and remove it from the freezer about 5 minutes before serving to achieve the perfect scooping consistency. The ice cream will keep well in the freezer for up to 2 weeks, though the texture is best within the first week. If adding mix-ins like chocolate chips or fruit, fold them in gently just before transferring to the freezer container.
Nutella Brownie Bites
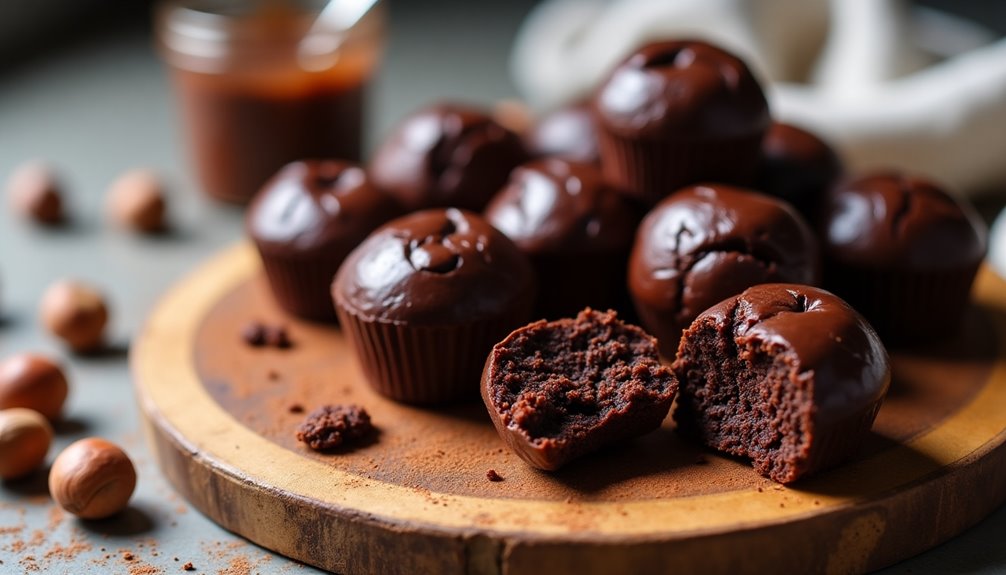
Nutella Brownie Bites are a decadent and surprisingly simple dessert that transforms three basic ingredients into rich, fudgy treats. These bite-sized delights capture the essence of traditional brownies while highlighting the distinctive hazelnut-chocolate flavor of Nutella.
Perfect for last-minute entertaining or satisfying sudden chocolate cravings, these brownie bites require minimal preparation and baking time. The resulting texture is a beautiful balance between cake-like exterior and gooey interior, making them an irresistible addition to any dessert table.
- 1 cup Nutella
- 2 large eggs
- ½ cup all-purpose flour
Preheat the oven to 350°F (175°C) and grease a 24-cup mini muffin tin. In a medium bowl, mix Nutella and eggs until thoroughly combined and smooth. Add flour and stir until just incorporated, being careful not to overmix. The batter will be thick and glossy.
Divide the batter evenly among the prepared mini muffin cups, filling each about ⅔ full. Bake for 12-15 minutes, or until a toothpick inserted into the center comes out with a few moist crumbs. Let cool in the pan for 5 minutes before carefully removing to a wire rack to cool completely.
For best results, allow the Nutella to come to room temperature before mixing, as this will make it easier to incorporate with the other ingredients. Store brownie bites in an airtight container at room temperature for up to 3 days, or freeze for up to 2 months. If desired, dust with powdered sugar before serving or top with a small dollop of additional Nutella while still warm.
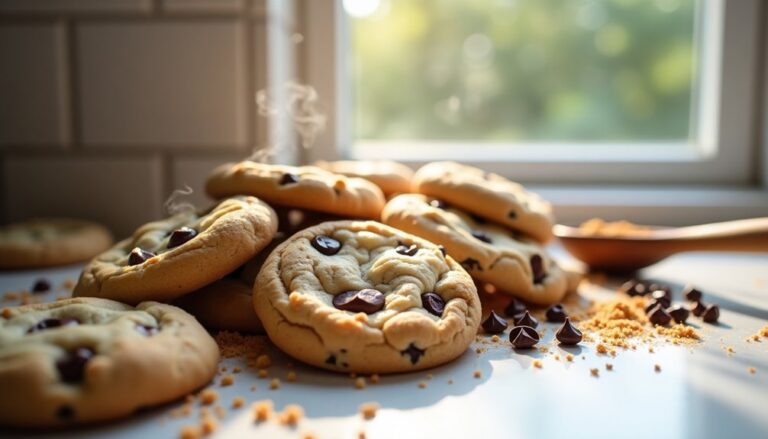
Peanut Butter Cookies
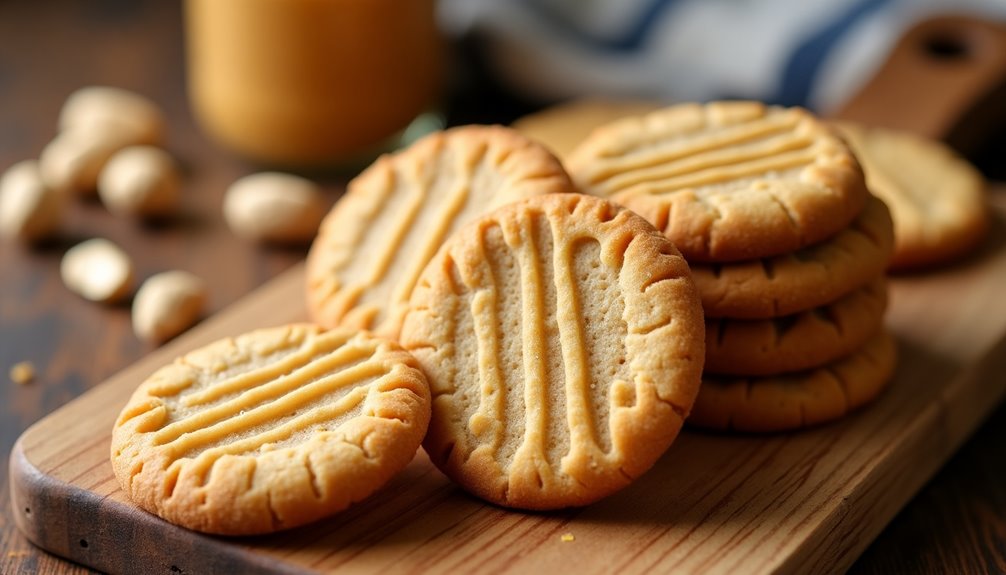
Peanut butter cookies are a classic treat that brings back childhood memories for many. Their distinctive crisscross pattern and rich, nutty flavor make them instantly recognizable and utterly irresistible.
With just three ingredients, these cookies are proof that simplicity can yield incredible results. They're perfect for last-minute baking sessions, unexpected guests, or when you need a quick sweet fix without a trip to the grocery store.
Ingredients:
- 1 cup peanut butter (smooth or chunky)
- 1 cup granulated sugar
- 1 large egg
Mix the peanut butter, sugar, and egg in a medium bowl until thoroughly combined. The mixture will be slightly sticky but should hold together well. Roll the dough into 1-inch balls and place them on an ungreased baking sheet, leaving about 2 inches of space between each cookie. Using a fork, create the classic crisscross pattern by pressing down on each ball twice in perpendicular directions, flattening them slightly.
Bake in a preheated 350°F (175°C) oven for 10-12 minutes or until the edges are lightly golden. Let the cookies cool on the baking sheet for 5 minutes before transferring them to a wire rack to cool completely.
For best results, use regular peanut butter rather than natural or organic varieties, as the stabilizers in regular peanut butter help maintain the cookie's structure. Store cookies in an airtight container at room temperature for up to 5 days, though they rarely last that long. If the dough becomes too soft while working with it, refrigerate for 15-20 minutes before continuing.
Oreo Truffles
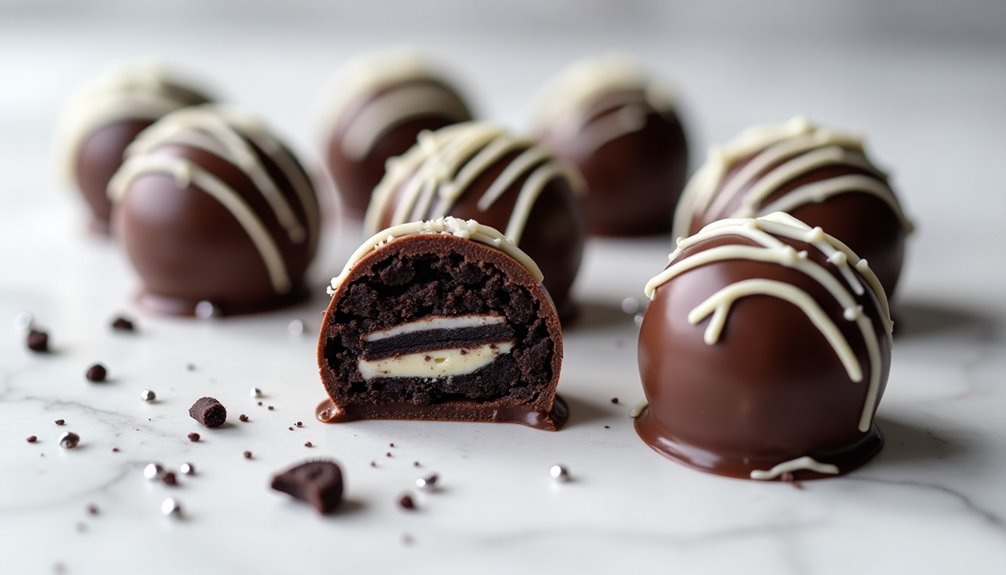
Oreo truffles are a delightfully simple yet elegant dessert that transforms ordinary cookies into luxurious bite-sized treats. These no-bake confections combine the beloved taste of Oreo cookies with rich cream cheese, all enrobed in a smooth chocolate coating.
Perfect for parties, gifting, or satisfying sweet cravings, these truffles require minimal effort but deliver maximum impact. Their versatility allows for endless decoration possibilities, from simple chocolate drizzles to elaborate sprinkle combinations, making them suitable for any occasion.
Ingredients:
- 36 Oreo cookies (1 standard package)
- 8 oz cream cheese, softened
- 16 oz chocolate melting wafers (dark, milk, or white)
- Optional: sprinkles for decoration
Using a food processor, crush the Oreos into fine crumbs. Mix the cookie crumbs thoroughly with softened cream cheese until well combined and no white streaks remain. Roll the mixture into 1-inch balls and place them on a parchment-lined baking sheet. Freeze the balls for 15-20 minutes until firm.
Melt the chocolate wafers according to package instructions, being careful not to overheat. Using two forks, dip each chilled truffle ball into the melted chocolate, ensuring complete coverage. Tap off excess chocolate and place back on the parchment paper. Add any desired decorations before the chocolate sets. Allow truffles to set completely at room temperature or refrigerate for faster results.
For best results, keep the truffle centers cold while dipping, working with small batches at a time. If the chocolate begins to thicken, briefly reheat it. Store finished truffles in an airtight container in the refrigerator for up to two weeks, though they're best consumed within the first week for optimal texture and taste.
Dark Chocolate Mousse
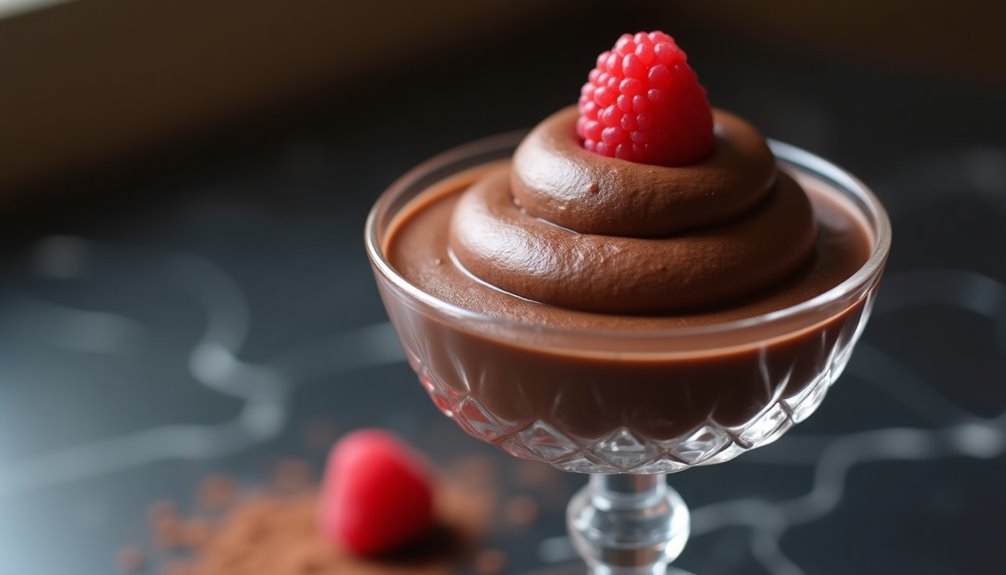
Dark chocolate mousse is a decadent dessert that transforms simple ingredients into an elegant treat. The silky texture and rich flavor make it a perfect ending to any meal, while its simplicity allows even novice cooks to create a restaurant-quality dessert.
This three-ingredient version strips the classic French dessert down to its essential elements, letting the dark chocolate take center stage. The result is a pure chocolate experience that's both sophisticated and straightforward to prepare.
Ingredients:
- 8 ounces high-quality dark chocolate (70% cocoa content)
- 4 large eggs, separated
- 1 cup heavy whipping cream
Break the chocolate into small pieces and melt it using a double boiler over low heat, stirring occasionally until smooth. Once melted, remove from heat and let it cool slightly.
Meanwhile, whip the heavy cream until stiff peaks form and set aside. In a separate bowl, beat the egg whites until they form stiff peaks. When the chocolate has cooled to room temperature, gently fold in the whipped cream until mostly combined, then fold in the egg whites until the mixture is uniform in color with no white streaks.
Divide the mixture among serving glasses or ramekins and refrigerate for at least 4 hours or overnight. The mousse will set and develop a perfectly smooth, airy texture.
Important: Use fresh, high-quality eggs as this recipe contains raw egg whites. For food safety, pasteurized eggs are recommended. The chocolate should be cooled but still fluid when combining with other ingredients – if too hot, it will deflate the whipped components; if too cool, it will create chocolate chunks in the mousse. Store the mousse in the refrigerator for up to 2 days.
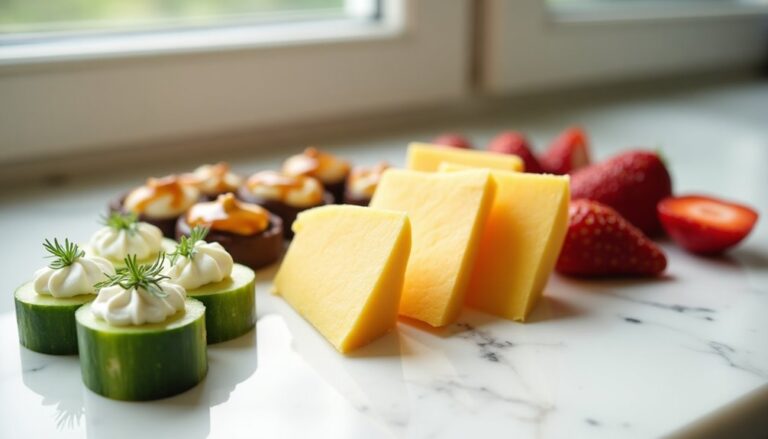
Fruit and Yogurt Bark
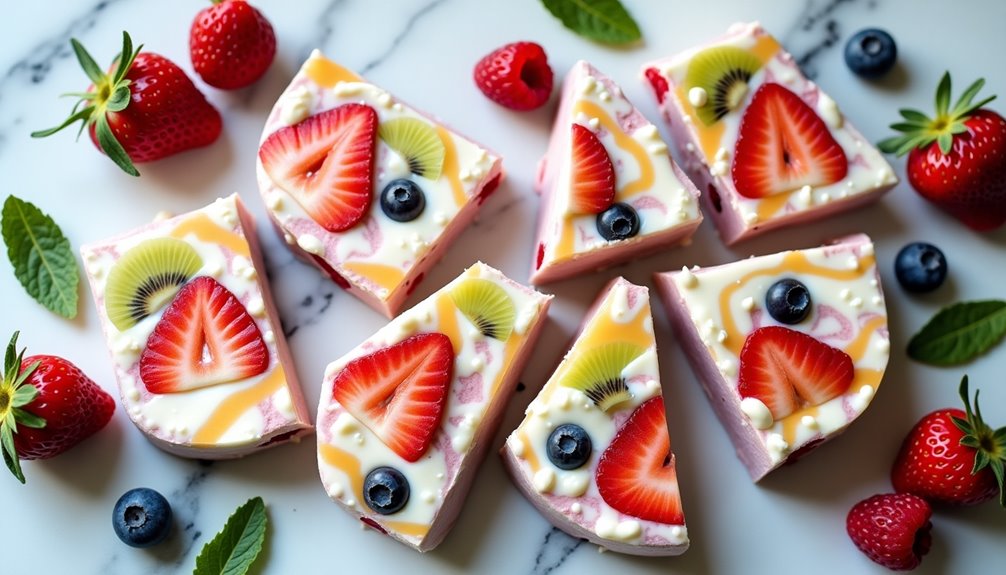
Fruit and yogurt bark is a refreshing frozen treat that combines the creamy texture of yogurt with the natural sweetness of fresh fruits. This simple dessert requires minimal preparation and creates a beautiful, Instagram-worthy presentation that will impress family and friends.
Perfect for hot summer days or as a healthy snack alternative, this bark can be customized with your favorite fruits and yogurt varieties. The frozen yogurt base creates a satisfying crunch while the embedded fruits provide bursts of natural flavor in every bite.
Ingredients:
- 3 cups Greek yogurt (plain or vanilla)
- 2 cups mixed fresh fruits (berries, kiwi, peaches)
- 2 tablespoons honey
Spread the Greek yogurt in an even layer on a parchment-lined baking sheet, ensuring it's about 1/4 inch thick throughout. Drizzle honey over the yogurt and gently swirl it in with a spoon. Arrange the chopped fresh fruits across the yogurt surface, pressing them slightly into the yogurt. Place the baking sheet in the freezer for at least 4 hours or overnight until completely frozen.
Once frozen, remove the bark from the freezer and let it sit at room temperature for 5 minutes. Using your hands or a knife, break or cut the bark into irregular pieces. Store the pieces in an airtight container in the freezer with parchment paper between layers to prevent sticking.
For best results, choose fruits that freeze well and aren't too watery. Berries work exceptionally well, while fruits like oranges or melons may become too icy. Consider using full-fat Greek yogurt for a creamier texture, and ensure all fruits are thoroughly dried after washing to prevent ice crystals from forming.
Rice Krispy Treats
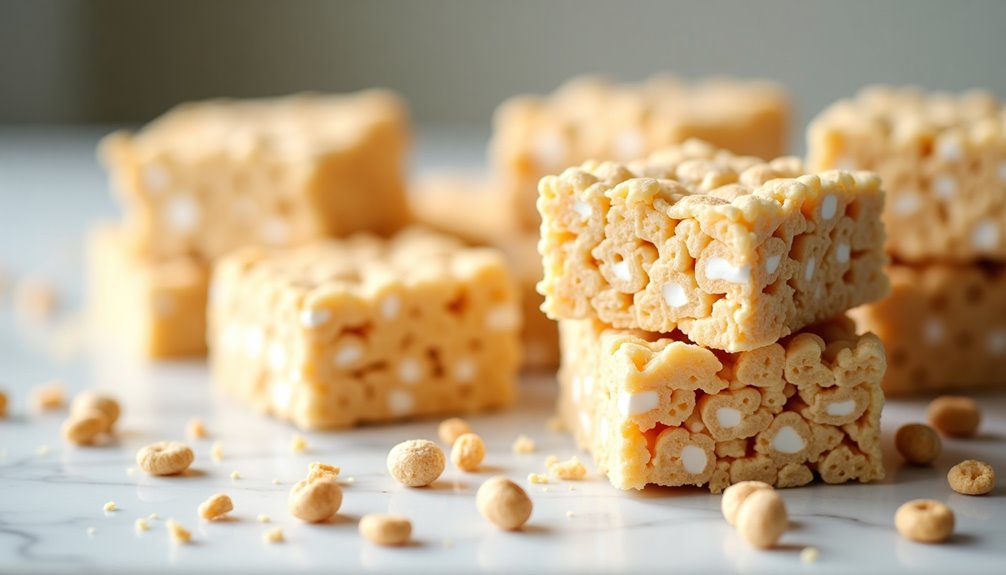
Rice Krispy Treats are a beloved classic that combines the satisfying crunch of rice cereal with gooey marshmallows. This no-bake dessert has been a staple at bake sales, children's parties, and family gatherings for generations, offering a perfect balance of sweetness and texture.
The beauty of Rice Krispy Treats lies in their simplicity – requiring just three ingredients and minimal preparation time. While the original recipe hasn't changed much since its creation in the 1930s, it remains a foolproof dessert that even novice cooks can master with consistently delicious results.
Ingredients:
- 6 cups Rice Krispies cereal
- 4 tablespoons butter
- 1 (10 oz) package marshmallows
In a large pot or Dutch oven, melt the butter over low heat until completely liquid. Add the marshmallows and stir continuously until they're fully melted and combined with the butter, creating a smooth mixture. Remove from heat and quickly stir in the Rice Krispies cereal, ensuring all pieces are evenly coated with the marshmallow mixture.
Transfer the mixture to a 9×13 inch baking pan that has been greased with butter or lined with parchment paper. Using a buttered spatula or wax paper, press the mixture firmly and evenly into the pan. Allow to cool at room temperature for about 30 minutes until completely set.
Important tip: When pressing the mixture into the pan, avoid compressing it too firmly as this can make the treats hard and dense rather than light and crispy. Additionally, if you find the mixture sticking to your tools while working with it, lightly coating them with butter will make the process much easier and neater.
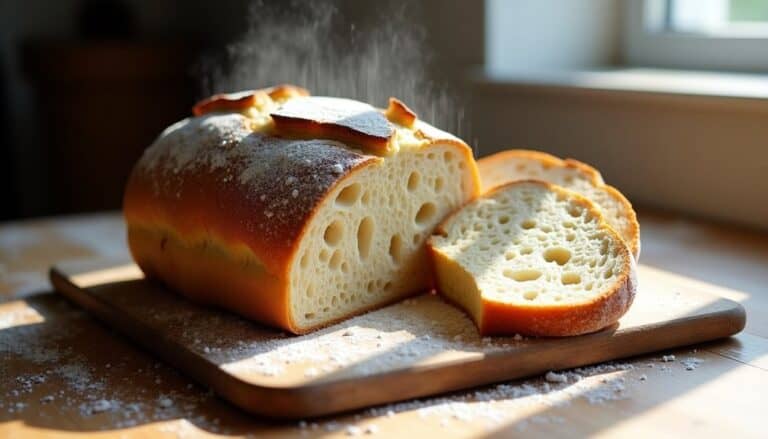
Shortbread Cookies

Traditional shortbread cookies have been a beloved Scottish treat for centuries, cherished for their buttery, crumbly texture and delicate sweetness. These simple yet elegant cookies require just three basic ingredients, making them the perfect choice for both novice bakers and those seeking a quick, satisfying dessert.
The key to perfect shortbread lies in the quality of butter used and the careful handling of the dough. While many modern variations exist, the classic recipe maintains its timeless appeal through its simplicity, allowing the pure, rich flavor of butter to shine through.
Ingredients:
- 2 cups all-purpose flour
- 1 cup unsalted butter, softened
- 1/2 cup powdered sugar
Preheat your oven to 350°F (175°C). In a large bowl, cream the softened butter until smooth and gradually mix in the powdered sugar until well combined. Slowly incorporate the flour, mixing until the dough comes together and forms a ball. Be careful not to overmix, as this can lead to tough cookies.
Turn the dough onto a lightly floured surface and gently roll it to about 1/4 inch thickness. Cut into desired shapes or traditional fingers, place on an ungreased baking sheet, and prick the surface with a fork. Bake for 18-20 minutes, or until the edges are just barely starting to turn golden brown. Allow to cool completely on the baking sheet before moving to a wire rack.
For best results, ensure all ingredients are at room temperature before beginning, and avoid handling the dough too much as the heat from your hands can melt the butter. Store cooled cookies in an airtight container for up to one week, or freeze for up to three months. For added variety, consider adding vanilla extract or rolling the edges in sugar before baking, though traditionalists prefer the pure, simple flavor of the classic recipe.
Chocolate-Dipped Bananas
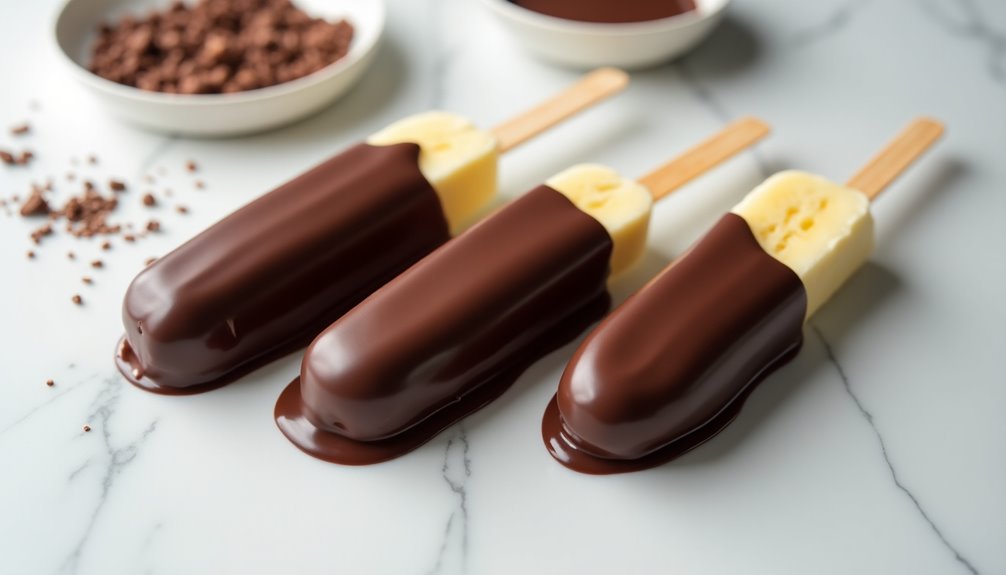
Chocolate-dipped bananas are a delightful treat that combines the natural sweetness of fruit with rich, decadent chocolate. This simple yet satisfying dessert requires minimal preparation and delivers maximum flavor, making it perfect for both casual snacking and elegant entertaining.
Whether served as a healthier alternative to traditional desserts or as a fun activity with children, these frozen treats offer a wonderful balance of textures – from the smooth, cool banana interior to the crisp chocolate coating. The best part is that they can be customized with various toppings to suit any taste preference.
Ingredients:
- 4 ripe but firm bananas
- 12 ounces semi-sweet chocolate chips
- 2 tablespoons coconut oil
Cut bananas in half and insert popsicle sticks into the cut ends. Place them on a baking sheet lined with parchment paper and freeze for at least 2 hours or until completely firm. Meanwhile, combine chocolate chips and coconut oil in a microwave-safe bowl. Microwave in 30-second intervals, stirring between each interval, until completely melted and smooth.
Remove bananas from the freezer and dip each one in the melted chocolate mixture, using a spoon to help coat evenly if needed. Place the dipped bananas back on the parchment-lined baking sheet. Return to the freezer for about 15 minutes or until the chocolate has completely hardened.
For best results, choose bananas that are ripe but not overly soft, as they'll hold their shape better when frozen. The coconut oil helps create a smoother chocolate coating that won't crack when bitten into, and it gives the chocolate a beautiful shine. Store the finished bananas in an airtight container in the freezer for up to one week, though they're best enjoyed within the first few days.
Fruit Cobbler
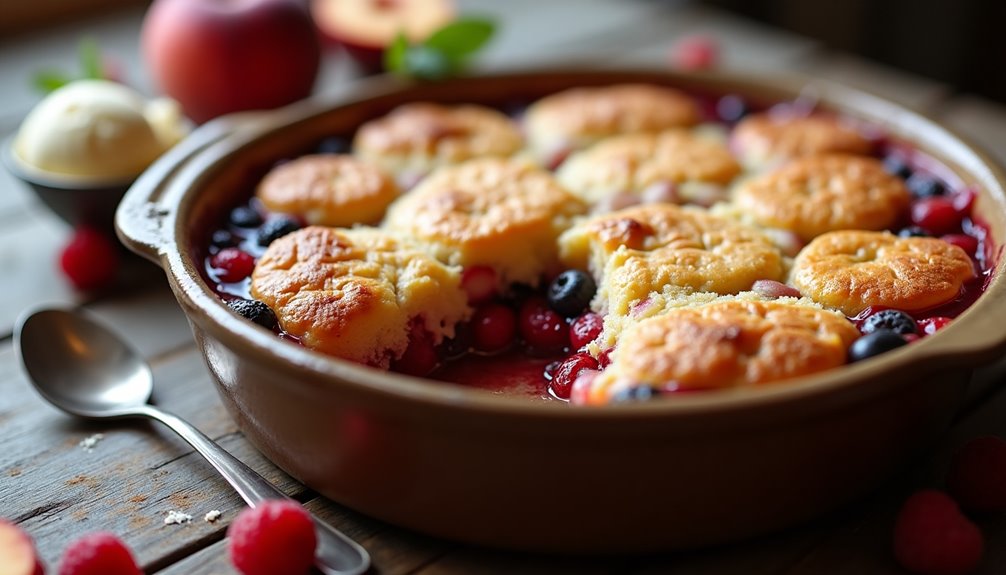
This simple fruit cobbler recipe transforms just three basic ingredients into a warm, comforting dessert that tastes like it came straight from grandma's kitchen. The beauty of this recipe lies in its versatility, as it works wonderfully with any type of canned or fresh fruit you have on hand.
The magic happens when the self-rising flour combines with melted butter and sugar, creating a golden-brown crust that perfectly complements the sweet, bubbling fruit beneath. As it bakes, the cobbler develops a crispy top layer while maintaining a soft, cake-like interior that soaks up all the delicious fruit juices.
Ingredients:
- 2 cups self-rising flour
- 2 cups sugar
- 4 cups of fruit (fresh or canned)
Pour the fruit into a greased 9×13 inch baking dish, spreading it evenly across the bottom. In a mixing bowl, combine the self-rising flour and sugar until well mixed. Sprinkle the flour mixture evenly over the fruit, ensuring complete coverage. The moisture from the fruit will seep into the flour mixture during baking, creating the perfect cobbler texture.
Bake at 375°F (190°C) for 45-50 minutes until the top is golden brown and the fruit is bubbling around the edges. Let the cobbler cool for 15-20 minutes before serving to allow the fruit filling to set slightly.
For best results, choose fruits that have some natural acidity to balance the sweetness, such as peaches, berries, or cherries. If using canned fruit, drain about half the liquid to prevent the cobbler from becoming too soupy, but leave some syrup to help create the right consistency. The cobbler can be stored at room temperature for up to 2 days, though it's best served warm with a scoop of vanilla ice cream.
Microwave Fudge
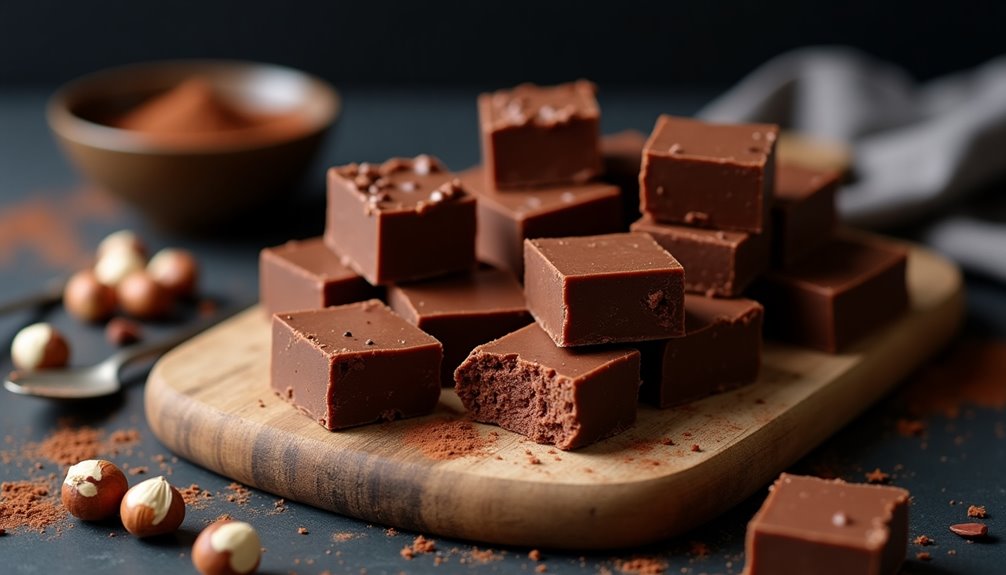
Microwave fudge is one of the simplest and most satisfying desserts you can make with minimal ingredients and effort. This quick recipe produces rich, creamy fudge in just minutes, making it perfect for last-minute gatherings or when you need to satisfy a sudden chocolate craving.
Traditional fudge requires careful temperature monitoring and extended stirring, but this microwave version eliminates those complexities while delivering equally delicious results. The secret lies in using condensed milk, which provides the perfect consistency and sweetness without the need for candy thermometers or complicated techniques.
Ingredients:
- 3 cups semi-sweet chocolate chips
- 1 (14 oz) can sweetened condensed milk
- 4 tablespoons butter
Place chocolate chips, sweetened condensed milk, and butter in a large microwave-safe bowl. Microwave in 30-second intervals, stirring thoroughly between each interval, until the mixture is completely melted and smooth. This typically takes 2-3 minutes total, depending on your microwave's power. Be careful not to overheat, as this can cause the chocolate to seize.
Line an 8×8 inch pan with parchment paper or aluminum foil, leaving some overhang for easy removal. Pour the melted mixture into the prepared pan, spreading it evenly with a spatula. Refrigerate for at least 2 hours or until firm. Once set, lift the fudge out using the paper overhang and cut into squares.
For best results, store the fudge in an airtight container in the refrigerator for up to two weeks. Allow it to come to room temperature before serving for the best texture. If the mixture becomes too thick while working with it, microwave for an additional 10-15 seconds and stir again. You can also add nuts, marshmallows, or other mix-ins just before pouring into the pan for variety.
Whipped Hot Chocolate
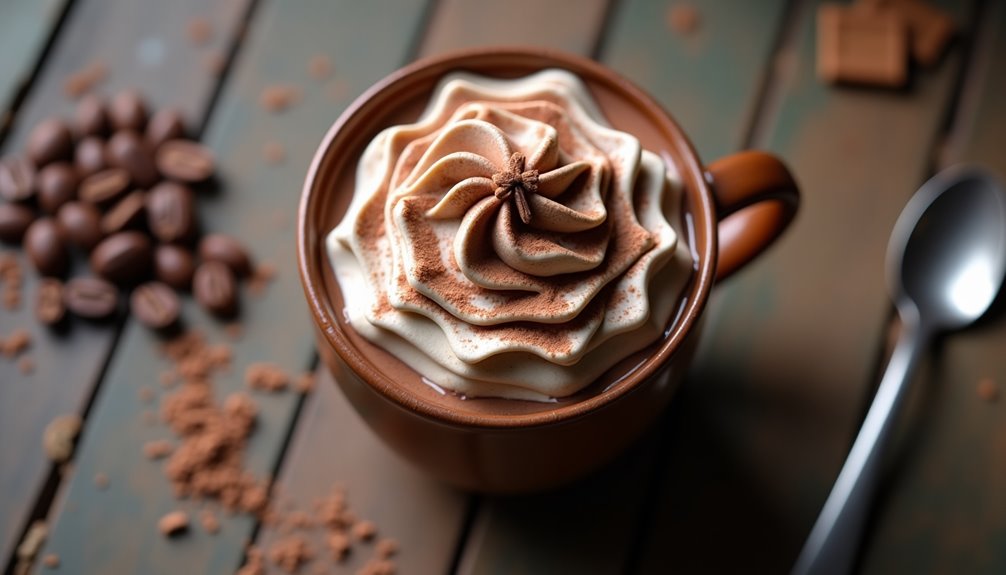
Whipped hot chocolate has taken social media by storm, offering a luxurious twist on the classic comfort drink. This trendy beverage combines the richness of cocoa with the light, airy texture of whipped cream, creating a dessert-like experience that's both visually stunning and delicious.
Unlike traditional hot chocolate where cocoa mix is simply stirred into hot milk, this version features a special whipped topping made from instant hot chocolate powder. The result is a two-toned drink with a smooth, warm base topped with a cloud-like chocolate foam that slowly melts into the drink.
Ingredients:
- 2 cups whole milk
- 4 tablespoons instant hot chocolate mix
- 1/4 cup heavy whipping cream
- 2 tablespoons granulated sugar
- Optional garnish: chocolate shavings, marshmallows, or cocoa powder
Heat the milk in a microwave-safe mug or on the stovetop until hot but not boiling. Stir in 2 tablespoons of the instant hot chocolate mix until completely dissolved. In a separate bowl, combine the heavy cream, remaining hot chocolate mix, and sugar. Using an electric mixer, whip the mixture on high speed for 3-4 minutes until stiff peaks form.
Top the hot chocolate with the whipped chocolate cream mixture, allowing it to float on top of the warm drink. The heat from the milk will gradually melt the whipped topping, creating a creamy, rich drinking experience.
For best results, ensure your heavy cream is very cold before whipping, as this helps achieve the perfect consistency. The whipped topping can be made in advance and stored in the refrigerator for up to 2 hours, though it's best served immediately. If the drink becomes too rich, you can adjust the sweetness by reducing the sugar in the whipped topping or using low-fat milk as the base.