Easy Chocolate Pie Recipe
Have you ever craved a decadent dessert that's surprisingly simple to make? The easy chocolate pie is your answer—a luxurious treat that transforms basic ingredients into a creamy, rich masterpiece. You'll be amazed how quickly this pie comes together, promising a dessert that looks and tastes like it took hours to prepare. Imagine impressing your friends and family with minimal effort, all while creating a chocolate sensation that'll have everyone asking for your secret.
Recipe Highlights
- Gather simple ingredients like pre-made pie crust, semi-sweet chocolate chips, sweetened condensed milk, eggs, and vanilla extract for a straightforward chocolate pie preparation.
- Preheat oven to 350°F, melt chocolate chips in microwave, mix with other ingredients, and pour into pie crust for an effortless baking process.
- Bake chocolate pie for 35-40 minutes until edges are firm and center remains slightly jiggly, then cool completely at room temperature before refrigerating.
- Enhance flavor by adding a pinch of salt, a hint of espresso, or experimenting with extracts and spices to personalize the classic dessert.
- Top with homemade whipped cream and a light dusting of cocoa powder for a visually appealing and delicious chocolate pie that serves multiple people.
History
The humble chocolate pie traces its roots deep into American culinary traditions, emerging as a beloved dessert that transformed home baking in the mid-20th century.
You'll find its origins closely tied to the rise of convenient baking ingredients like sweetened condensed milk and pre-made pie crusts, which revolutionized home cooking in the 1950s and 1960s.
Chocolate pies became a staple at church potlucks, family gatherings, and community events, symbolizing comfort and simplicity. Home bakers appreciated the recipe's accessibility, requiring minimal technical skill and affordable ingredients.
As refrigeration and mass-produced chocolate became more widespread, the chocolate pie evolved from a regional specialty to a nationwide favorite. Its popularity soared as cookbooks and women's magazines featured increasingly easy, streamlined recipes that fit perfectly into busy American households.
Recipe
This foolproof recipe transforms basic pantry ingredients into a rich, velvety pie that's sure to impress family and friends. The combination of smooth chocolate, sweetened condensed milk, and a buttery crust creates a dessert that's both elegant and comforting.
Ingredients:
- 1 pre-made pie crust
- 2 cups semi-sweet chocolate chips
- 1 can (14 oz) sweetened condensed milk
- 2 large eggs
- 1 teaspoon vanilla extract
Preheat the oven to 350°F (175°C). In a microwave-safe bowl, carefully melt the chocolate chips in 30-second intervals, stirring between each interval until the chocolate is smooth and completely melted. This gentle method prevents burning and ensures a silky texture.
Once the chocolate is melted, whisk in the sweetened condensed milk, eggs, and vanilla extract until the mixture is well combined and looks glossy. Pour the chocolate mixture into the pre-made pie crust, spreading it evenly with a spatula. Bake for 35-40 minutes, or until the center is set but still slightly jiggly when gently shaken.
For the best results, allow the pie to cool completely at room temperature before refrigerating. This helps the pie set properly and develop its rich, smooth texture.
If cracks appear on the surface during baking, don't be discouraged – they're completely normal and won't impact the delicious flavor of your pie.
Cooking Steps
You're about to transform those simple ingredients into a decadent chocolate pie by following a few key cooking steps.
Start by preheating your oven to 350°F and carefully melting the chocolate chips in short microwave intervals, stirring between each to ensure a smooth consistency.
With precision and care, you'll mix the ingredients thoroughly, pour the rich chocolate mixture into your prepared pie crust, and bake until the center is just set, creating a dessert that'll impress even the most discerning chocolate lovers.
Step 1. Preheat Oven, Gather Ingredients
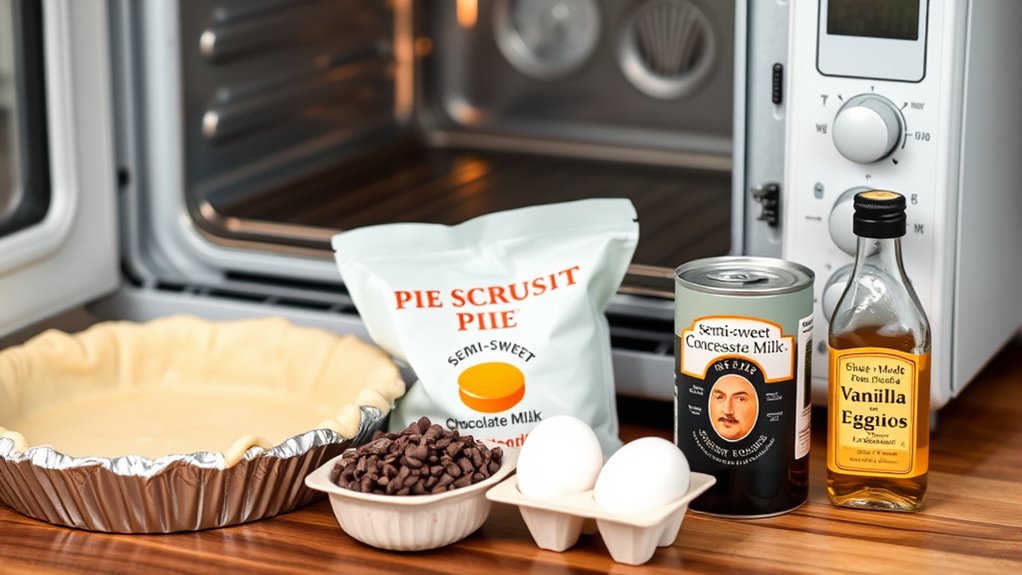
Five simple ingredients stand between you and a decadent chocolate pie that'll wow your dessert-loving friends and family. Gather your pre-made pie crust, semi-sweet chocolate chips, sweetened condensed milk, eggs, and vanilla extract before starting. Preheat your oven to 350°F (175°C), ensuring the rack is centered for even baking.
Quick ingredient prep checklist:
- Measure 2 cups chocolate chips
- Open 14 oz condensed milk can
- Crack 2 large eggs
- Grab vanilla extract
- Position pie crust on clean work surface
Check that all ingredients are room temperature for smoother mixing. Verify your microwave-safe bowl is clean and ready for chocolate melting. Double-check your oven temperature with an internal thermometer for precision baking, guaranteeing the perfect chocolate pie texture.
Step 2. Melt Chocolate Chips Carefully

After carefully measuring your chocolate chips, grab a microwave-safe bowl and prepare for the most delicate step of your chocolate pie journey.
Select a bowl large enough to accommodate all two cups of semi-sweet chocolate chips, ensuring even melting and preventing scorching.
Microwave in precise 30-second intervals, stirring between each interval to distribute heat uniformly and prevent chocolate from burning.
Watch closely for a smooth, glossy texture – your goal is complete liquefaction without introducing moisture or overheating.
Use a rubber spatula to scrape down bowl sides, guaranteeing no chocolate chips remain unmelted.
Temperature control is crucial: gentle, consistent heat transforms solid chips into a luxurious, silky mixture ready for pie perfection.
Patience distinguishes a good baker from a great one.
Step 3. Mix Ingredients Thoroughly

Whisk the melted chocolate mixture with precision, combining the sweetened condensed milk, eggs, and vanilla extract to create a smooth, homogeneous filling. Your goal is uniform integration, so use a sturdy whisk or spatula to blend ingredients thoroughly.
Key mixing techniques:
- Incorporate eggs gradually to prevent curdling
- Stir in vanilla extract last for even distribution
- Mix until the color becomes consistent and glossy
- Avoid overmixing, which can introduce air bubbles
Watch for visual cues signaling proper mixture: the filling should look silky, with no streaks of egg or condensed milk visible. Aim for a rich, dark chocolate color that's uniform throughout.
When you lift your whisk, the mixture should fall in thick, smooth ribbons, indicating perfect incorporation.
Step 4. Pour Mixture Into Crust
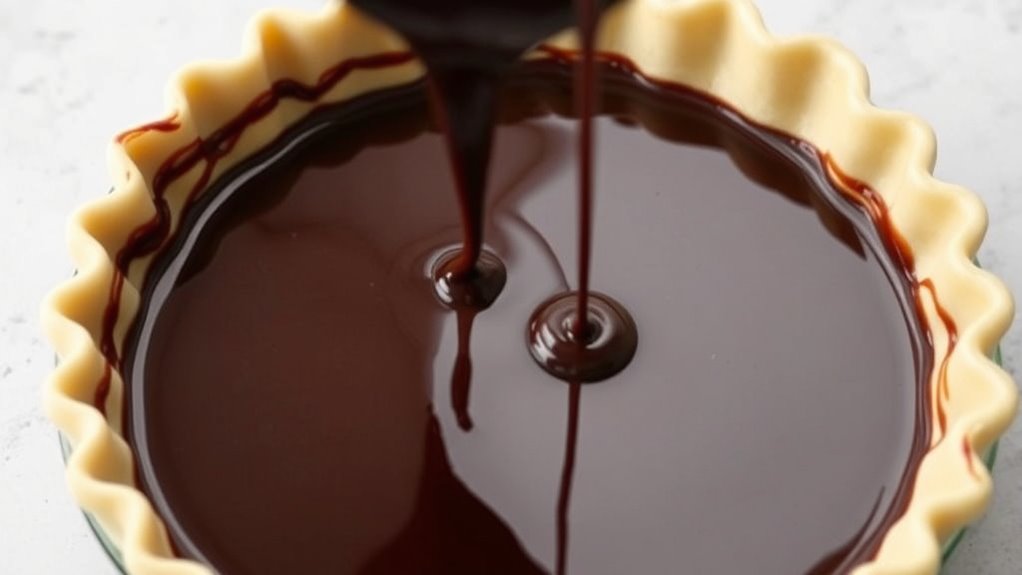
Gently transfer your velvety chocolate mixture into the pre-baked pie crust, ensuring an even distribution that fills every crevice.
Use a silicone spatula to scrape every last bit of chocolatey goodness from your mixing bowl, spreading the filling uniformly across the crust's surface.
Key pouring techniques:
- Tilt the pie plate slightly
- Pour from the center outward
- Maintain a slow, steady stream
- Use gentle circular motions
Watch for these visual cues while pouring:
- Filling should reach near the crust's top edge
- Surface should look smooth and glossy
- No significant air pockets or uneven areas
Tap the pie dish lightly on the counter to release any trapped air bubbles.
This helps create a silky, professional-looking chocolate pie that'll impress everyone at your table.
Step 5. Bake Until Set
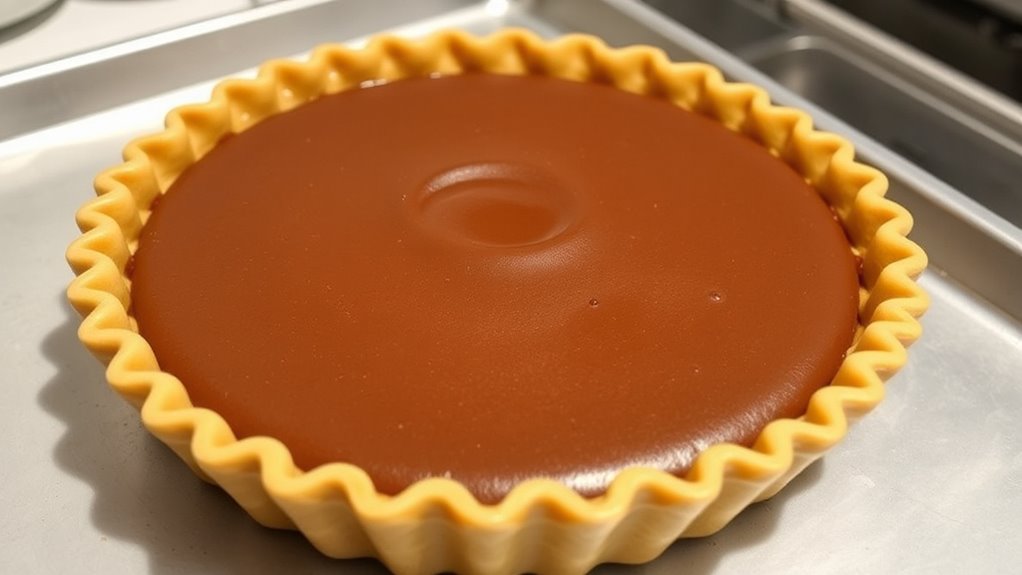
Since your chocolate pie mixture is now perfectly prepared, position the pie in the center of your preheated 350°F oven for precise baking.
You'll want to set your timer for 35-40 minutes, watching for key doneness indicators:
- Center should be slightly jiggly but mostly set
- Edges will look firmer and slightly puffed
- Surface might develop small hairline cracks (totally normal)
Check the pie's consistency by gently nudging the baking dish – the filling should wobble just a bit in the center, similar to a soft custard.
Avoid overbaking, which can create a dry, crumbly texture. Your goal is a silky, smooth chocolate filling that's just firm enough to slice cleanly.
Once baked, remove the pie and let it cool completely at room temperature before refrigerating.
Final Thoughts
Although chocolate pie might seem intimidating, this recipe proves that anyone can create a stunning dessert with minimal effort.
You'll find this pie is more accessible than you might think, with just a few simple ingredients and straightforward techniques. The key is following each step carefully and trusting the process.
Your homemade chocolate pie will impress family and friends, making you look like a professional baker without hours of complicated preparation.
Remember to let the pie cool completely, which helps set the filling and intensify the rich chocolate flavor. Serve chilled or at room temperature, and don't be afraid to garnish with whipped cream or a light dusting of cocoa powder.
Your dessert will be a guaranteed crowd-pleaser that looks and tastes absolutely delicious.