10 Easy Dinner Recipes for Two
You'll find that cooking for two doesn't have to be complicated or time-consuming. These 10 carefully selected recipes strike the perfect balance between effort and elegance, letting you create restaurant-quality meals right in your kitchen. From quick one-pan Mediterranean dishes to sophisticated pan-seared scallops, each recipe has been scaled perfectly for pairs. Whether you're planning a romantic dinner or simply want to avoid leftovers, these practical yet impressive options will transform your weeknight meals.
One-Pan Mediterranean Chicken and Couscous
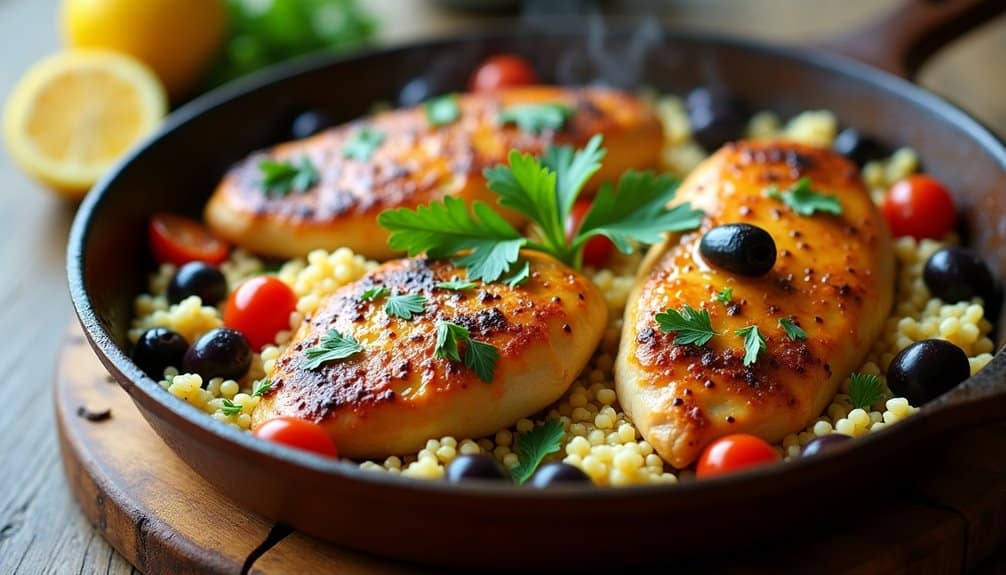
One-Pan Mediterranean Chicken and Couscous combines the vibrant flavors of the Mediterranean with the convenience of a single-skillet meal. The dish features tender chicken breasts seasoned with herbs and spices, paired with fluffy couscous that absorbs the rich flavors of the cooking liquid.
This 30-minute meal brings together juicy cherry tomatoes, briny olives, and fresh herbs, creating a perfect balance of textures and tastes. The beauty of this recipe lies in its simplicity – as the chicken cooks, the couscous simultaneously absorbs the flavorful broth below.
Ingredients:
- 2 boneless, skinless chicken breasts
- 1 cup couscous
- 1½ cups chicken broth
- 1 cup cherry tomatoes, halved
- ½ cup Kalamata olives, pitted
- 1 lemon, zested and juiced
- 3 tablespoons olive oil
- 2 cloves garlic, minced
- 1 teaspoon dried oregano
- 1 teaspoon ground cumin
- ½ teaspoon paprika
- ¼ cup fresh parsley, chopped
- Salt and pepper to taste
Season chicken breasts with salt, pepper, cumin, and paprika. Heat olive oil in a large skillet over medium-high heat and cook chicken for 5-6 minutes per side until golden brown. Remove chicken and set aside. In the same pan, add garlic and sauté for 30 seconds, then add couscous, stirring to toast lightly.
Pour in chicken broth, lemon juice, and zest, then add tomatoes and olives. Return chicken to the pan, nestling it into the couscous mixture. Cover and reduce heat to low, cooking for 5-7 minutes until couscous is tender and chicken is cooked through. Remove from heat and let stand covered for 5 minutes. Garnish with fresh parsley before serving.
For best results, ensure the chicken breasts are of even thickness – pound them if necessary. The couscous can become gummy if overcooked, so stick to the recommended cooking time. If the mixture seems dry during cooking, add a splash of hot broth or water. Leftovers can be stored in an airtight container for up to 3 days in the refrigerator.
15-Minute Garlic Shrimp Linguine
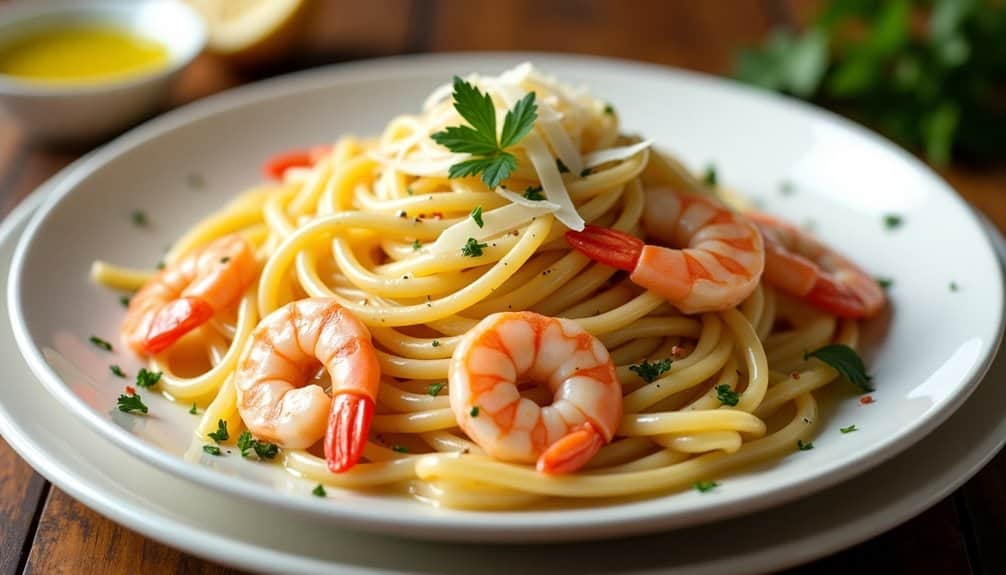
Minute Garlic Shrimp Linguine is a classic Italian-inspired pasta dish that combines succulent shrimp with perfectly cooked linguine in a light, garlic-infused sauce. This elegant yet simple meal takes just 20 minutes to prepare, making it ideal for busy weeknights or romantic dinners at home.
The key to this dish's success lies in properly cooking both the shrimp and pasta. The shrimp should be pink and tender, while the linguine should remain al dente. The garlic-white wine sauce brings all the elements together, creating a harmonious blend of flavors that's both sophisticated and comforting.
Ingredients:
- 8 oz linguine pasta
- 12 large shrimp, peeled and deveined
- 4 cloves garlic, minced
- 3 tablespoons olive oil
- 1/4 cup white wine
- 2 tablespoons butter
- 1/4 cup fresh parsley, chopped
- 1/2 lemon, juiced
- 1/4 teaspoon red pepper flakes
- Salt and black pepper to taste
- 2 tablespoons grated Parmesan cheese
Begin by bringing a large pot of salted water to boil and cook the linguine according to package instructions. While the pasta cooks, heat olive oil in a large skillet over medium heat. Add minced garlic and red pepper flakes, sautéing until fragrant but not brown. Add the shrimp to the pan and cook until they turn pink, about 2-3 minutes per side.
Remove the shrimp from the pan and set aside. In the same pan, add white wine and lemon juice, scraping up any browned bits from the bottom. Add butter and let it melt, creating a light sauce. Return the shrimp to the pan, add the drained pasta, and toss everything together. Season with salt and pepper, then finish with fresh parsley and Parmesan cheese.
For best results, avoid overcooking the shrimp as they can become tough and rubbery. Keep pasta water on hand to adjust the sauce consistency if needed, and always use fresh garlic rather than pre-minced for the most authentic flavor. The dish is best served immediately while the pasta is hot and the sauce is still silky.
Skillet-Seared Steak With Red Wine Sauce
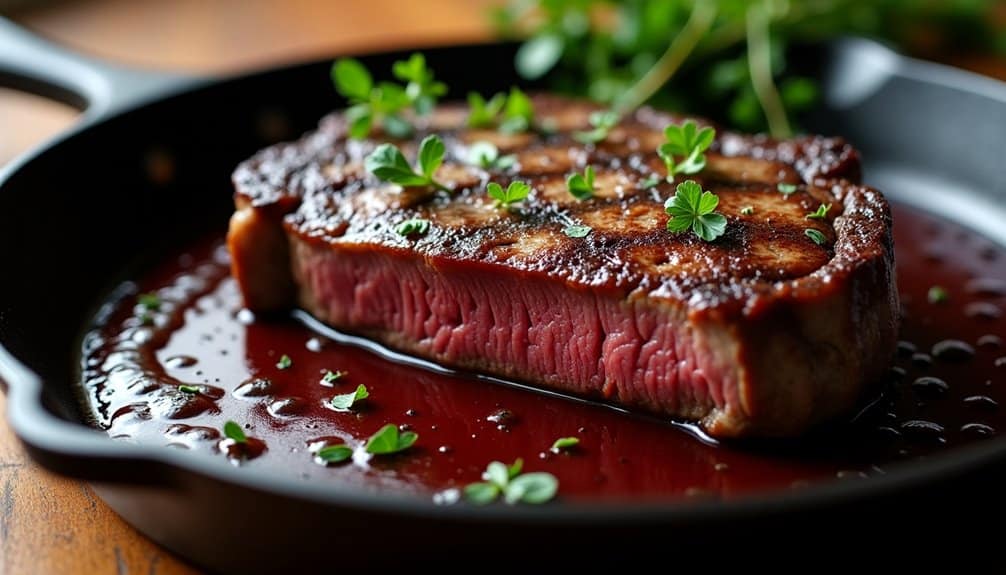
A perfectly seared steak with red wine sauce is a classic restaurant-style dish that's surprisingly easy to recreate at home. This recipe transforms an ordinary evening into an elegant dining experience, featuring a tender steak with a rich, velvety sauce that's both sophisticated and comforting.
The key to this dish lies in two main elements: achieving the perfect sear on the steak and creating a flavorful red wine reduction sauce in the same skillet. The sauce incorporates the browned bits from cooking the steak, adding depth and complexity to the final dish.
- 2 ribeye or New York strip steaks (8-10 oz each)
- 2 tablespoons vegetable oil
- 3 tablespoons butter, divided
- 2 shallots, finely minced
- 2 cloves garlic, minced
- 1 cup dry red wine
- 1 cup beef broth
- 1 sprig fresh thyme
- Salt and freshly ground black pepper
- 1 tablespoon fresh parsley, chopped
Remove steaks from refrigerator 30 minutes before cooking and pat them dry with paper towels. Season generously with salt and pepper. Heat oil in a heavy skillet over medium-high heat until smoking. Add steaks and cook for 4-5 minutes per side for medium-rare, or until desired doneness. Transfer steaks to a plate and tent with foil.
In the same skillet, reduce heat to medium and add 1 tablespoon butter. Add shallots and garlic, cooking until softened. Pour in red wine, scraping up browned bits from the bottom of the pan. Add beef broth and thyme, then simmer until reduced by half, about 8-10 minutes. Remove thyme sprig and stir in remaining butter until sauce is glossy. Return steaks to pan briefly to warm, then serve with sauce spooned over top.
For best results, use a cast-iron skillet or heavy-bottomed pan to achieve the perfect sear, and choose a good quality drinking wine for the sauce – never cooking wine. The steaks should be at least 1-inch thick for optimal results, and it's crucial to let them rest before cutting to retain their juices. If the sauce becomes too thick, thin it with a splash of beef broth; if too thin, continue reducing until desired consistency is reached.
Honey Glazed Salmon With Roasted Vegetables
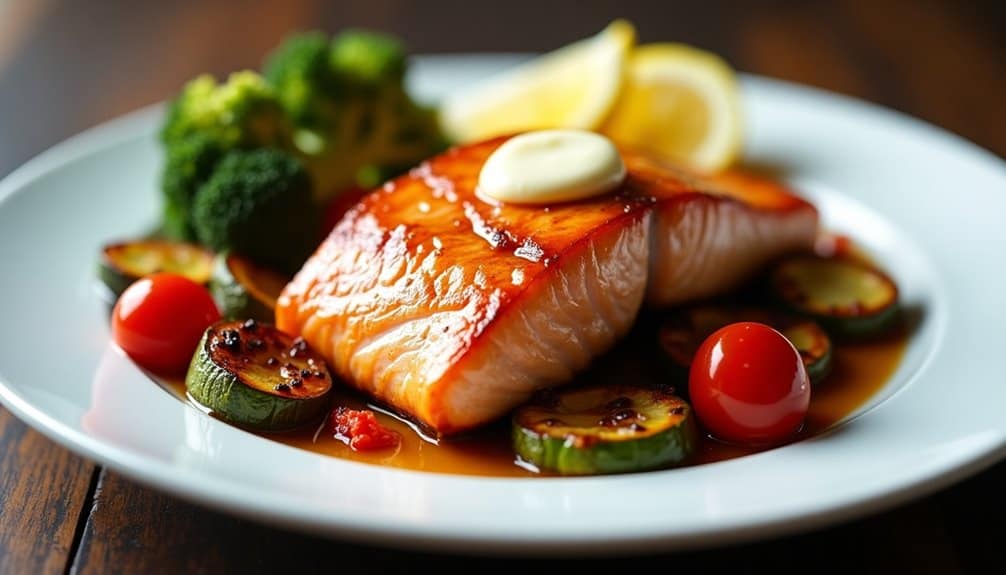
Honey glazed salmon with roasted vegetables is a perfect weeknight dinner for couples, combining the richness of perfectly cooked fish with colorful, tender vegetables. This elegant yet simple meal delivers a beautiful balance of sweet and savory flavors, while providing essential nutrients and protein.
The dish takes approximately 30 minutes to prepare and cook, making it an ideal choice for busy evenings when you want something special without spending hours in the kitchen. The honey glaze creates a delicious caramelized exterior on the salmon, while the roasted vegetables develop deep, concentrated flavors in the oven.
Ingredients:
- 2 salmon fillets (6 oz each)
- 3 tablespoons honey
- 2 tablespoons soy sauce
- 1 tablespoon olive oil
- 2 cloves garlic, minced
- 1 cup broccoli florets
- 1 cup cherry tomatoes
- 1 medium zucchini, sliced
- 1 red bell pepper, chopped
- 1 tablespoon Italian herbs
- Salt and pepper to taste
- 1 lemon
- 2 tablespoons butter
Preheat the oven to 400°F (200°C). In a small bowl, whisk together honey, soy sauce, and half of the minced garlic. Place the salmon fillets on one side of a lined baking sheet and brush them with the honey mixture. On the other side of the baking sheet, toss the vegetables with olive oil, remaining garlic, Italian herbs, salt, and pepper.
Bake for 15-18 minutes, or until the salmon is cooked through and the vegetables are tender. During the last 5 minutes of cooking, brush the salmon with the remaining honey mixture and switch the oven to broil for a caramelized finish. Before serving, squeeze fresh lemon juice over both the salmon and vegetables, and top the salmon with a small pat of butter.
For best results, ensure your salmon fillets are of equal thickness for even cooking. The vegetables can be prepped ahead of time to save on preparation time, and it's important not to overcrowd the baking sheet to allow proper roasting. If you prefer crispier vegetables, you can start roasting them 5-7 minutes before adding the salmon to the sheet pan.
Thai Basil Stir-Fry Noodles
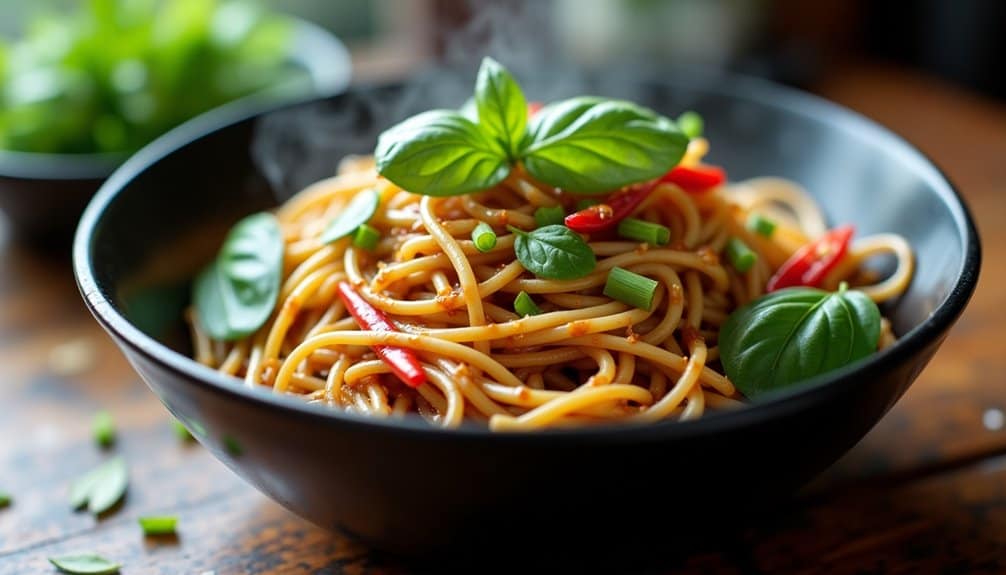
Thai Basil Stir-Fry Noodles combines the aromatic flavors of Thai basil with tender rice noodles in a savory sauce that perfectly balances sweet, salty, and spicy elements. This classic Thai street food dish can be customized to your preferred level of heat and makes an ideal dinner for two.
The beauty of this recipe lies in its simplicity and quick preparation time, typically ready in under 30 minutes. While traditional Thai holy basil (bai gaprow) offers the most authentic flavor, regular Thai basil or even sweet basil can work as a substitute, making this dish accessible for home cooks.
Ingredients:
- 8 oz rice noodles
- 2 cloves garlic, minced
- 1 Thai chili, sliced
- 1 cup Thai basil leaves
- 8 oz protein of choice (chicken, tofu, or shrimp)
- 2 tbsp vegetable oil
- 1 tbsp oyster sauce
- 1 tbsp soy sauce
- 1 tsp fish sauce
- 1 tsp brown sugar
- 2 green onions, sliced
- 1/2 cup bean sprouts
Soak the rice noodles in warm water for 15-20 minutes until they become pliable but still firm. While the noodles soak, prepare the sauce by combining oyster sauce, soy sauce, fish sauce, and brown sugar in a small bowl. Heat oil in a wok or large skillet over high heat, add garlic and chili, and stir-fry for 30 seconds. Add your chosen protein and cook until nearly done, then add the drained noodles and sauce mixture.
Continue stir-frying until the noodles are tender and have absorbed most of the sauce, about 2-3 minutes. Add bean sprouts and green onions, cooking for another minute. Finally, toss in the Thai basil leaves and stir just until they begin to wilt. The dish should be slightly saucy but not wet, with the noodles having a slight char from the high heat.
For best results, have all ingredients prepped and ready before starting to cook, as this dish comes together quickly. The key to perfect stir-fried noodles is using high heat and working quickly to prevent the noodles from becoming mushy. If the noodles seem too dry during cooking, add a splash of water rather than more sauce to maintain the proper flavor balance.
Creamy Mushroom and Spinach Risotto
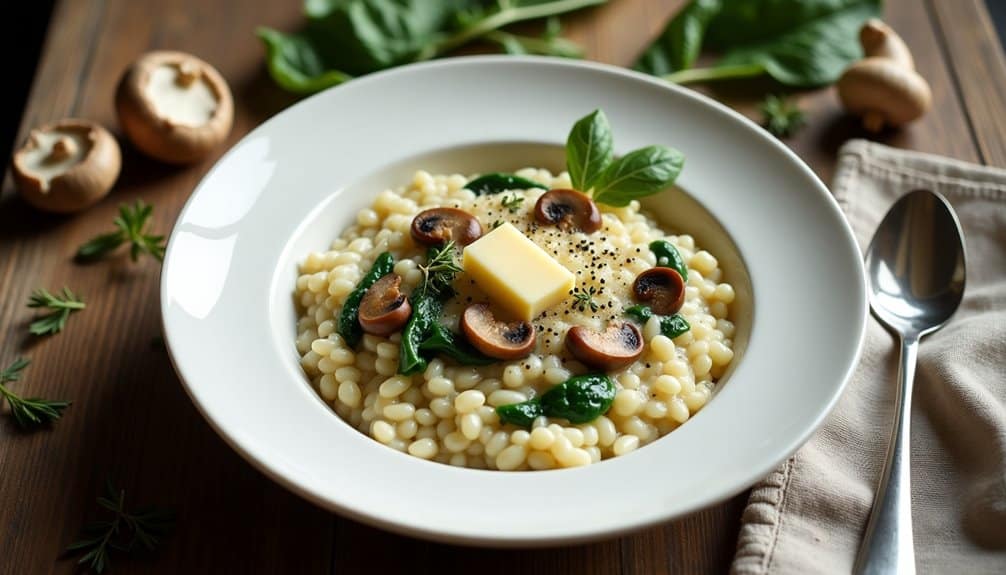
Creamy mushroom and spinach risotto is a luxurious Italian dish that transforms simple ingredients into a velvety, comforting meal perfect for two. The combination of earthy mushrooms, fresh spinach, and Arborio rice creates a harmonious blend of flavors and textures that's both sophisticated and satisfying.
The key to a perfect risotto lies in the slow cooking process and constant attention, as the rice gradually absorbs warm broth while releasing its starches. This method creates the signature creamy consistency that makes risotto a beloved classic, while the mushrooms add depth and the spinach provides a nutritious boost.
Ingredients:
- 1 cup Arborio rice
- 8 oz mixed mushrooms, sliced
- 2 cups fresh spinach
- 4 cups vegetable or chicken broth
- 1/2 cup white wine
- 1 small onion, finely diced
- 3 cloves garlic, minced
- 2 tablespoons olive oil
- 2 tablespoons butter
- 1/2 cup grated Parmesan cheese
- Salt and pepper to taste
- 1/4 teaspoon dried thyme
Begin by heating the broth in a separate pot and maintaining it at a gentle simmer. In a large pan, heat olive oil and butter over medium heat, then sauté the onions until translucent. Add the mushrooms and garlic, cooking until the mushrooms release their moisture and begin to brown. Add the Arborio rice and toast it for 1-2 minutes until the edges become translucent.
Pour in the white wine and stir until absorbed. Begin adding the hot broth one ladle at a time, stirring constantly and waiting for each addition to be absorbed before adding more. Continue this process for about 18-20 minutes, until the rice is creamy and al dente. In the final few minutes, stir in the spinach and let it wilt, then add the Parmesan cheese, salt, pepper, and thyme.
For best results, serve the risotto immediately while it's at its creamiest consistency. The dish should have a loose, flowing texture – if it becomes too thick, stir in a small amount of hot broth to adjust. Remember to taste and adjust seasonings before serving, as the Parmesan cheese adds saltiness. The entire cooking process should take about 30-35 minutes.
Pan-Seared Scallops With Lemon Butter
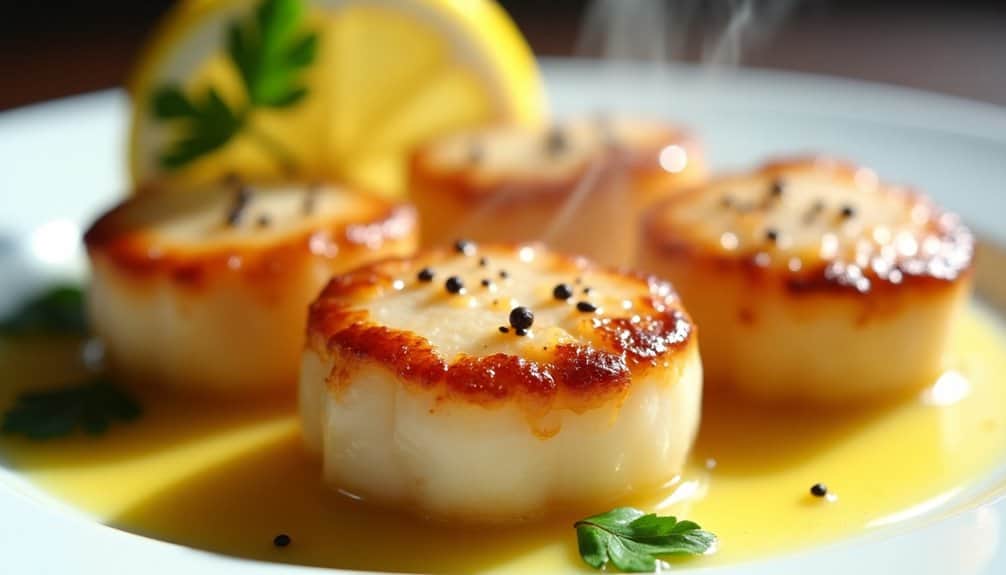
Pan-seared scallops with lemon butter is an elegant yet surprisingly simple dish that transforms an ordinary dinner into a restaurant-quality experience. The key to perfect scallops lies in achieving that golden-brown crust while maintaining a tender, juicy center.
This recipe serves two people and takes only about 15 minutes to prepare, making it ideal for a romantic dinner or special occasion. The combination of sweet, delicate scallops with rich butter and bright citrus creates a balanced flavor profile that pairs well with various side dishes.
Ingredients:
- 12 large sea scallops
- 2 tablespoons olive oil
- 4 tablespoons unsalted butter
- 2 tablespoons fresh lemon juice
- 2 cloves garlic, minced
- Salt and black pepper to taste
- Fresh parsley, chopped
- 1 lemon, cut into wedges for serving
Pat the scallops completely dry with paper towels and season both sides with salt and pepper. Heat olive oil in a large skillet over medium-high heat until shimmering. Place scallops in the pan, making sure they don't touch each other, and sear for 2-3 minutes on each side until golden brown. Remove scallops from the pan and set aside.
In the same pan, lower heat to medium and add butter and garlic, cooking until fragrant. Add lemon juice and stir to combine, then return scallops to the pan briefly to coat them in the sauce.
For best results, ensure scallops are completely dry before cooking, as excess moisture prevents proper searing. The pan should be very hot before adding the scallops, and they should sizzle when they hit the surface. Don't move the scallops while they're searing, and resist the urge to overcook them – they should still be slightly translucent in the center when done.
Zucchini and Goat Cheese Frittata
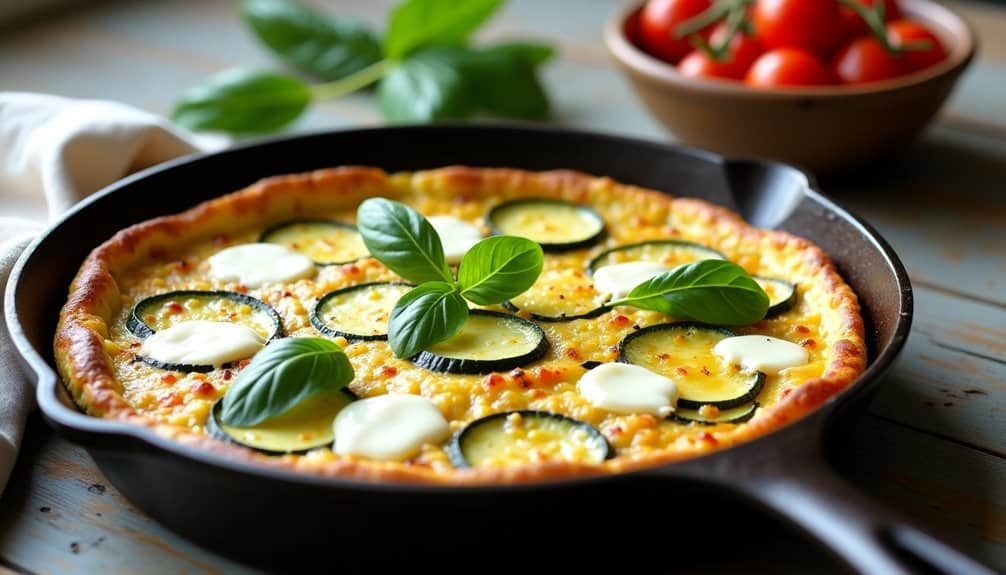
A frittata is a versatile Italian egg dish that's perfect for any meal of the day, but especially shines as a light dinner option. This particular combination of zucchini and goat cheese creates a delicate balance between the subtle vegetable sweetness and tangy creaminess of the cheese.
The beauty of this frittata lies in its simplicity and elegance. While many frittatas can feed a crowd, this recipe is specifically portioned for two people, making it ideal for a romantic dinner or a practical weeknight meal without excessive leftovers.
- 4 large eggs
- 2 medium zucchini, thinly sliced
- 2 ounces goat cheese, crumbled
- 1/4 cup milk
- 2 tablespoons olive oil
- 2 cloves garlic, minced
- 1/4 teaspoon dried thyme
- Salt and pepper to taste
- 2 tablespoons fresh basil, chopped
- 1/4 cup grated Parmesan cheese
Preheat your oven to 375°F (190°C). Heat olive oil in an 8-inch oven-safe skillet over medium heat. Add sliced zucchini and garlic, cooking until the zucchini is tender and lightly golden, about 5-7 minutes.
While the vegetables cook, whisk together eggs, milk, thyme, salt, and pepper in a bowl. Pour the egg mixture over the cooked zucchini, ensuring even distribution. Dot the top with crumbled goat cheese and sprinkle with Parmesan. Let the eggs set slightly on the stovetop for 2-3 minutes, then transfer the skillet to the preheated oven. Bake for 10-12 minutes, or until the eggs are set and the top is lightly golden. Finish by sprinkling fresh basil over the top before serving.
For best results, ensure your skillet is well-seasoned or properly non-stick to prevent the frittata from sticking. The dish can be served hot, warm, or at room temperature, making it flexible for various dining situations. If you don't have goat cheese, feta makes an excellent substitute, though it will create a saltier final product.
Teriyaki Glazed Pork Chops
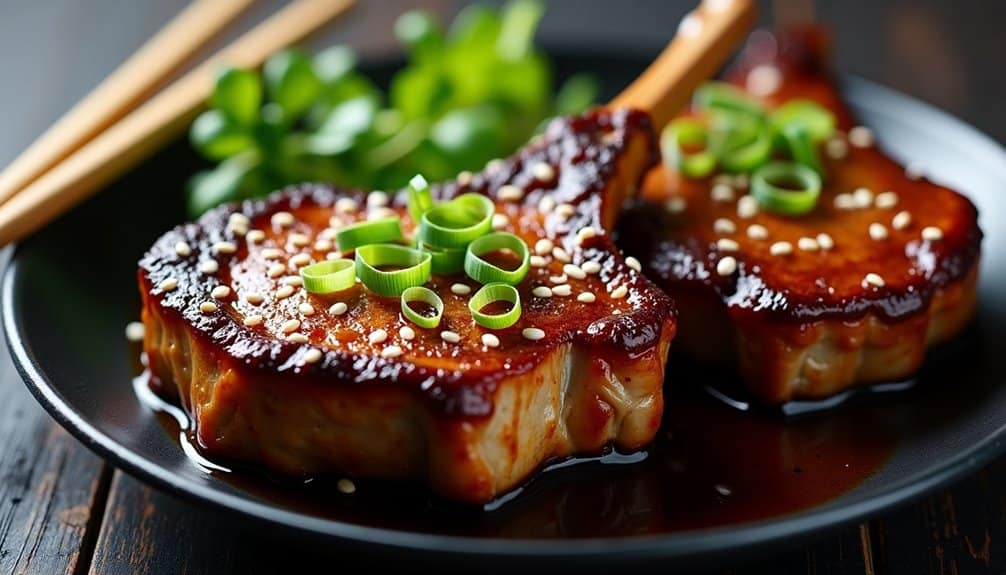
Teriyaki glazed pork chops offer a perfect balance of sweet and savory flavors, making them an ideal choice for an intimate dinner for two. The combination of traditional Japanese teriyaki sauce with perfectly cooked pork creates a restaurant-quality meal that's surprisingly simple to prepare at home.
This recipe transforms ordinary pork chops into a delicious Asian-inspired dish, with a glossy teriyaki glaze that caramelizes beautifully on the meat's surface. The marinade not only adds flavor but also helps keep the pork chops tender and juicy throughout the cooking process.
- 2 bone-in pork chops (1-inch thick)
- 1/4 cup soy sauce
- 2 tablespoons mirin
- 2 tablespoons brown sugar
- 1 tablespoon honey
- 1 teaspoon grated ginger
- 2 cloves garlic, minced
- 1 tablespoon vegetable oil
- 1/4 teaspoon black pepper
- Sesame seeds for garnish
- Green onions, sliced (optional)
Mix soy sauce, mirin, brown sugar, honey, ginger, and garlic in a bowl to create the teriyaki sauce. Place pork chops in a shallow dish and pour half the marinade over them, reserving the other half for glazing. Marinate for 30 minutes at room temperature, or up to 4 hours in the refrigerator.
Heat vegetable oil in a large skillet over medium-high heat. Remove pork chops from marinade and pat dry with paper towels. Cook pork chops for 4-5 minutes on each side, or until golden brown. Reduce heat to medium-low and brush with reserved teriyaki sauce, cooking for an additional 2-3 minutes per side until the sauce caramelizes and pork reaches an internal temperature of 145°F (63°C). Let rest for 5 minutes before serving.
For best results, avoid using very thin pork chops as they can dry out quickly. If the teriyaki sauce starts to burn while cooking, lower the heat immediately. Always bring meat to room temperature before cooking for more even results, and resist the urge to flip the pork chops too frequently, as this prevents proper caramelization.
Caprese Stuffed Chicken Breasts
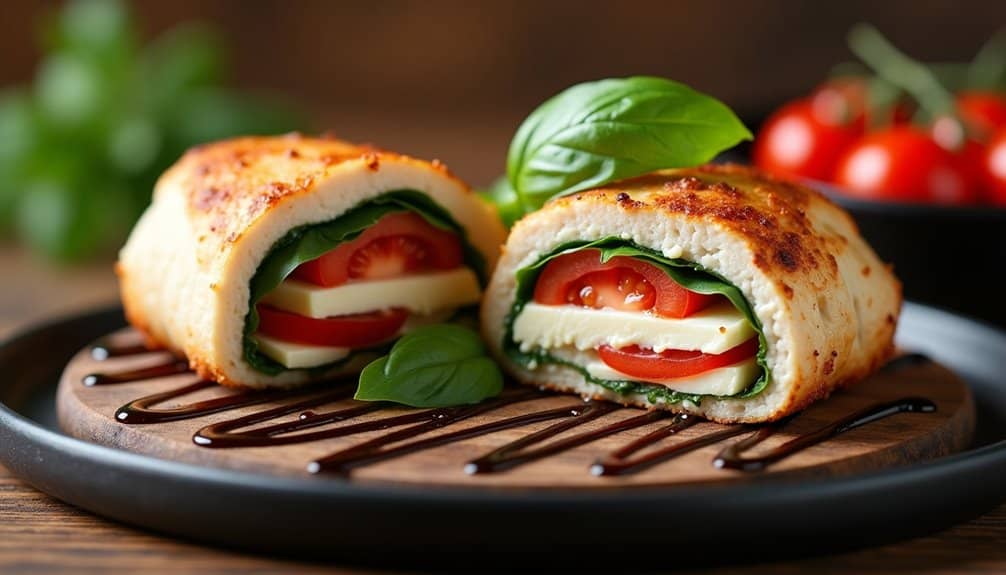
Caprese stuffed chicken breasts combine the beloved flavors of Italian Caprese salad with juicy chicken for an elegant yet simple dinner. The combination of fresh mozzarella, ripe tomatoes, and aromatic basil creates a delightful filling that keeps the chicken moist during cooking.
This dish transforms ordinary chicken breasts into a restaurant-quality meal that's perfect for date night or an intimate dinner for two. The presentation is impressive, while the preparation remains straightforward and achievable for home cooks of any skill level.
- 2 large chicken breasts
- 4 oz fresh mozzarella, sliced
- 2 medium tomatoes, sliced
- 8-10 fresh basil leaves
- 2 tablespoons olive oil
- 1 teaspoon Italian seasoning
- 1/2 teaspoon garlic powder
- Salt and black pepper to taste
- Balsamic glaze for drizzling (optional)
Preheat the oven to 375°F (190°C). Create a pocket in each chicken breast by cutting horizontally through the thickest part, being careful not to cut all the way through. Season both the outside and inside of the chicken with salt, pepper, garlic powder, and Italian seasoning. Stuff each pocket with alternating layers of mozzarella, tomato slices, and basil leaves.
Secure the openings with toothpicks if needed. Heat olive oil in an oven-safe skillet over medium-high heat. Sear the stuffed chicken breasts for 3-4 minutes on each side until golden brown. Transfer the skillet to the preheated oven and bake for 15-20 minutes, or until the chicken is cooked through and the internal temperature reaches 165°F (74°C).
For best results, allow the chicken to rest for 5 minutes before serving. This helps the juices redistribute throughout the meat and keeps the filling from immediately spilling out when cut. Consider patting the tomato slices dry with paper towels before stuffing to prevent excess moisture, and avoid overstuffing the chicken as this can cause the filling to leak during cooking.