Homemade Sweet Chili Sauce Recipe
Just like an artist blends colors on a canvas, you'll craft a symphony of flavors with this sweet chili sauce recipe. You'll transform simple ingredients into a vibrant condiment that'll elevate your culinary creations. Whether you're a home cook looking to impress or someone tired of store-bought sauces, this homemade version offers fresh, customizable heat that'll make your taste buds dance. Want to unlock the secret to restaurant-quality sauce in your own kitchen? Let's get started.
Recipe Highlights
- Select fresh red chili peppers like Thai chilies or Fresno peppers, ensuring vibrant color and firm texture for optimal flavor and heat.
- Combine chopped chilies with granulated sugar, rice vinegar, minced garlic, and create a cornstarch slurry to achieve a glossy, thick sauce consistency.
- Control spice levels by including or removing pepper seeds, allowing customization of heat intensity to suit personal taste preferences.
- Cook the mixture over medium heat, stirring continuously to prevent lumps and ensure even incorporation of ingredients for a smooth condiment.
- Store the homemade sweet chili sauce in a sterilized jar at room temperature, where it will naturally thicken and maintain fresh flavor for several weeks.
History
Although sweet chili sauce might seem like a modern culinary invention, its roots stretch deep into Southeast Asian cuisine, particularly in Thailand and Vietnam.
You'll find that chili peppers have been a staple in these regions for centuries, with local cooks experimenting with sweet and spicy flavor combinations long before global trade made ingredients more accessible.
Traditional preparations varied by region:
- Thai versions often included palm sugar
- Vietnamese recipes frequently incorporated fish sauce
- Local chilies determined the sauce's unique heat profile
When European traders arrived in Southeast Asia during the 16th century, they encountered these vibrant condiment traditions.
They brought new techniques and ingredients, gradually influencing how sweet chili sauce evolved.
You can trace the sauce's development through cultural exchanges, culinary innovation, and a shared love of bold, complex flavors.
Recipe
Homemade Sweet Chili Sauce offers a delightful blend of sweet and spicy flavors that elevates any Asian-inspired dish. By crafting this sauce from scratch, home cooks can control the ingredients, heat level, and overall quality of the condiment, ensuring a fresher and more vibrant taste compared to store-bought alternatives.
Creating this sauce is remarkably simple and requires minimal culinary expertise. With just a few basic ingredients and about 15 minutes of cooking time, anyone can transform ordinary pantry staples into a versatile and delicious condiment that will impress family and friends.
Ingredients:
- 4-5 red chili peppers, finely chopped
- 1/2 cup granulated sugar
- 1/4 cup rice vinegar
- 3 garlic cloves, minced
- 2 tablespoons cornstarch
- 1/4 cup cold water
In a small saucepan, combine minced garlic, chopped chili peppers, sugar, and rice vinegar. Heat the mixture over medium heat, stirring occasionally until it begins to simmer and the sugar fully dissolves. This initial step helps develop the foundational flavors of the sauce.
In a separate small bowl, whisk the cornstarch with cold water to create a smooth slurry. Slowly pour the cornstarch mixture into the simmering sauce, continuously stirring to prevent lumps from forming.
Continue cooking for 5-7 minutes, allowing the sauce to thicken and develop a glossy, rich texture. Remove from heat and let cool completely before transferring to an airtight container.
For the best results, remember that the sauce will continue to thicken as it cools, so aim for a slightly thinner consistency while cooking.
Experiment with different chili pepper varieties to customize the heat level, and consider blending the peppers for a smoother sauce. When stored in the refrigerator, this homemade sweet chili sauce will remain fresh and flavorful for up to three weeks.
Cooking Steps
When preparing your homemade sweet chili sauce, you'll want to carefully select and gather your chili ingredients, ensuring they're fresh and vibrant for maximum flavor.
Next, you'll combine the sugar and peppers in a saucepan, creating a foundational base that will develop the sauce's signature sweet-spicy profile.
As you progress through the cooking steps, you'll add rice vinegar and create a cornstarch slurry, transforming your raw ingredients into a perfectly thickened, glossy condiment that'll elevate any dish.
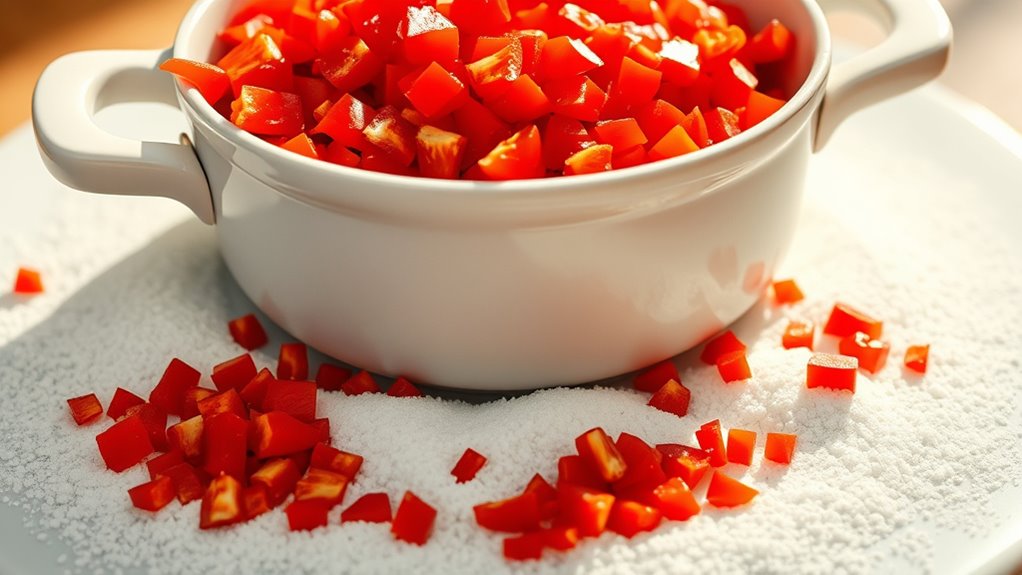
Step 1. Gather Chili Ingredients Carefully
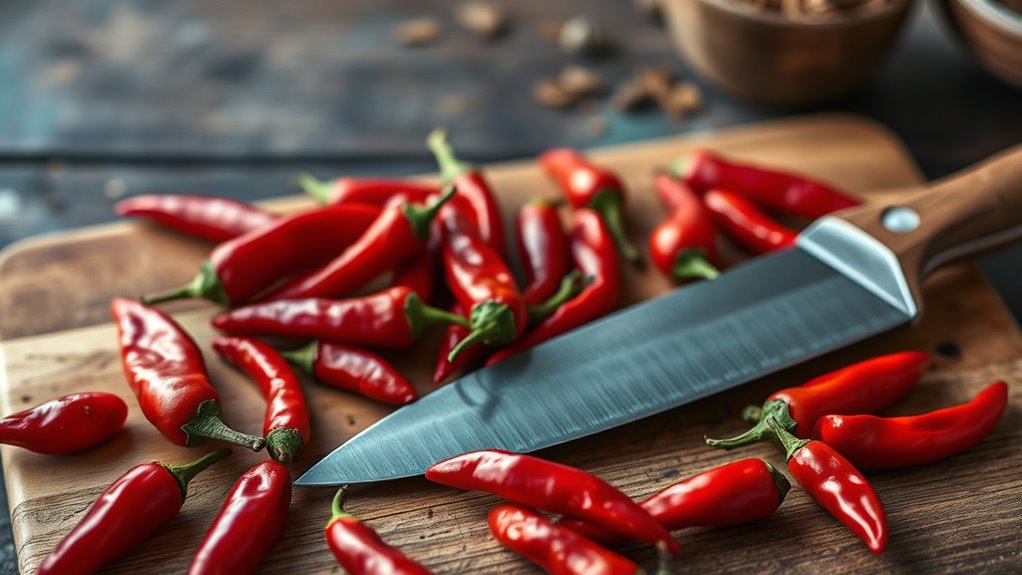
Fire and flavor converge when you meticulously select chilies for your sweet chili sauce. Your choice of peppers dramatically impacts the final taste profile, so consider these key factors:
- Red Thai chilies offer intense heat
- Fresno peppers provide moderate warmth
- Jalapeños deliver milder spiciness
When selecting chilies, look for:
- Vibrant, glossy skin without blemishes
- Firm texture
- Bright, deep color indicating ripeness
Wear disposable gloves while handling peppers to prevent capsaicin burns. Wash peppers thoroughly under cool running water, then pat dry with paper towels.
Remove stems and slice peppers carefully, deciding whether to include seeds based on your heat tolerance. For a smoother sauce, remove seeds; for extra kick, keep them intact.
Step 2. Combine Sugar and Peppers
Unleash the vibrant flavors of your sweet chili sauce by carefully combining sugar and peppers in a small saucepan.
Begin by measuring 1/2 cup granulated sugar, ensuring it's free from clumps, and sprinkle it evenly over your finely chopped red chili peppers. The sugar will help balance the peppers' intense heat, creating a harmonious flavor profile.
Key steps for combining:
- Select peppers with consistent size and color
- Chop chilies uniformly for even heat distribution
- Use precise sugar measurements
- Gently mix peppers and sugar before applying heat
Stir the mixture slowly, allowing the sugar to coat the chili pieces.
As the pan warms, you'll notice the sugar beginning to dissolve and meld with the peppers' natural oils.
This initial combination sets the foundation for a rich, complex sweet chili sauce that'll elevate your culinary creations.
Step 3. Add Rice Vinegar
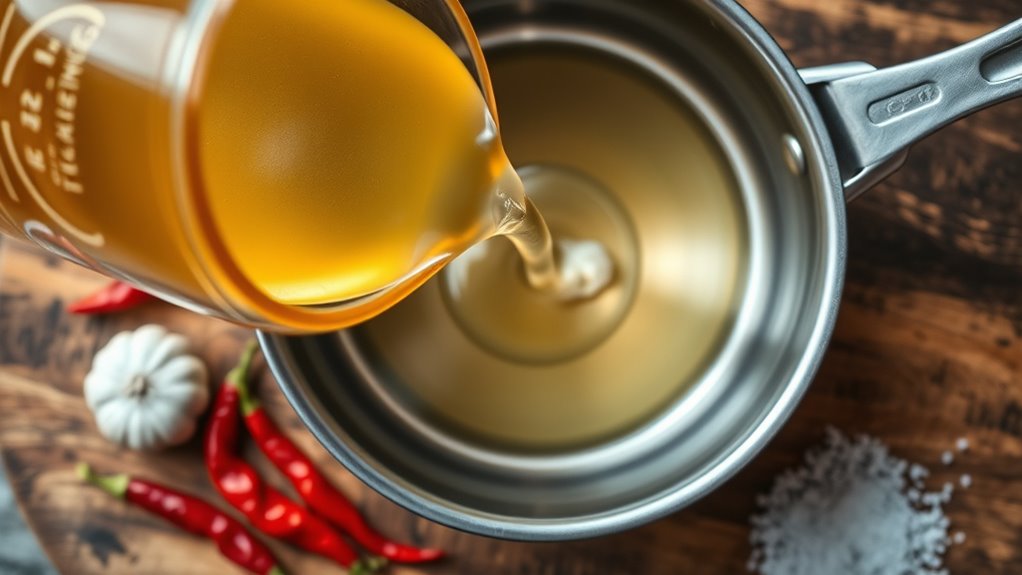
Add 1/4 cup of high-quality rice vinegar to your saucepan, carefully pouring it over the sugar-coated chili peppers. The vinegar's tangy profile will balance the sweetness, creating a complex flavor foundation for your sauce.
Gently stir the mixture, ensuring the rice vinegar fully incorporates with the sugar and peppers, distributing heat and sweetness evenly.
Key considerations when adding rice vinegar:
- Choose a clear, mild rice vinegar
- Pour slowly to control liquid distribution
- Maintain medium heat during incorporation
- Stir consistently to prevent ingredient separation
The liquid will begin to shimmer and bubble slightly, signaling the chemical transformation happening in your pan.
Watch for these visual cues, which indicate the ingredients are melding together harmoniously. Your sauce is developing depth, with rice vinegar acting as a critical flavor conductor and preservative.
Step 4. Add Cornstarch Slurry
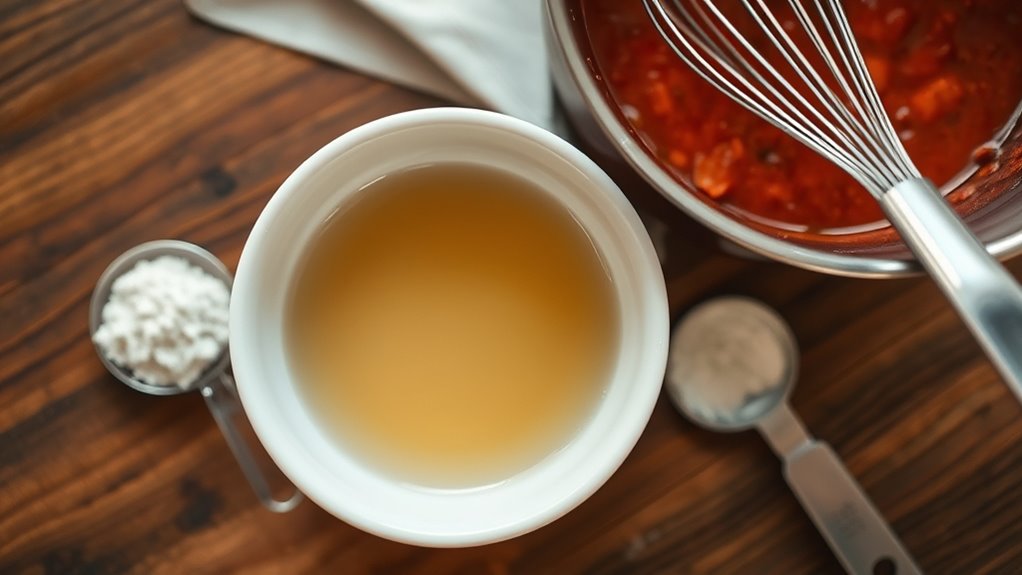
Transform your sweet chili sauce from a runny liquid to a perfectly glossy condiment by whisking together a cornstarch slurry.
Mix 1 tablespoon of cornstarch with 2 tablespoons of cold water in a small bowl, stirring until the mixture becomes smooth and opaque. The slurry acts as a thickening agent, helping your sauce reach that ideal, clingy consistency.
Slowly pour the cornstarch mixture into your simmering sauce, whisking continuously to prevent lumps from forming.
Keep stirring as the sauce begins to thicken, which typically takes 5-7 minutes over medium heat. You'll notice the liquid becoming more translucent and developing a glossy sheen.
Remove from heat once the sauce coats the back of a spoon, allowing it to cool and further set.
Step 5. Cool and Store Properly
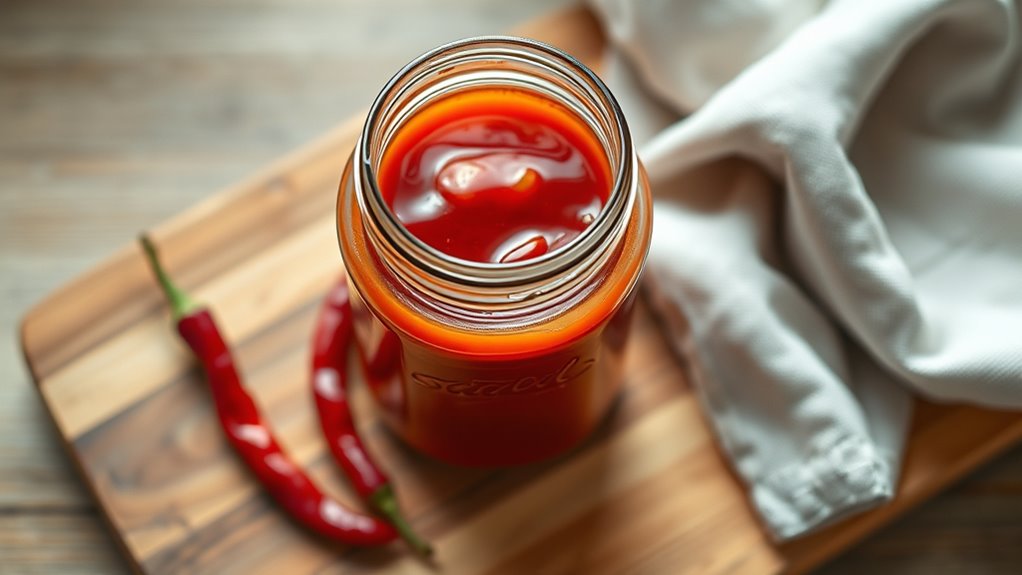
Once your sweet chili sauce reaches the perfect glossy consistency, you'll want to cool and store it properly to maximize its flavor and shelf life.
Let the sauce sit at room temperature for 20-30 minutes, stirring occasionally to help it cool evenly. Transfer the sauce to a clean, sterilized glass jar with an airtight lid, which will prevent contamination and preserve freshness.
Key storage tips:
- Refrigerate immediately after cooling
- Use within 3 weeks for optimal taste
- Keep the jar sealed when not in use
- Store in the coldest part of your refrigerator
The sauce will continue thickening as it chills, so don't worry if it seems slightly thin when first transferring to the container.
A thin layer of condensation is normal and doesn't indicate spoilage.
Final Thoughts
When you master this sweet chili sauce recipe, you'll unlock a world of culinary possibilities that transform ordinary dishes into restaurant-quality experiences.
Your homemade sauce becomes a versatile condiment that elevates everything from grilled meats to spring rolls, demonstrating your kitchen prowess.
Key advantages of crafting your own sauce include:
- Complete control over heat level
- No artificial preservatives
- Fresh, vibrant flavor profile
- Cost-effective alternative to store-bought versions
Experiment with different chili varieties to customize your sauce's intensity and character.
Remember that the sauce will continue thickening as it cools, so don't panic if it seems slightly thin during cooking.
With practice, you'll develop an intuitive sense for the perfect consistency, creating a signature condiment that impresses family and friends with your culinary creativity.