Key Lime Pie Recipe
Did you know key lime pie originated in the Florida Keys during the late 19th century as a resourceful dessert using condensed milk and local citrus? You'll want to discover how this iconic pie transforms simple ingredients into a remarkably refreshing treat. With just a few pantry staples, you can create a dessert that captures the essence of tropical cuisine. If you're curious about mastering a classic American pie that balances tart and sweet perfectly, stick around for an authentic key lime pie journey.
Recipe Highlights
- Key lime pie requires a graham cracker crust made from 1½ cups crumbs and ⅓ cup melted butter, pressed evenly into a pie pan.
- The filling combines sweetened condensed milk, key lime juice, and eggs, whisked until smooth and glossy at room temperature.
- Bake the pie at 350°F for 15-18 minutes, watching for tiny surface bubbles and a custard-like center movement to avoid overbaking.
- Cool the pie at room temperature for 45-60 minutes, then refrigerate for a minimum of 3 hours to set and enhance flavor.
- Use authentic key lime juice and fresh ingredients to achieve the traditional tart-sweet flavor profile of this classic Florida dessert.
History
Although Key lime pie might seem like a simple dessert today, its origins are deeply rooted in the culinary traditions of the Florida Keys during the late 19th century.
Enterprising local bakers crafted this iconic pie using readily available ingredients: sweetened condensed milk, key limes, and graham crackers. You'll find the dessert emerged from a practical need to preserve fresh ingredients in a hot, humid climate.
Sailors and key lime farmers developed this recipe as a solution for using condensed milk that didn't require refrigeration. The pie quickly became a staple among local families, transforming from a humble survival food to a celebrated regional delicacy.
Its popularity spread beyond the Keys, becoming a quintessential Florida dessert that represents the area's unique culinary heritage.
Recipe
Key Lime Pie is a quintessential Florida dessert that captures the essence of tropical citrus flavors in a creamy, refreshing treat. Its origins in the Florida Keys have made it a beloved dish that perfectly balances tart and sweet, offering a delightful experience with every bite.
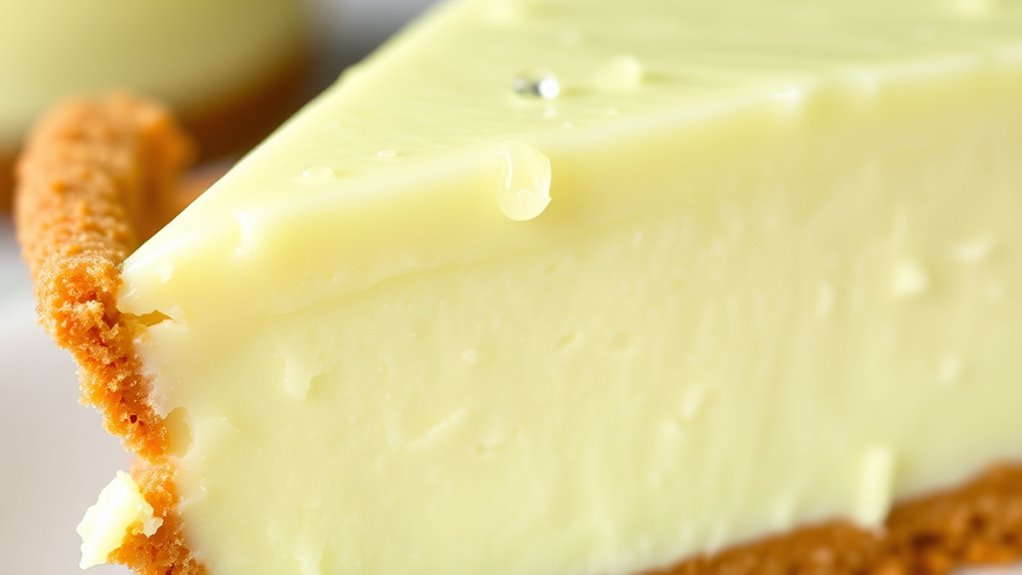
This classic pie features a buttery graham cracker crust that provides a delicious foundation for the smooth, tangy filling made with key lime juice, sweetened condensed milk, and eggs. The simplicity of the recipe belies its complex and delectable flavor profile.
Ingredients:
- 1½ cups graham cracker crumbs
- ⅓ cup melted butter
- 1 (14 oz) can sweetened condensed milk
- ½ cup fresh key lime juice
- 3 large eggs
- Whipped cream (optional, for garnish)
Preheat the oven to 350°F and prepare a 9-inch pie pan. Mix graham cracker crumbs with melted butter and press the mixture evenly across the bottom and sides of the pan to create the crust.
In a separate bowl, whisk together sweetened condensed milk, key lime juice, and eggs until the mixture is smooth and fully combined.
Pour the filling into the prepared crust and bake for 15-18 minutes, or until tiny bubbles burst on the surface and the filling is just set. The pie should have a slight wobble in the center when gently shaken.
Remove from the oven and allow to cool completely at room temperature before refrigerating for at least 3 hours to set fully.
For the best results, use fresh key lime juice and allow the pie to chill thoroughly before serving. If key limes are unavailable, Persian limes can be substituted, though the flavor will be slightly less intense.
Garnish with whipped cream just before serving, and store any leftovers covered in the refrigerator for up to 3 days.
Cooking Steps
You'll start by mixing your graham cracker crumbs with melted butter, pressing the mixture into a 9-inch pie pan to create a solid, even crust.
Next, you'll combine the wet ingredients—sweetened condensed milk, key lime juice, and beaten eggs—whisking them together until they form a smooth, creamy filling that'll soon transform into a tangy dessert.
After pouring the mixture into your prepared crust, you'll bake the pie at 350°F, watching for those telltale tiny bubbles that signal it's perfectly set and ready to cool before chilling in the refrigerator.
Step 1. Mix Graham Cracker Crumbs
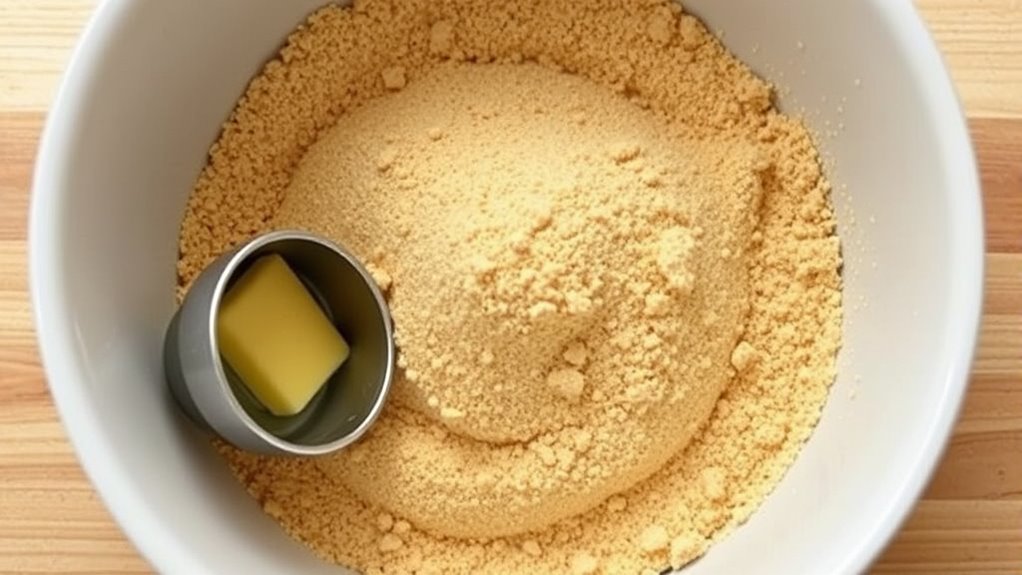
Crush graham crackers into fine, uniform crumbs using a food processor or rolling pin, ensuring no large chunks remain. You'll want a consistent texture that'll pack down smoothly in your pie pan.
Consider these key steps:
- Measure 1½ cups graham cracker crumbs precisely
- Break crackers into smaller pieces before processing
- Pulse in short bursts to achieve even, fine crumbs
- Sift crumbs through a mesh strainer to remove any large pieces
Transfer the crumbs to a mixing bowl, then add ⅓ cup melted butter. Mix thoroughly until the crumbs hold together when pressed.
The mixture should resemble wet sand and feel slightly damp. Press firmly and evenly into your pie pan's bottom and sides, creating a compact, uniform crust that'll serve as the perfect foundation for your key lime pie.
Step 2. Combine Wet and Dry Ingredients
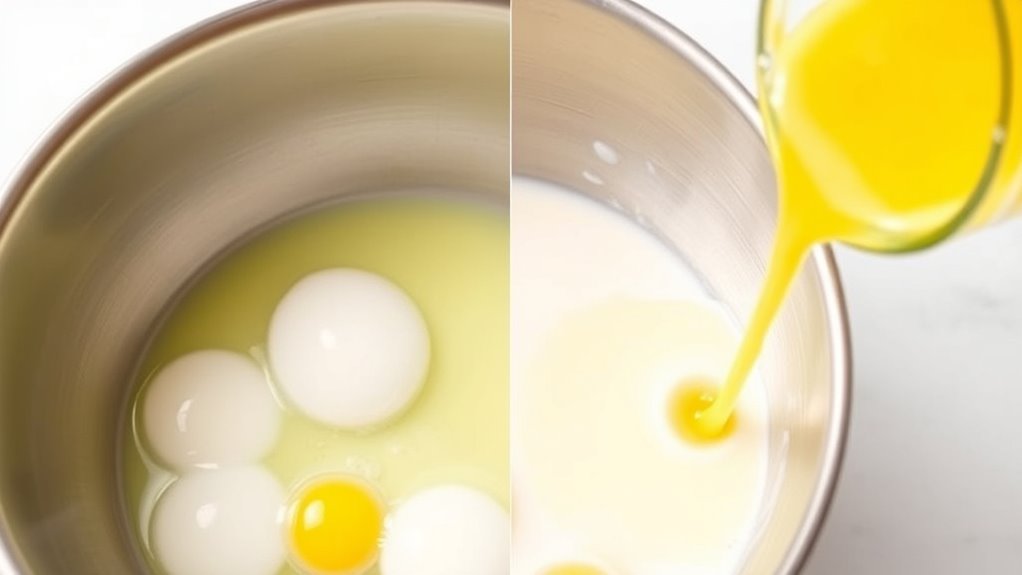
After perfectly pressing your graham cracker crust into the pie pan, it's time to whip up the silky filling that'll make your key lime pie shine.
In a large mixing bowl, combine the sweetened condensed milk, key lime juice, and eggs, whisking until the mixture becomes smooth and uniform. Pay close attention to your technique: blend the ingredients thoroughly, ensuring no lumps remain and the color is a consistent pale yellow.
Use room-temperature eggs for optimal incorporation, and mix gently but decisively. The filling should look glossy and have a light, airy consistency before pouring into your prepared crust.
Pro tip: Measure your lime juice carefully to balance the tartness with the sweet condensed milk, creating that signature key lime pie flavor profile that'll have everyone asking for seconds.
Step 3. Pour Filling Into Crust
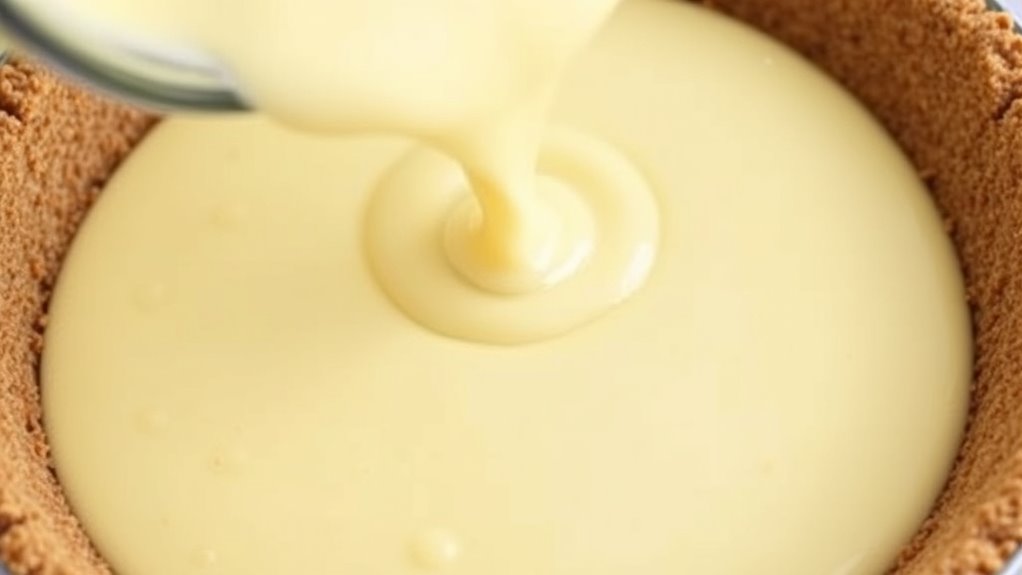
Gently pour the silky, pale yellow filling into your perfectly pressed graham cracker crust, ensuring an even distribution that reaches every corner of the pie pan.
Maintain a steady hand to prevent spillage and create a uniform surface.
Key pouring techniques:
- Utilize a ladle or measuring cup for controlled transfer
- Start from the center and move outward
- Tap the pan gently to release any air bubbles
- Aim for a smooth, level filling approximately 1/2 inch from the crust's top edge
Watch for subtle visual cues during pouring:
- Consistent pale yellow color
- No lumps or separation
- Smooth, glossy texture
- Even coverage across the entire crust
The filling should look like a delicate, creamy canvas ready to transform into a classic Key lime pie.
Step 4. Bake Until Set
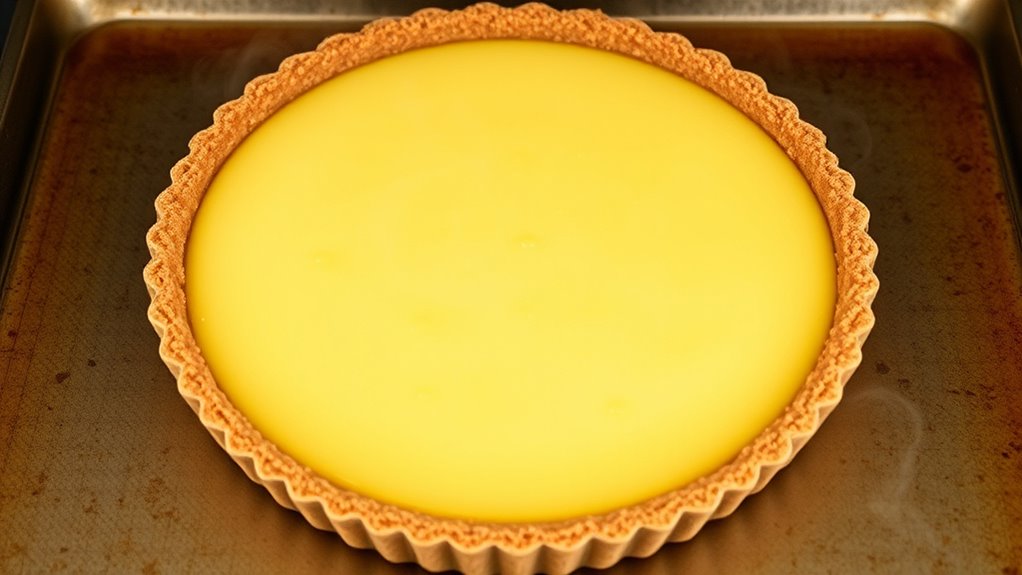
Slide your carefully prepared Key lime pie into a preheated 350°F oven, positioning the rack in the center to ensure even heat distribution. Watch closely as the pie begins to transform, focusing on the delicate filling's subtle changes during baking.
Key visual cues to monitor:
- Tiny bubbles forming on the surface
- Edges slightly pulling away from the pan
- Filling becoming less liquid and more set
Bake for approximately 15-18 minutes, maintaining a consistent oven temperature. The pie's center should look slightly jiggly but not wet when you gently shake the pan. Overbaking can cause cracking and a rubbery texture, so time this step precisely.
Remove from the oven when the filling appears set but still has a gentle, custard-like movement. Let the pie cool completely at room temperature before refrigerating.
Step 5. Chill Before Serving
Since your Key lime pie has just emerged from the oven with a perfectly set, slightly jiggly texture, you'll want to let it cool completely at room temperature before chilling.
Place the pie on a wire rack, allowing air to circulate and heat to dissipate evenly. Wait approximately 45-60 minutes until the surface feels comfortable to touch.
Refrigeration steps:
- Cover pie loosely with plastic wrap
- Ensure wrap doesn't touch pie's surface
- Chill for minimum 3 hours
- Optimal chilling time is 4-6 hours
Cold temperatures will help the filling firm up and develop a more concentrated, smooth texture.
The pie's flavors will also meld and intensify during refrigeration. Before serving, you can garnish with fresh whipped cream or lime zest for an elegant presentation that enhances both visual appeal and taste.
Final Thoughts
After mastering this classic Key lime pie recipe, you'll understand why it's become a beloved dessert in American cuisine.
This simple yet sophisticated treat represents the perfect balance of tart and sweet flavors that home bakers can easily replicate. Your success depends on using fresh ingredients, particularly genuine key lime juice, which transforms an ordinary dessert into an extraordinary experience.
Key takeaways for your pie-making journey include:
- Use room-temperature ingredients
- Don't overmix the filling
- Watch for tiny bubbles during baking
- Chill thoroughly before serving
The beauty of this recipe lies in its simplicity and authenticity.
With practice, you'll create a dessert that transports your guests to the sunny Florida Keys, capturing the essence of a timeless culinary tradition in every creamy, zesty bite.