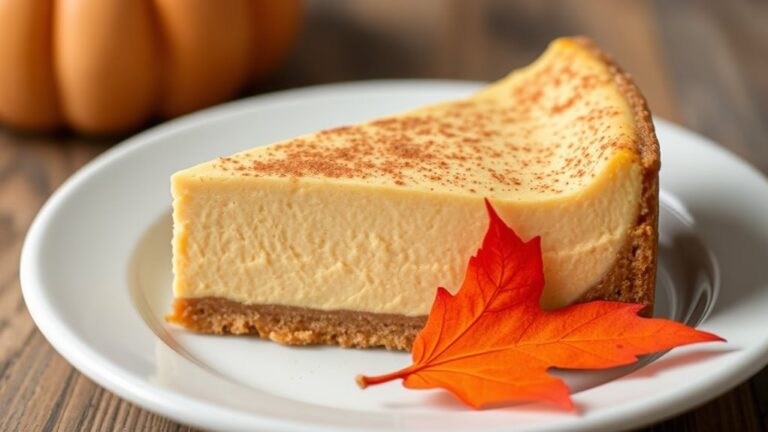
No Bake Key Lime Cheesecake Jars Recipe
Love desserts but hate turning on the oven? No-bake key lime cheesecake jars are your summer salvation. These portable, creamy treats combine tangy lime zest with rich cream cheese, all nestled in individual mason jars. You'll impress guests without breaking a sweat in the kitchen. Want to transform simple ingredients into a show-stopping dessert that's both refreshing and elegant? Keep scrolling to unlock the secret to these irresistible no-bake wonders.
Recipe Highlights
- Combine graham cracker crumbs and melted butter to create a firm base layer in individual jars for a crunchy foundation.
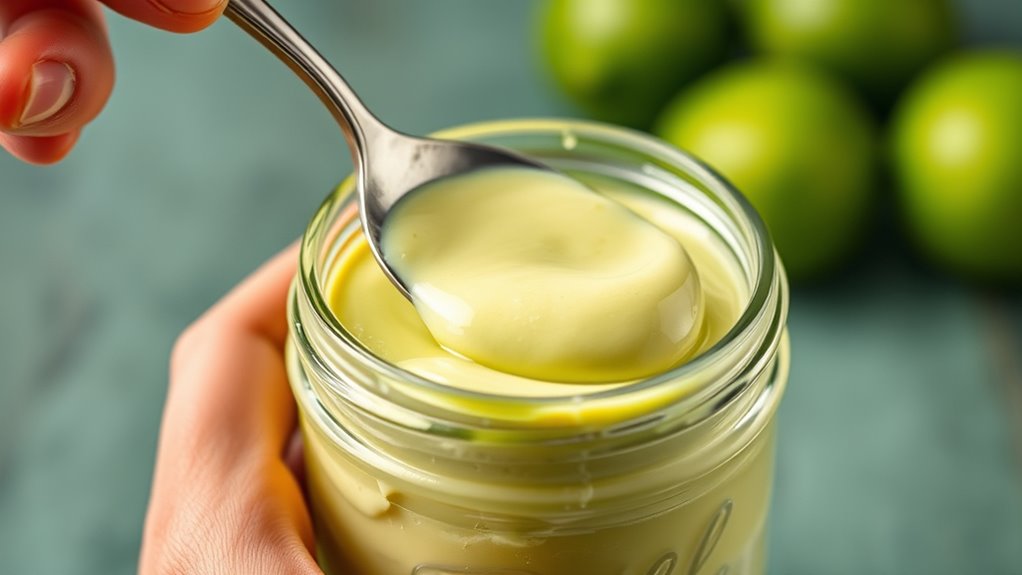
- Beat room-temperature cream cheese with sugar until smooth, ensuring no lumps for a creamy, luxurious cheesecake texture.
- Gradually mix key lime juice into the cream cheese filling to achieve a tangy, refreshing flavor profile that captures the essence of the classic dessert.
- Carefully spoon the key lime cheesecake mixture into prepared jars, leaving space for garnishes like lime zest or a thin lime slice.
- Refrigerate the jars for several hours to set the filling, developing a rich, slice-able consistency that intensifies the dessert's flavor and presentation.
History
While key lime pie traces its roots back to the Florida Keys in the late 19th century, the no-bake cheesecake jar represents a modern culinary innovation.
You'll find this dessert's history intertwined with traditional Key West baking techniques. Early Florida settlers developed the original key lime pie using condensed milk and local key limes, which couldn't be easily transported.
These resourceful cooks created a dessert that preserved precious ingredients and celebrated regional flavors.
The transition to no-bake jars emerged from:
- Contemporary food presentation trends
- Growing demand for portable desserts
- Minimalist cooking techniques
- Increased interest in individual serving sizes
You can trace this evolution through home cooking magazines and culinary blogs, which have popularized these convenient, Instagram-worthy desserts that honor traditional Florida cuisine while embracing modern preparation methods.
Recipe
No Bake Key Lime Cheesecake Jars are the ultimate summer dessert, offering a cool and tangy treat that requires zero oven time. These individual-sized delights combine the richness of cream cheese with the bright, zesty flavor of key limes, creating a perfectly balanced dessert that's both refreshing and indulgent.
Perfect for entertaining or a simple family dessert, these cheesecake jars can be prepared ahead of time and stored in the refrigerator, making them an ideal make-ahead option for busy home cooks. The simple layered preparation ensures a stunning presentation that looks far more complicated than the easy assembly requires.
Ingredients:
- 16 oz cream cheese, softened
- 1 cup graham cracker crumbs
- 1/3 cup key lime juice
- 1 cup granulated sugar
- 1/2 cup butter, melted
Begin by melting the butter and mixing it thoroughly with the graham cracker crumbs. Press the mixture firmly into the bottom of clean glass jars, creating a compact base for the cheesecake. Use the back of a spoon or a flat-bottomed object to ensure an even layer that will provide a satisfying crunch with each bite.
In a separate mixing bowl, beat the softened cream cheese and sugar until completely smooth and free of lumps. Gradually add the key lime juice, continuing to mix until the filling is well combined and has a light, creamy consistency. Carefully spoon the key lime cheesecake mixture over the graham cracker base, leaving a small amount of space at the top of each jar for potential garnishes.
Refrigerate the prepared cheesecake jars for a minimum of 4 hours, though overnight chilling is recommended for the best texture and flavor development. Before serving, consider topping with additional graham cracker crumbs, a small lime slice, or a dollop of whipped cream to enhance both the visual appeal and taste of the dessert.
When preparing this recipe, ensure the cream cheese is fully softened to room temperature to prevent any unwanted lumps in the filling. While key limes provide the most authentic flavor, regular lime juice can be substituted if needed.
The cheesecake jars will maintain their quality for up to 3 days when stored properly in the refrigerator, making them an excellent make-ahead dessert option.
Cooking Steps
You'll start by mixing melted butter with graham cracker crumbs, pressing the mixture firmly into the bottom of each jar to create a delicious base.
Next, beat the cream cheese and sugar until smooth, then gradually incorporate the tangy key lime juice, ensuring a consistent and creamy texture throughout the mixture.
Once combined, carefully spoon the lime-infused cheesecake filling into the prepared jars, leaving a bit of space at the top before chilling in the refrigerator to set.
Step 1. Mix Butter and Crumbs
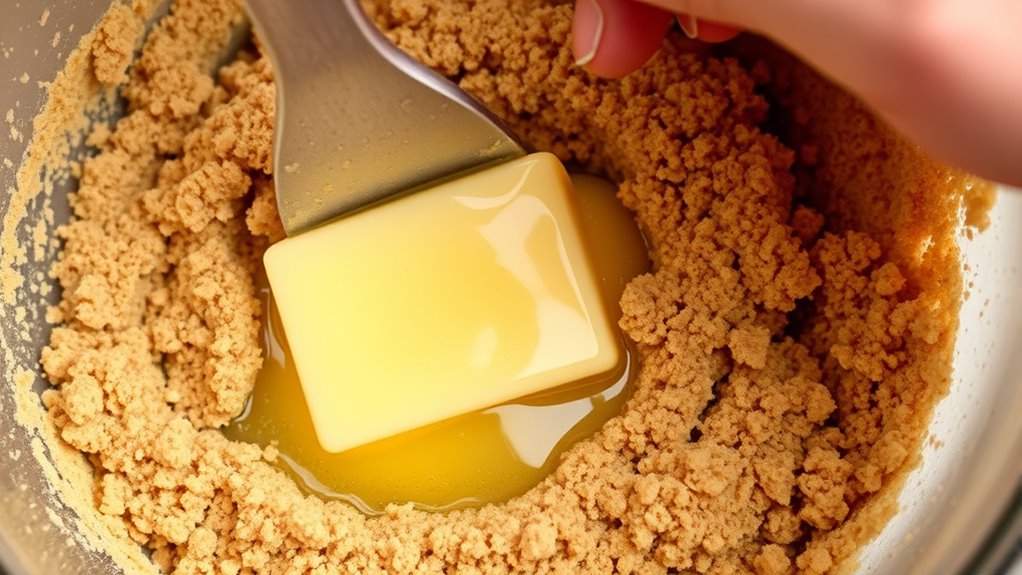
Grab a medium mixing bowl and melt the butter in short 15-second microwave intervals, stirring between each burst to ensure even heating. Watch carefully to prevent scorching, aiming for a smooth, golden liquid consistency.
Pour the melted butter over your graham cracker crumbs, using a spatula to blend thoroughly.
- Mix until the crumbs resemble wet sand
- Press the mixture firmly into the bottom of each jar
- Ensure an even, compact layer about 1/4-inch thick
Compact the crumb base using the back of a spoon or a small tamper, creating a solid foundation for your cheesecake.
The butter acts as a binding agent, helping the crumbs stick together and form a crisp, delectable base that'll provide a perfect textural contrast to the creamy filling. Aim for uniform coverage across the jar's bottom.
Step 2. Beat Cream Cheese, Sugar Smooth
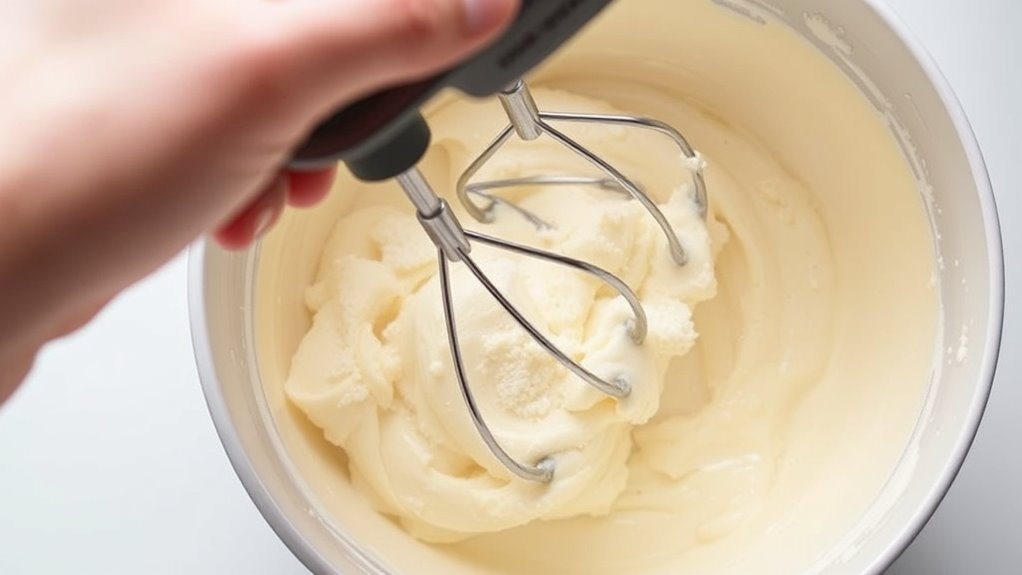
After pressing that buttery graham cracker base into your jars, your next culinary move centers on transforming cream cheese and sugar into a silky, luscious mixture.
Grab your electric mixer and room-temperature cream cheese, ensuring no cold lumps remain that could disrupt the smooth texture.
Begin beating the cream cheese on medium speed, gradually incorporating the granulated sugar.
Watch for these key signals:
- Mixture becomes lighter
- Texture grows progressively smoother
- Color shifts to a pale, creamy white
Continue mixing 3-4 minutes, occasionally scraping down the bowl's sides with a spatula.
You'll want a consistency that's thick yet spreadable, without any visible cream cheese chunks.
The goal: a velvety base that'll perfectly complement your zesty key lime filling and provide that classic cheesecake richness.
Step 3. Add Lime Juice Gradually
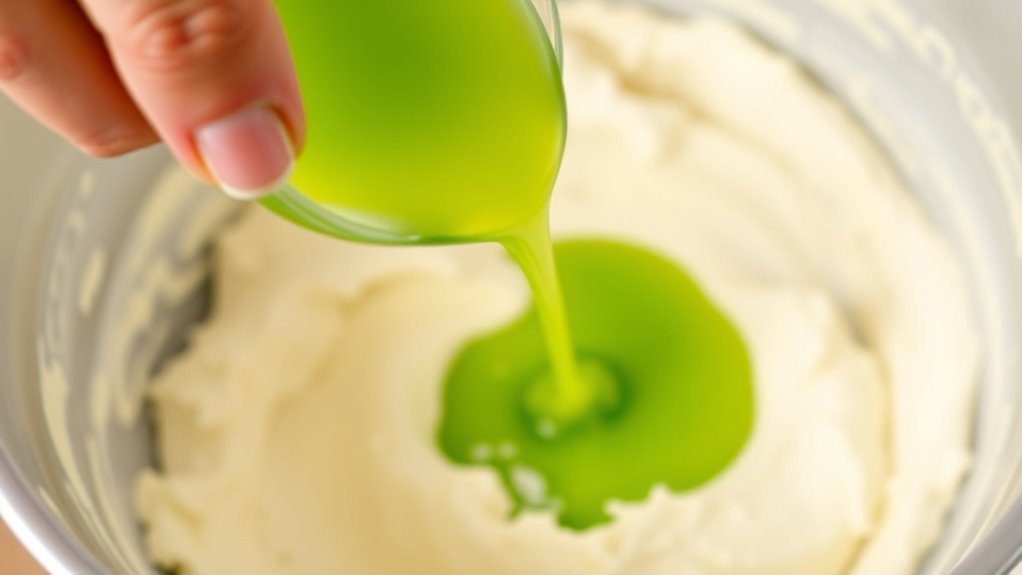
Because achieving the perfect key lime cheesecake texture requires precision, slowly incorporating lime juice transforms your cream cheese mixture from dense to delightfully tangy.
- Start by adding 2 tablespoons of key lime juice to your cream cheese mixture.
- Mix thoroughly after each small addition.
- Watch for smooth integration without separation.
- Aim for a consistent, creamy texture that's neither too liquid nor too thick.
Your gradual approach prevents curdling and ensures even flavor distribution.
The lime juice will naturally thin the cream cheese, so add it incrementally while continuously beating the mixture. Keep your mixer on medium speed, allowing each portion of juice to fully incorporate before the next addition.
Step 4. Spoon Mixture Into Jars
Carefully transfer your velvety key lime cheesecake mixture into prepared jars, creating picture-perfect layers that will delight your guests. Use a large spoon or piping bag to ensure smooth, even distribution of the filling.
Key spooning techniques:
- Leave approximately 1/2 inch of space at the top of each jar
- Gently tap jars to remove any air bubbles
- Use the back of a spoon to create a flat, even surface
When spooning the mixture, maintain a steady hand and consistent technique. Aim for clean, precise layers that showcase the dessert's beautiful color and texture.
If using a piping bag, select a wide tip to prevent lime mixture from clumping or creating uneven surfaces.
Refrigerate immediately after filling to help the cheesecake set properly and develop its signature creamy consistency.
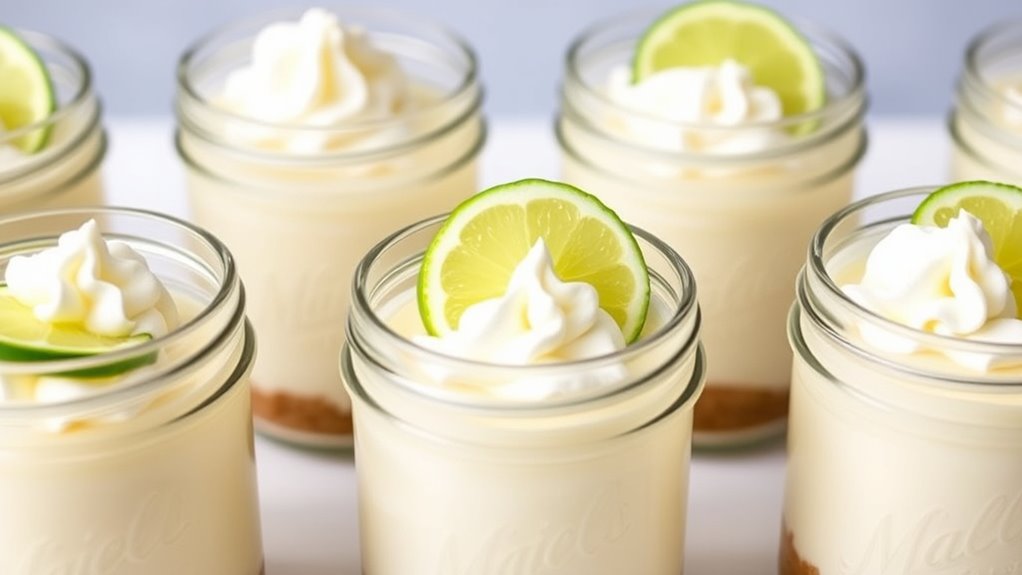
Step 5. Chill and Garnish
Once your key lime cheesecake mixture has been meticulously spooned into jars, you'll want to help those creamy delights set into their most delectable form.
Carefully place the jars in the refrigerator, ensuring they're positioned upright and won't be disturbed. Let them chill for a minimum of 4 hours, preferably overnight, allowing the filling to firm up and develop a rich, velvety texture.
Before serving, consider these garnishing options:
- Fresh lime zest sprinkled on top
- Whipped cream dollop
- Thin lime slice perched on the edge
- Crushed graham crackers for extra crunch
The chilling process is crucial—it transforms your mixture from a loose, creamy blend into a luxurious, slice-able dessert that'll impress your guests with its professional-quality presentation and intensely refreshing flavor profile.
Final Thoughts
If you're looking to impress your guests with a simple yet elegant dessert, these no-bake key lime cheesecake jars are your secret weapon.
They're versatile, visually appealing, and remarkably easy to prepare. You'll find that the tangy lime flavor cuts through the rich cream cheese, creating a balanced, refreshing treat that'll have everyone asking for the recipe.
Remember to chill the jars thoroughly, allowing the filling to set completely—patience is key to achieving that perfect, creamy texture.
Pro tip: garnish with a thin lime slice or zest just before serving to elevate the presentation.
Whether you're hosting a summer barbecue or a small dinner party, these individual desserts will become your go-to recipe for a crowd-pleasing, make-ahead sweet that requires minimal effort but delivers maximum impact.