Summer Fruit Platter Recipe
Summer's bounty unfurls like a painter's palette, inviting you to craft a stunning fruit platter that'll become the star of your next gathering. You'll want to select the ripest, most vibrant fruits, transforming a simple arrangement into a culinary masterpiece. Imagine impressing your guests with a colorful display that's not just delicious, but visually breathtaking. Curious about how to turn ordinary fruit into an extraordinary experience? Let's explore the art of the perfect summer fruit platter.
Recipe Highlights
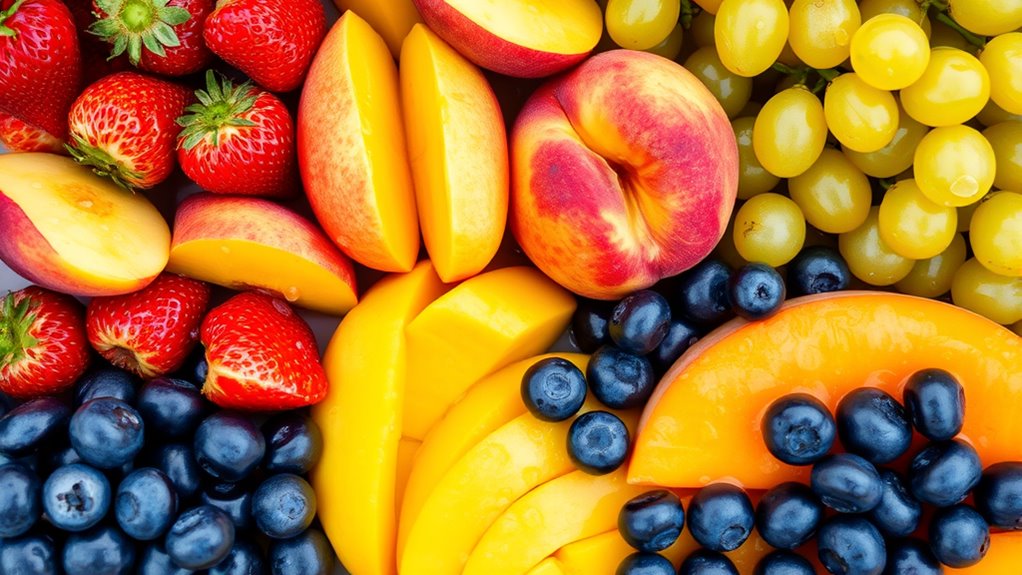
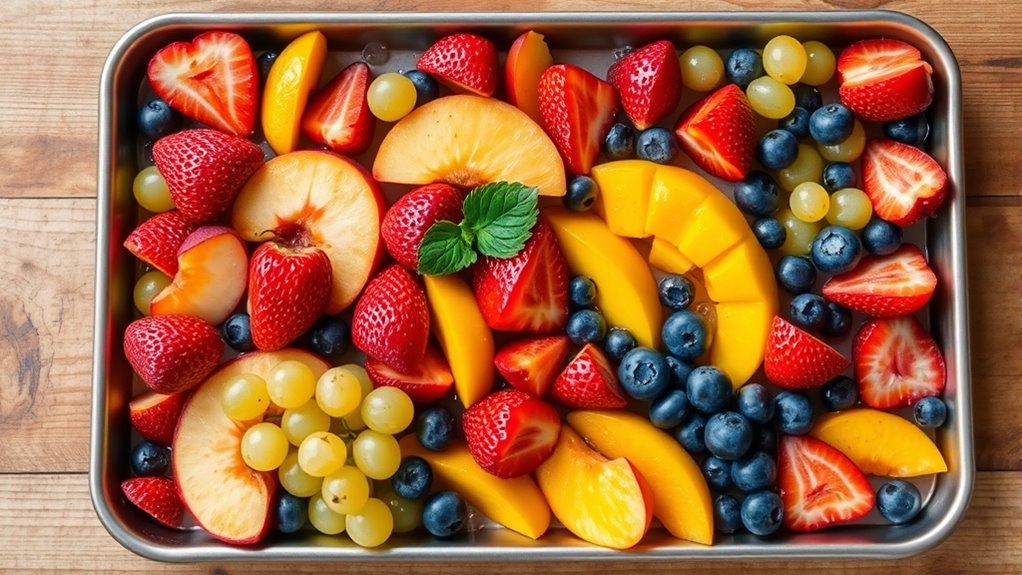
- Select ripe, seasonal summer fruits like strawberries, peaches, mangoes, and grapes to create a vibrant and fresh fruit platter.
- Wash and thoroughly dry fruits, ensuring they are clean and free from blemishes before carefully arranging them on a large white platter.
- Create visual interest by strategically placing fruits with varying heights, colors, and textures, focusing on balanced and aesthetically pleasing composition.
- Chill the fruit platter for 30-45 minutes before serving to enhance fruit flavors and maintain optimal temperature and freshness.
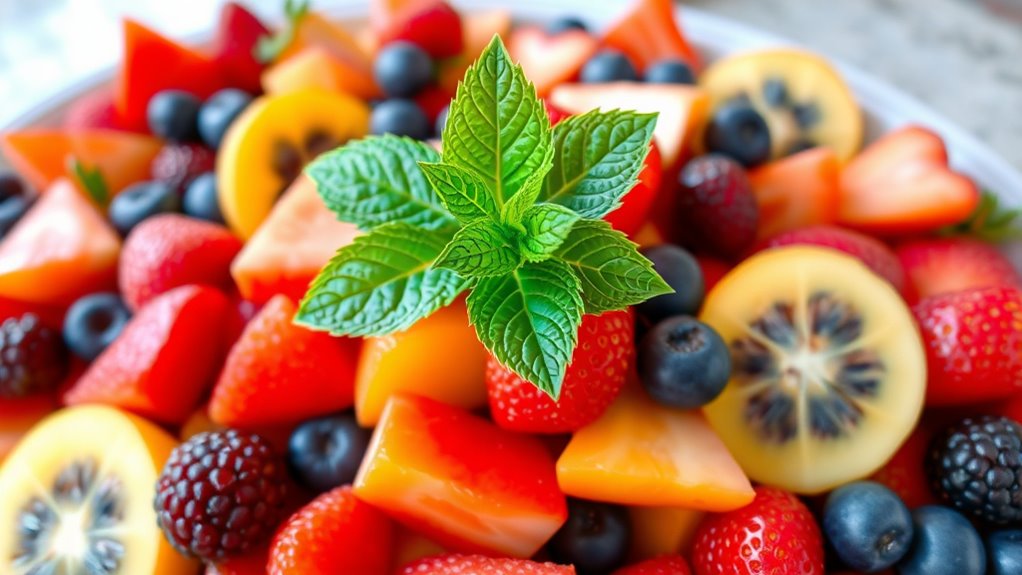
- Garnish with fresh mint leaves and consider a light sprinkle of lemon juice to add complexity and prevent fruit browning.
History
Although fruit platters might seem like a modern culinary trend, their roots actually stretch back thousands of years across multiple cultures.
Ancient Egyptians and Greeks frequently adorned royal banquets with meticulously arranged fruit displays, celebrating seasonal harvests as both nutritional and aesthetic experiences. You'll find that Mediterranean civilizations particularly appreciated fruit presentation as an art form, using intricate arrangements to showcase agricultural abundance.
Archaeological evidence reveals fruit platters weren't just decorative but symbolically significant. In many societies, presenting diverse fruits represented prosperity, hospitality, and cultural wealth.
You might be surprised to learn that these early platters often included:
- Locally grown seasonal produce
- Exotic imported fruits
- Carefully balanced color compositions
- Symbolic cultural representations
These historical practices continue influencing modern fruit presentation techniques.
Recipe
Creating the perfect summer fruit platter is an art that celebrates the vibrant bounty of the season. This simple yet stunning dish transforms fresh, ripe fruits into a colorful masterpiece that delights both the eyes and the palate, offering a refreshing and nutritious option for gatherings, picnics, or casual family meals.
The key to an exceptional fruit platter lies in selecting the freshest, most flavorful fruits at the peak of their ripeness and arranging them with care and creativity. By thoughtfully combining different colors, textures, and flavors, you can create a visually appealing and delicious spread that showcases the natural beauty of summer's finest produce.
Ingredients:
- 1 pound fresh strawberries
- 3 medium ripe peaches
- 1 bunch green grapes
- 2 large fresh mangoes
- 1 pint blueberries
- Optional: Fresh mint leaves for garnish
- Optional: Lemon juice for preventing browning
Preparation begins with thoroughly washing all fruits and carefully patting them dry with paper towels. Hull and halve the strawberries, creating elegant bite-sized pieces. Slice the peaches into attractive wedges, ensuring they aren't too thick or thin.
Separate the grape clusters into smaller, manageable bunches that are easy to pick up and enjoy. For the mangoes, carefully peel and slice them into thin, uniform strips that will add a golden, tropical element to the platter. Sort through the blueberries, removing any stems or damaged berries.
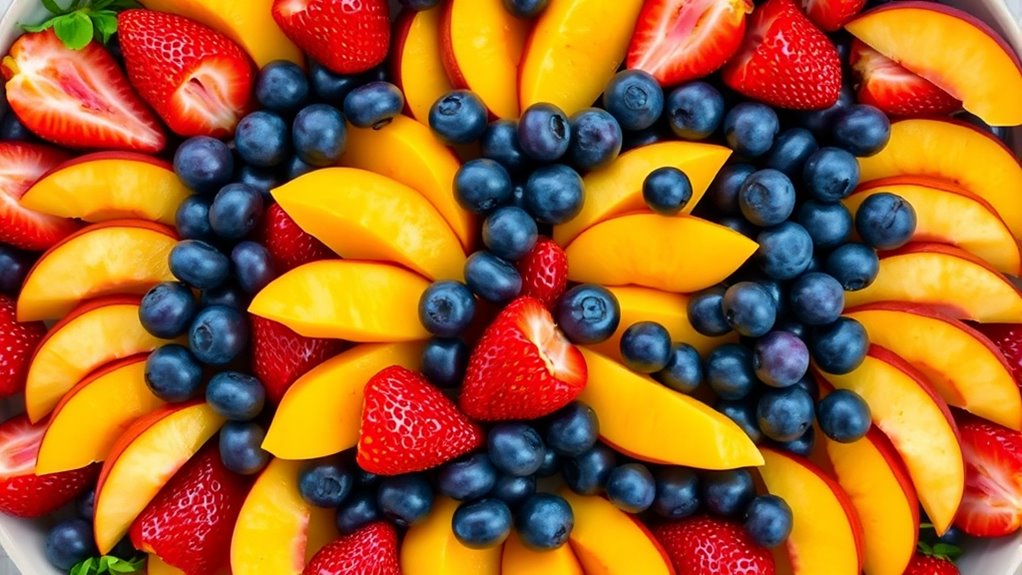
On a large serving platter with a slight lip, begin arranging the fruits strategically, alternating colors and shapes to create visual interest. Start from the outer edges and work towards the center, ensuring no empty spaces remain and the platter looks abundant and inviting.
When assembling your fruit platter, consider the visual impact and ease of serving. If concerned about fruit browning, lightly spritz cut fruits with fresh lemon juice. For an extra touch of elegance, garnish with fresh mint leaves.
Remember that this platter serves 8-10 people as a side dish, so adjust quantities accordingly based on your gathering size. Prepare the platter no more than two hours before serving and keep refrigerated until ready to enjoy.
Cooking Steps
You'll want to start by carefully gathering and cleaning your summer fruits, ensuring each piece is ripe, vibrant, and free from blemishes.
Next, arrange the fruits in visually appealing groups on your serving platter, creating a stunning color gradient that showcases the natural beauty of each piece.
To elevate your fruit platter, consider garnishing with fresh mint leaves and optional herb sprigs, which won't only add a pop of green but also introduce a subtle, aromatic complexity to the presentation.
Step 1. Gather and Clean Fruits
Begin your summer fruit platter by selecting the freshest, most vibrant seasonal fruits from your local market or grocery store. Look for produce that's firm yet yielding, with rich, saturated colors and no bruises or soft spots.
Key selection tips:
- Choose strawberries with bright red, glossy surfaces
- Pick peaches that smell sweet and have a slight give when gently pressed
- Select grape bunches with tight, uniform clusters
- Find mangoes with minimal blemishes and a subtle fruity aroma
Wash all fruits thoroughly under cool running water, using gentle friction to remove dirt and potential residues.
Pat each fruit dry with clean paper towels, handling delicate berries with extra care to prevent crushing. Inspect fruits carefully, removing any stems, leaves, or damaged sections before preparing your stunning summer platter.
Step 2. Arrange Fruits in Groups
After meticulously cleaning and preparing your summer fruits, the artful arrangement becomes your canvas for culinary presentation.
Begin by selecting a large platter with a slight lip, ensuring fruits won't slide during transport or serving.
Strategic placement matters:
- Group strawberry halves in vibrant red clusters
- Position peach wedges in gentle, overlapping arcs
- Scatter blueberries between larger fruit sections
- Create linear mango strips as visual pathways
- Interlock grape clusters to fill empty spaces
Work from the platter's outer edges toward the center, maintaining visual balance and varied color combinations.
Use natural height differences to create depth, allowing each fruit type to shine. Aim for a professional yet inviting aesthetic that encourages guests to sample the colorful display.
Step 3. Season With Mint Leaves
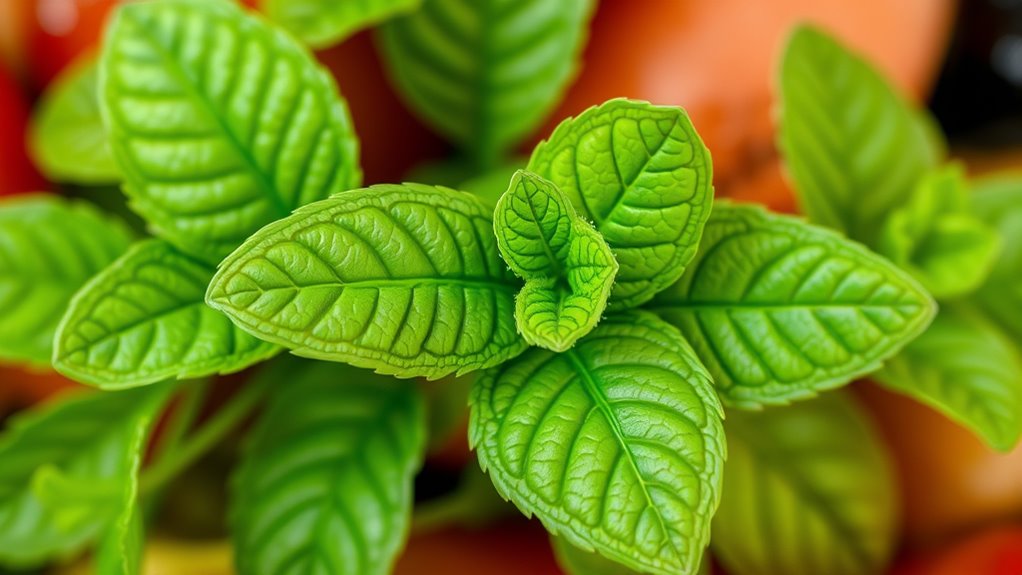
Once the summer fruit platter takes shape with its vibrant colors and carefully arranged sections, fresh mint leaves will elevate the aesthetic and flavor profile.
You'll want to select bright green, crisp mint leaves with no browning or wilting. Gently wash the mint and pat dry with paper towels to prevent excess moisture. Carefully tear or chop the leaves into small, delicate pieces, avoiding bruising that could darken their color.
Scatter the mint leaves strategically across the fruit platter, focusing on:
- Areas between fruit groupings
- Corners of the platter
- Edges for visual garnish
Aim for a light, artistic distribution that enhances without overwhelming the fruit's natural beauty. The mint's cool, refreshing aroma will subtly complement the sweet summer fruits, creating a sensory experience that delights both the eyes and palate.
Step 4. Garnish With Optional Herbs
Optional herbs can transform your summer fruit platter from beautiful to extraordinary, adding unexpected layers of complexity and aroma.
Consider these elegant garnishing techniques:
- Fresh mint leaves: Scatter whole or chopped leaves across the platter, creating bursts of bright green that complement the fruit's vibrant colors.
- Delicate basil: Tear small basil leaves into smaller pieces, strategically placing them between fruit sections to introduce a subtle, peppery undertone.
- Edible lavender: Sprinkle tiny lavender buds sparingly, providing a sophisticated floral note that won't overwhelm the fruit's natural sweetness.
Pro tip: When selecting herbs, choose young, fresh specimens with no wilting or browning.
Wash and pat them dry gently before garnishing.
Remember that herbs should enhance, not dominate, your beautiful fruit arrangement.
Step 5. Chill for Best Flavor
While proper chilling can elevate your summer fruit platter from good to extraordinary, achieving the perfect temperature requires strategic planning. Refrigerate your assembled platter between 30-45 minutes before serving, ensuring fruits remain crisp yet not overly cold.
Key chilling tips include:
- Use a shallow, wide refrigerator shelf
- Cover the platter loosely with plastic wrap
- Position away from strong-smelling foods
- Maintain refrigerator temperature at 38-40°F
Watch for visual cues during chilling: fruit surfaces should look glossy and firm, condensation should be minimal. Avoid freezing or prolonged refrigeration, which can compromise texture and diminish natural fruit flavors. Your goal is a refreshingly cool presentation that highlights each fruit's vibrant characteristics.
When ready to serve, remove the platter 5-10 minutes prior to eating, allowing fruits to reach a pleasant, slightly cool temperature that maximizes their inherent sweetness.
Final Thoughts
Because summer fruit platters are more than just a simple dessert, they represent a delightful culinary canvas that celebrates seasonal abundance.
Your platter isn't just food; it's an artistic expression of summer's bounty. When you craft these vibrant arrangements, you're transforming fresh produce into a stunning centerpiece that delights guests and nourishes the body.
Consider these final tips for fruit platter perfection:
- Always select the freshest, most colorful fruits
- Use a large white platter to make colors pop
- Arrange fruits with intentional spacing
- Serve immediately after preparation
- Experiment with garnishes like mint leaves