Cheesecake Crescent Rolls Casserole Recipe
Are you ready to transform ordinary crescent rolls into a decadent dessert experience? The Cheesecake Crescent Rolls Casserole is your ticket to culinary magic, blending the flaky layers of crescent dough with a rich, creamy cheesecake filling. This isn't just another dessert—it's a game-changing recipe that'll have your friends asking, "How did you do that?" Whether you're a baking novice or a seasoned pro, you'll want to stick around to uncover the secrets of this mouthwatering mashup that's about to revolutionize your dessert game.
Recipe Highlights
- Combine 2 packages of crescent rolls, cream cheese, sugar, and vanilla to create a layered casserole-style cheesecake dessert.
- Preheat oven to 350°F and bake for 30-35 minutes until the top turns golden-brown and puffy.
- First, unroll one package of crescent rolls into a baking dish, seal perforations, and spread cream cheese mixture evenly.
- Top the cream cheese layer with a second package of crescent rolls, pour melted butter over the surface, and bake.
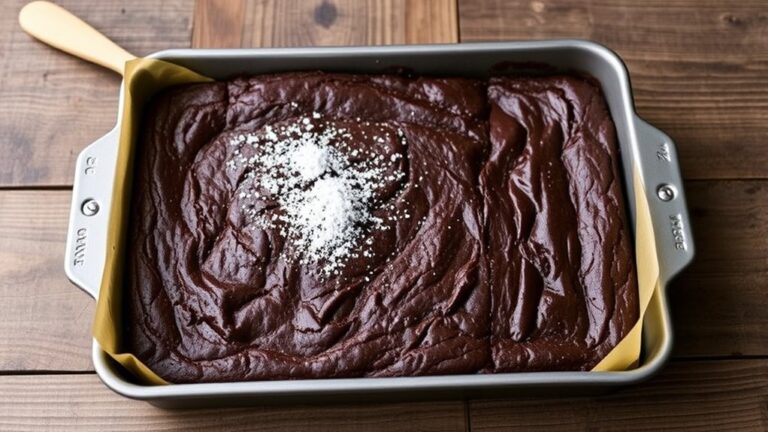
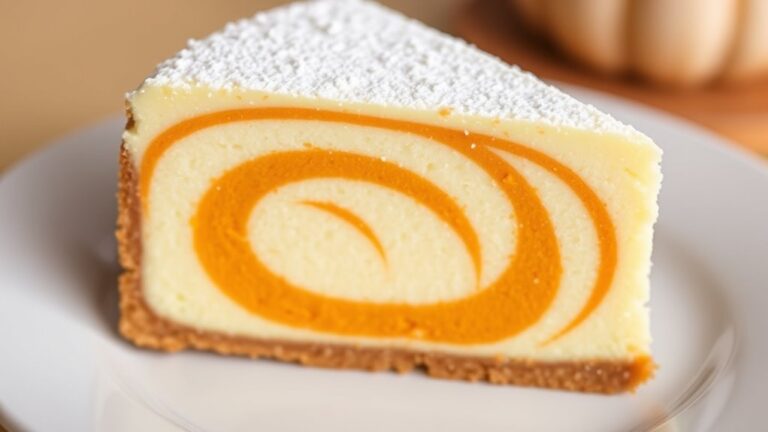
- Allow the casserole to cool for 20 minutes after baking, and optionally dust with powdered sugar before serving warm or chilled.
History
Although crescent rolls and cheesecake have distinct culinary origins, their delightful marriage in this casserole represents a modern American dessert innovation.
You'll find this recipe emerged from home cooks' creativity in the mid-20th century, blending convenience foods with classic dessert techniques. Refrigerated crescent roll dough, popularized by Pillsbury in the 1960s, became a kitchen staple that transformed numerous recipes.
Key historical highlights include:
- 1950s: Convenience baking products gained popularity
- 1960s: Crescent roll dough introduced commercially
- 1970s-1980s: Casserole-style desserts became trendy in suburban kitchens
The fusion of European pastry techniques with American baking shortcuts created this unique dessert.
You'll appreciate how home cooks transformed simple ingredients into a crowd-pleasing treat that bridges traditional baking and modern convenience.
Recipe
Cheesecake Crescent Rolls Casserole is a delightful dessert that combines the flaky texture of crescent rolls with a rich, creamy cheesecake filling. This simple yet indulgent dish offers a perfect balance of buttery pastry and sweet cream cheese, making it an ideal treat for any occasion.
The beauty of this casserole lies in its simplicity, requiring minimal ingredients while delivering maximum flavor. When baked, the crescent rolls form a golden-brown crust that cradles the velvety cheesecake filling, creating layers of contrasting textures that melt in your mouth.
Ingredients:
- 2 packages refrigerated crescent rolls
- 2 packages (8 oz each) cream cheese, softened
- 1 cup granulated sugar
- 1 teaspoon vanilla extract
- 1 stick butter, melted
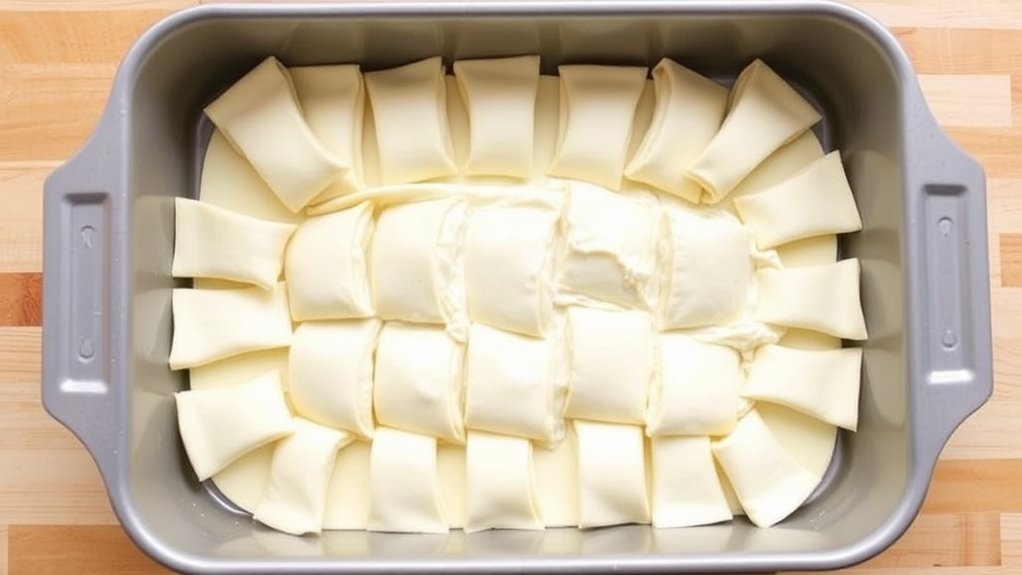
Preheat the oven to 350°F and prepare a 9×13 inch baking dish. Unroll one package of crescent rolls and carefully press them into the bottom of the dish, making sure to seal all perforations to create a solid base. This will ensure an even foundation for the cheesecake layer.
In a mixing bowl, beat the softened cream cheese, sugar, and vanilla extract until the mixture is smooth and creamy. Spread this filling evenly over the first layer of crescent rolls, taking care to create an even surface.
Then, unroll the second package of crescent rolls and gently place them on top of the cream cheese mixture. Pour the melted butter evenly over the top layer, which will help create a golden, crispy crust.
Bake the casserole for 30-35 minutes, or until the top is golden brown and the filling is set. Allow the dish to cool for at least 20 minutes before serving to help the filling firm up and make cutting easier.
For the best results, ensure the cream cheese is completely softened to room temperature before mixing to avoid lumps in the filling.
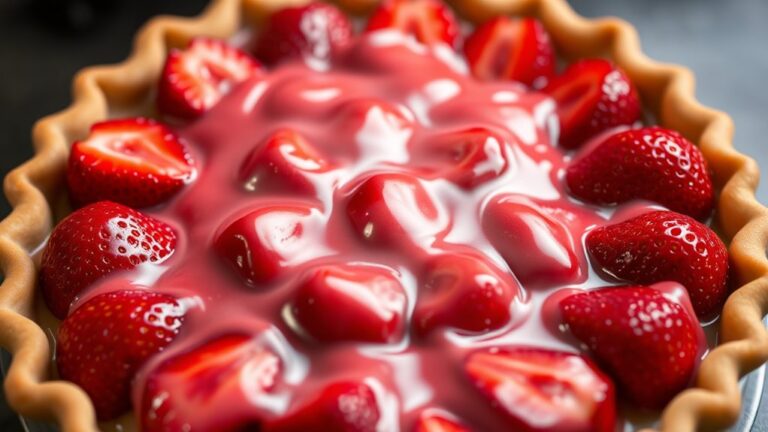
Consider chilling the casserole briefly before serving if you prefer a firmer texture, and don't hesitate to dust with powdered sugar just before serving for an extra touch of sweetness and visual appeal.
Cooking Steps
You'll start by carefully unrolling the first package of crescent rolls, pressing them into your 9×13 baking dish to create a smooth, even base that seals all those little perforations.
Next, whip up your cream cheese mixture, beating the softened cream cheese, sugar, and vanilla until the texture is silky and uniform, ready to spread across your pastry foundation.
Finally, you'll top the creamy layer with another crescent roll sheet, drizzle melted butter evenly across the surface, and bake until the entire casserole turns a beautiful, enticing golden brown.
Step 1. Unroll First Crescent Roll Package

Carefully unroll the first package of refrigerated crescent rolls onto a clean, flat surface, taking care to separate the dough along its pre-cut lines without tearing.
You'll want to handle the delicate dough gently, ensuring each triangular section remains intact.
Key steps for successful unrolling:
- Open package carefully
- Work on a lightly floured surface
- Use gentle, consistent pressure
- Separate triangles smoothly
Press the separated crescent roll dough into the bottom of your 9×13 inch baking dish, focusing on creating an even layer.
Seal the perforations between triangles by pinching them together, which prevents the filling from seeping underneath during baking.
This foundational layer will serve as the crispy base for your cheesecake casserole, providing a buttery, flaky canvas for the rich cream cheese mixture to come.
Step 2. Mix Cream Cheese Mixture
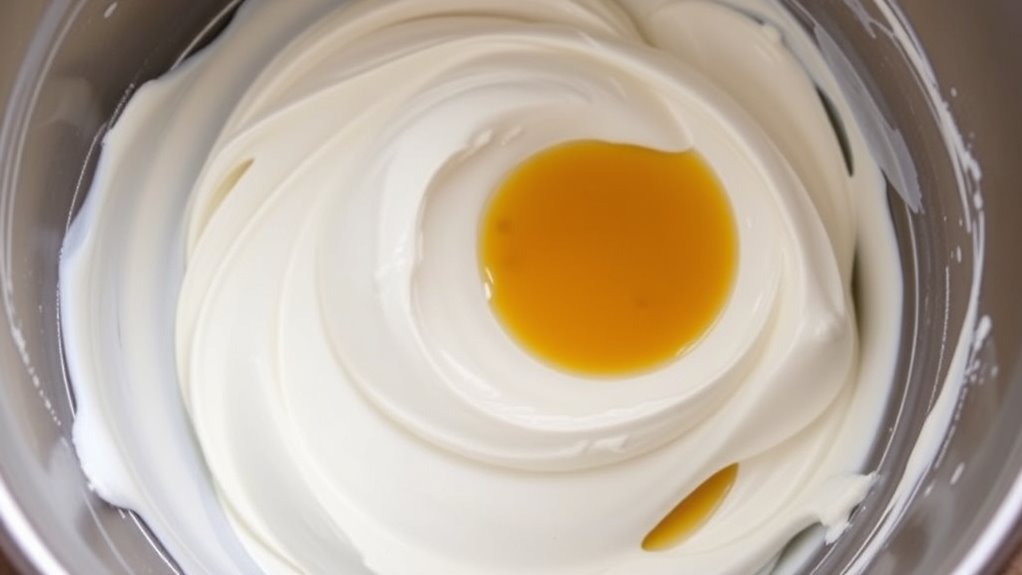
Transforming your softened cream cheese into a velvety, sweet filling requires precision and a few simple techniques.
Start by placing the two 8-oz packages of cream cheese in a large mixing bowl, ensuring they've reached room temperature for smooth blending. Use an electric mixer to beat the cream cheese on medium speed, creating a creamy base.
Key steps for mixing:
- Add 1 cup granulated sugar gradually
- Pour in 1 teaspoon vanilla extract
- Mix until ingredients combine completely
- Beat for 2-3 minutes until mixture becomes silky
Watch for these texture indicators:
- No visible cream cheese lumps
- Smooth, consistent appearance
- Slight increase in volume
- Glossy surface indicating proper incorporation
Scrape bowl sides periodically to ensure even mixing, creating a perfectly uniform cheesecake filling ready to spread across your crescent roll base.
Step 3. Top Crescent Rolls Carefully
The delicate process of topping your crescent rolls demands a gentle touch and systematic approach to ensure an even, aesthetically pleasing result.
Begin by carefully unrolling the second package of crescent rolls, maintaining the rectangular shape. Gently stretch the dough to match the dimensions of your baking dish, paying close attention to:
- Full coverage of the cream cheese layer
- Minimal gaps between dough sections
- Smooth, even surface
Use your fingertips to seal perforations, creating a seamless top layer. Press lightly but firmly, ensuring the dough adheres without tearing.
If the dough becomes too soft, briefly refrigerate to restore manageability. Center the dough precisely over the cream cheese filling, allowing slight overhang for a rustic presentation.
This methodical approach guarantees a professional-looking casserole with perfect texture and appearance.
Step 4. Pour Melted Butter Evenly
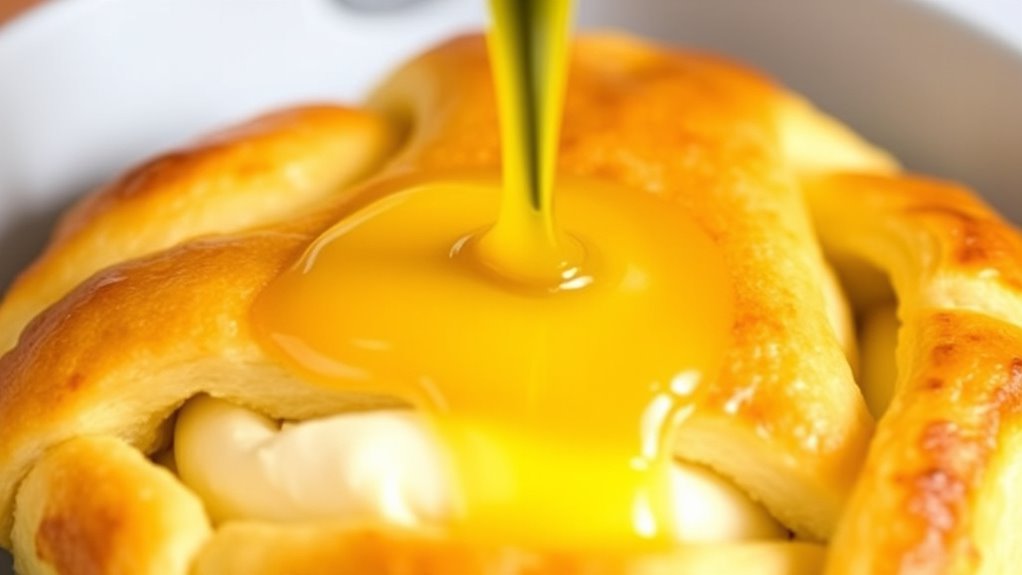
Butter plays a crucial role in elevating your cheesecake crescent rolls casserole from good to phenomenal. When pouring the melted butter, focus on achieving uniform coverage across the entire top layer of pastry. Use a steady hand and a measuring cup to distribute the butter evenly, ensuring each section receives the same golden, rich coating.
Key pouring techniques:
- Drizzle slowly from side to side
- Tilt the pan slightly to help butter spread
- Use a pastry brush for any missed spots
- Aim for a light, consistent layer
The melted butter will create a beautifully bronzed, crispy surface that adds depth and richness to your dessert. Watch carefully as you pour, maintaining a consistent stream that doesn't pool in any single area.
This step transforms your casserole from simple to sublime.
Step 5. Bake Until Golden Brown
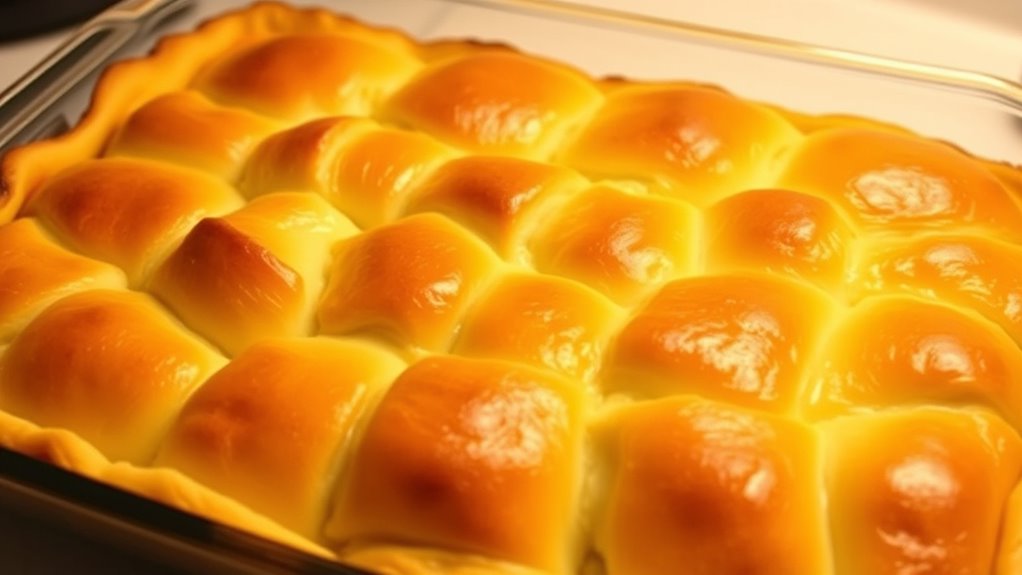
Golden-brown perfection awaits you when you slide your cheesecake crescent rolls casserole into a preheated 350°F oven, where precise baking transforms your layers of buttery pastry and creamy filling into a delectable dessert.
Watch the top layer carefully during baking:
- Aim for an even, golden-brown color
- Look for light amber edges
- Total baking time: 30-35 minutes
Visual cues help determine doneness:
- Crescent rolls should appear puffy
- Surface should be uniformly golden
- Edges will look slightly crisp and caramelized
Check for done-ness by:
- Inserting a toothpick near the center
- Ensuring it comes out clean
- Observing no liquid-like wobble in the filling
Remove from oven and let cool 20 minutes before serving, allowing the layers to set and flavors to meld perfectly.
Final Thoughts
While crafting this delectable Cheesecake Crescent Rolls Casserole might seem intimidating at first, you'll find the process surprisingly straightforward and rewarding. The key is preparation and patience. Softening your cream cheese completely, ensuring your ingredients are at room temperature, and paying attention to baking times will guarantee success.
You'll want to remember a few pro tips:
- Let the casserole cool properly before serving
- Store leftovers in an airtight container
- Experiment with slight variations like adding fruit preserves or cinnamon
- Serve chilled or slightly warm based on personal preference
The beauty of this dessert lies in its versatility. Whether you're hosting a family gathering or looking for a quick sweet treat, this recipe delivers both simplicity and satisfaction, transforming basic ingredients into a memorable culinary experience.