Lunchroom Ladies Brownies 50 Year Old Recipe
Just like those classic lunch ladies who served up memories between math and recess, you're about to uncover a culinary time capsule. These legendary brownies aren't just a dessert—they're a nostalgic journey back to school cafeterias of the 1970s. You'll want to grab your mixing bowl and prepare for a recipe that's survived generations, promising a fudgy, chocolatey experience that transforms simple ingredients into something magical. Want to know how these unassuming brownies became a cultural phenomenon?
Recipe Highlights
- Authentic Lunchroom Ladies Brownies originated in school cafeterias during the 1970s and 1980s, representing a classic American dessert recipe rooted in mass-production cooking techniques.
- The 50-year-old recipe features five simple ingredients: granulated sugar, unsalted butter, eggs, cocoa powder, and all-purpose flour, emphasizing nostalgic, uncomplicated baking.
- Traditional preparation involves melting butter, gradually mixing eggs, sifting cocoa and flour, and baking at 350°F for 30-35 minutes in a 9×13-inch pan.
- These brownies symbolize communal eating experiences and childhood memories, connecting generations through a straightforward dessert that prioritizes rich flavor and satisfying texture.
- Key baking tips include slightly underbaking for a fudgy center, checking doneness with a toothpick, and allowing complete cooling before cutting and serving.
History
Although school lunchroom cuisine often gets a bad rap, the beloved brownies from cafeterias in the 1970s and 1980s have become a nostalgic culinary treasure.
These iconic desserts emerged during a time of standardized school meal programs, when cafeteria workers crafted simple, hearty recipes that could feed hundreds of students efficiently.
You'll find their origin deeply rooted in industrial-scale cooking techniques that prioritized flavor, cost-effectiveness, and ease of preparation.
Key historical highlights include:
- Developed during school lunch modernization era
- Designed for mass production
- Reflected post-war cooking sensibilities
- Utilized affordable, accessible ingredients
- Represented communal dining experiences
The recipe spread through word-of-mouth among lunch staff, becoming a beloved standard across school districts nationwide.
Its enduring popularity speaks to the power of uncomplicated, comforting food.
Recipe
Lunchroom Ladies Brownies are a nostalgic dessert that captures the essence of simple, comforting baking. These brownies have delighted school children and adults alike since the 1970s, representing a classic approach to chocolate treats that prioritizes rich flavor and satisfying texture.
With just a handful of basic ingredients, these brownies prove that culinary magic doesn't require complexity. The recipe embodies a straightforward method that transforms everyday pantry staples into a decadent dessert that brings back memories of school cafeteria days.
Ingredients:
- 2 cups granulated sugar
- 1 cup unsalted butter, melted
- 4 large eggs
- 1 cup unsweetened cocoa powder
- 1 cup all-purpose flour
Preheat the oven to 350°F and prepare a 9×13-inch baking pan by greasing it thoroughly. In a large mixing bowl, combine the melted butter and sugar, stirring until well incorporated. Add the eggs one at a time, mixing completely after each addition to ensure a smooth batter.
Sift the cocoa powder and flour together, then gently fold into the wet ingredients until just combined. Be careful not to overmix, as this can lead to tough brownies. Pour the batter into the prepared pan, spreading it evenly with a spatula.
Bake for 30-35 minutes, checking doneness by inserting a toothpick into the center—it should come out with a few moist crumbs. For the best brownie experience, allow the pan to cool completely before cutting, which helps the brownies set and develop their signature fudgy texture.
Store in an airtight container at room temperature for up to 5 days, or freeze for longer preservation. To maintain the classic lunchroom ladies style, slightly underbake the brownies, ensuring a moist, rich center that melts in your mouth.
Cooking Steps
You'll start by melting the butter in a large mixing bowl, then gradually add eggs while stirring to create a smooth, uniform mixture.
Next, sift your dry ingredients—cocoa powder and flour—together to eliminate any lumps and ensure an even texture throughout the batter.
Once you've gently folded the dry ingredients into the wet mixture, pour the batter evenly into your prepared pan and bake until the top develops a slight shine and golden-brown edges.
Step 1. Melt Butter in Bowl
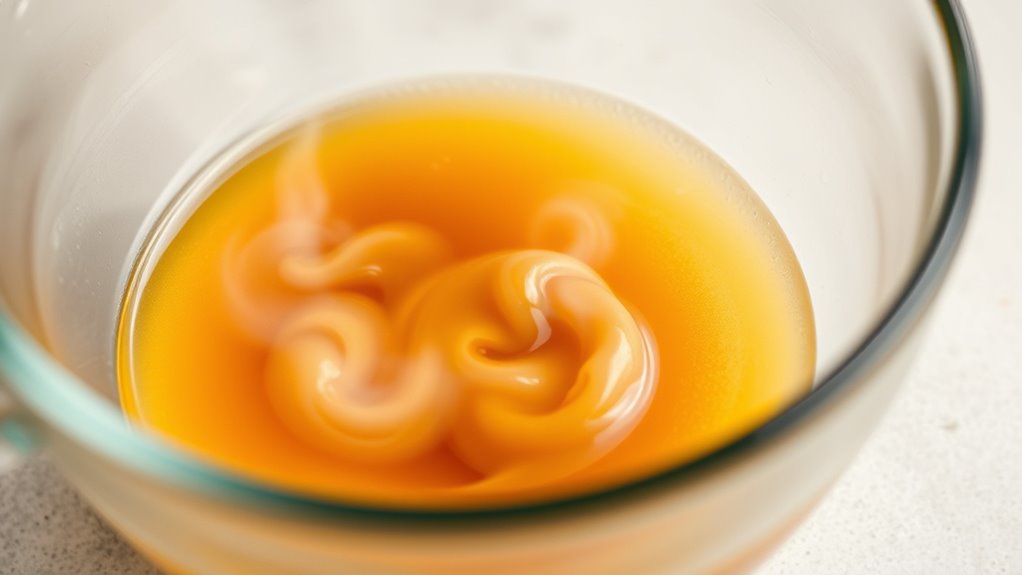
One key step in crafting these classic lunchroom brownies involves carefully melting the butter to create a smooth, uniform base for your batter.
Select unsalted butter for the best flavor control, and choose a microwave-safe or heavy-bottomed saucepan for melting. Cut the butter into uniform chunks to ensure even heating, preventing potential scorching.
Microwave method:
- Place butter in microwave-safe bowl
- Heat in 15-second intervals
- Stir between each interval
- Stop when almost completely melted
Stovetop method:
- Use low-medium heat
- Stir constantly
- Remove from heat when 90% melted
- Let residual heat complete final melting
Watch for a glossy, liquid consistency without browning.
The goal is a smooth, warm butter base that'll integrate perfectly with sugar, creating a rich, velvety brownie foundation.
Step 2. Add Eggs Gradually
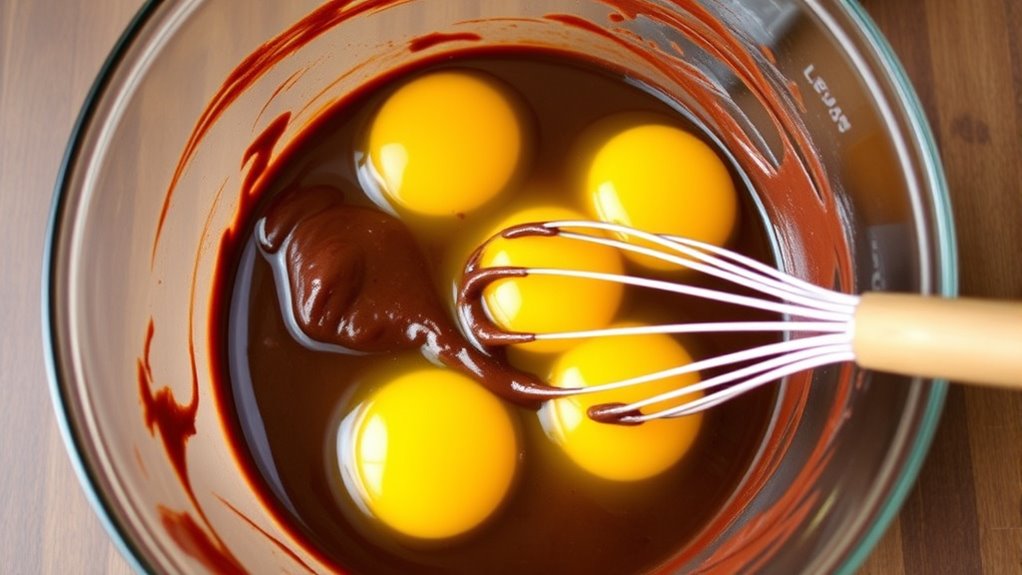
After melting the butter and sugar into a smooth mixture, gradually incorporating eggs becomes a critical technique for creating perfectly textured lunchroom-style brownies.
You'll want to add each egg one at a time, mixing thoroughly between additions to ensure a uniform, smooth batter. Crack the eggs directly into the butter-sugar mixture, using a whisk or electric mixer to blend completely. This gradual incorporation prevents the eggs from scrambling and helps create a silky, consistent base for your brownies.
Watch for these key signs of proper egg integration:
- Batter becomes lighter in color
- Texture becomes increasingly smooth
- Mixture looks glossy and well-combined
Mix each egg for approximately 30-45 seconds before adding the next, maintaining a steady, even incorporation that'll guarantee those classic, nostalgic brownie results.
Step 3. Sift Dry Ingredients Together
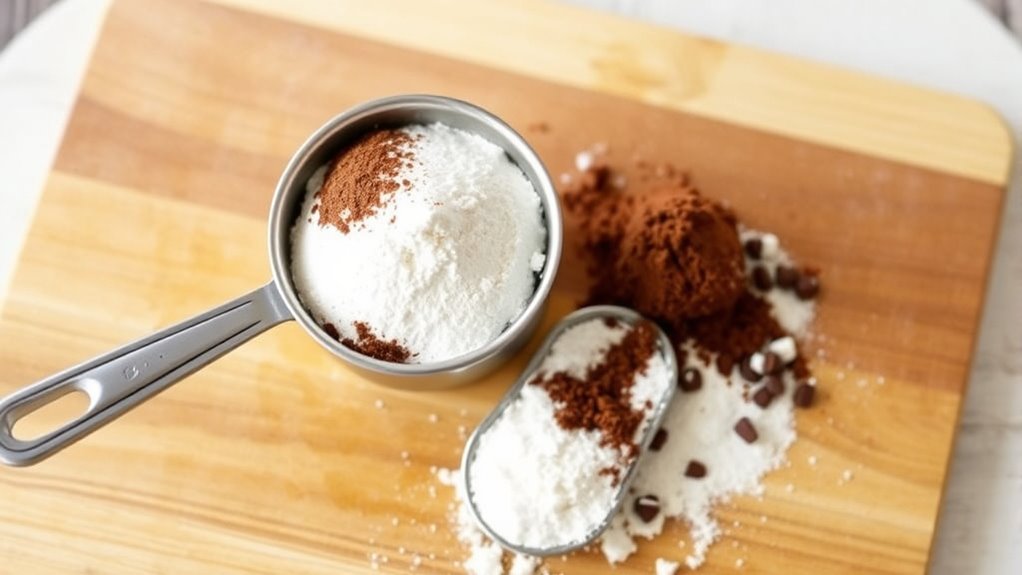
Once your eggs are perfectly incorporated into the butter-sugar mixture, grab your cocoa powder and all-purpose flour to prepare the dry ingredient combination.
Sifting helps break up any lumps and ensures a smooth, even texture in your brownies. Use a fine-mesh strainer or sifter to gently shake the cocoa powder and flour together over a separate bowl, creating a light, aerated mixture.
Key sifting tips:
- Measure ingredients precisely before sifting
- Sift ingredients at least twice for maximum smoothness
- Hold the sifter about 6 inches above the bowl
- Shake gently and consistently
Carefully fold the sifted dry ingredients into your wet mixture, using a spatula to blend until just combined.
Stop mixing as soon as no flour streaks remain to prevent overworking the batter, which can lead to tough brownies.
Step 4. Pour Batter Evenly
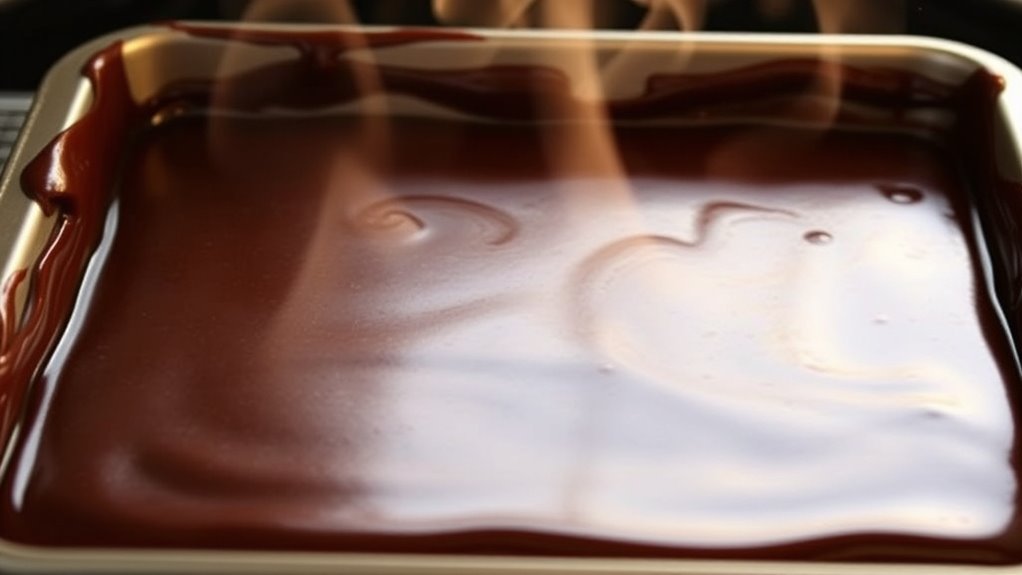
Carefully transfer your perfectly mixed brownie batter into the prepared 9×13-inch baking pan, ensuring an even distribution that will guarantee uniform baking and consistent texture.
Use a rubber spatula to scrape every last bit of batter from the mixing bowl, spreading it gently across the pan's surface.
Key pouring techniques:
- Tilt the pan slightly to help batter reach corners
- Use light, smooth strokes to level the mixture
- Tap the pan's edges to release any air bubbles
Work methodically to create a smooth, flat layer approximately 1/2-inch thick.
The batter should look glossy and slightly dense, with no significant lumps or uneven patches.
Run your spatula across the top in long, gentle strokes, creating a perfectly even surface that'll bake into those classic, nostalgic lunchroom-style brownies.
Step 5. Bake Until Golden Brown
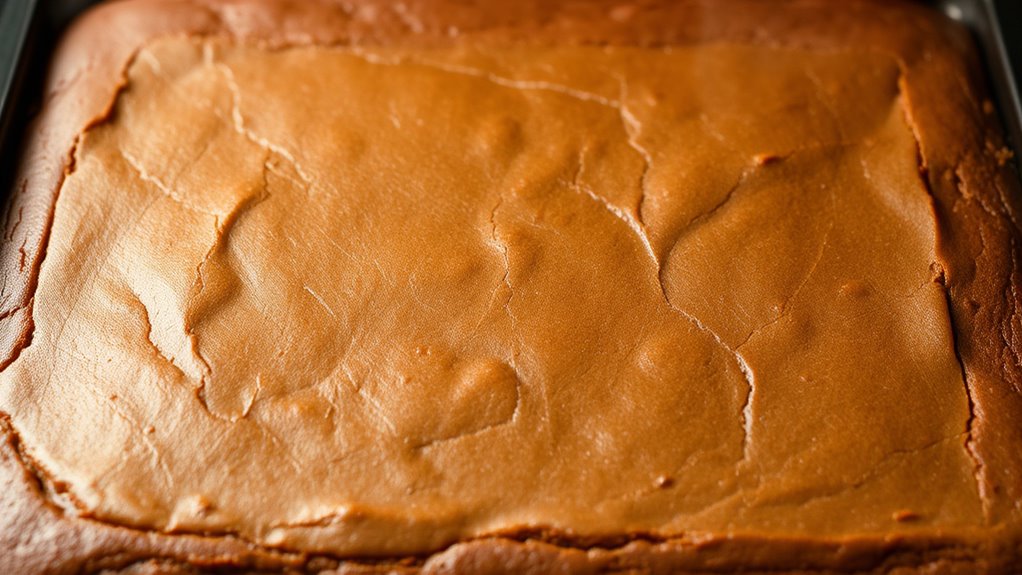
When your brownie batter has been perfectly spread in the pan, slide the 9×13-inch dish into a preheated 350°F oven, positioning the rack in the center for even heat distribution.
You'll want to bake these nostalgic brownies for 30-35 minutes, keeping a watchful eye on their transformation.
Key baking indicators include:
- A slightly shiny top surface
- Subtle cracking across the brownie's landscape
- Edges pulling slightly away from the pan's sides
Check doneness by inserting a toothpick near the center. It should emerge with a few moist crumbs—not completely clean, not wet. This signals perfect, fudgy consistency.
The brownies will continue setting as they cool, so resist the temptation to overbake. Once golden brown and fragrant, remove from the oven and let rest, allowing the rich chocolate essence to settle into each delectable square.
Final Thoughts
These lunchroom brownies aren't just a recipe—they're a delectable journey through culinary nostalgia.
You'll find these classic treats transport you back to simpler times, when school cafeteria desserts were made with love and minimal ingredients.
When you bake these brownies, you're preserving a piece of culinary history that resonates across generations.
The magic lies in their simplicity: five basic ingredients, straightforward technique, and a foolproof method that guarantees success every time.
Remember to watch your baking time carefully, pulling the pan from the oven when a few moist crumbs still cling to your toothpick.
Cool completely before cutting to ensure that signature fudgy texture.
These brownies aren't just dessert—they're a nostalgic connection to childhood memories, baked with tradition and pure, uncomplicated deliciousness.